Saving views
Save and reuse a Flexim collection view with its filters, sorting, and visible fields, then rename, update, or remove it.
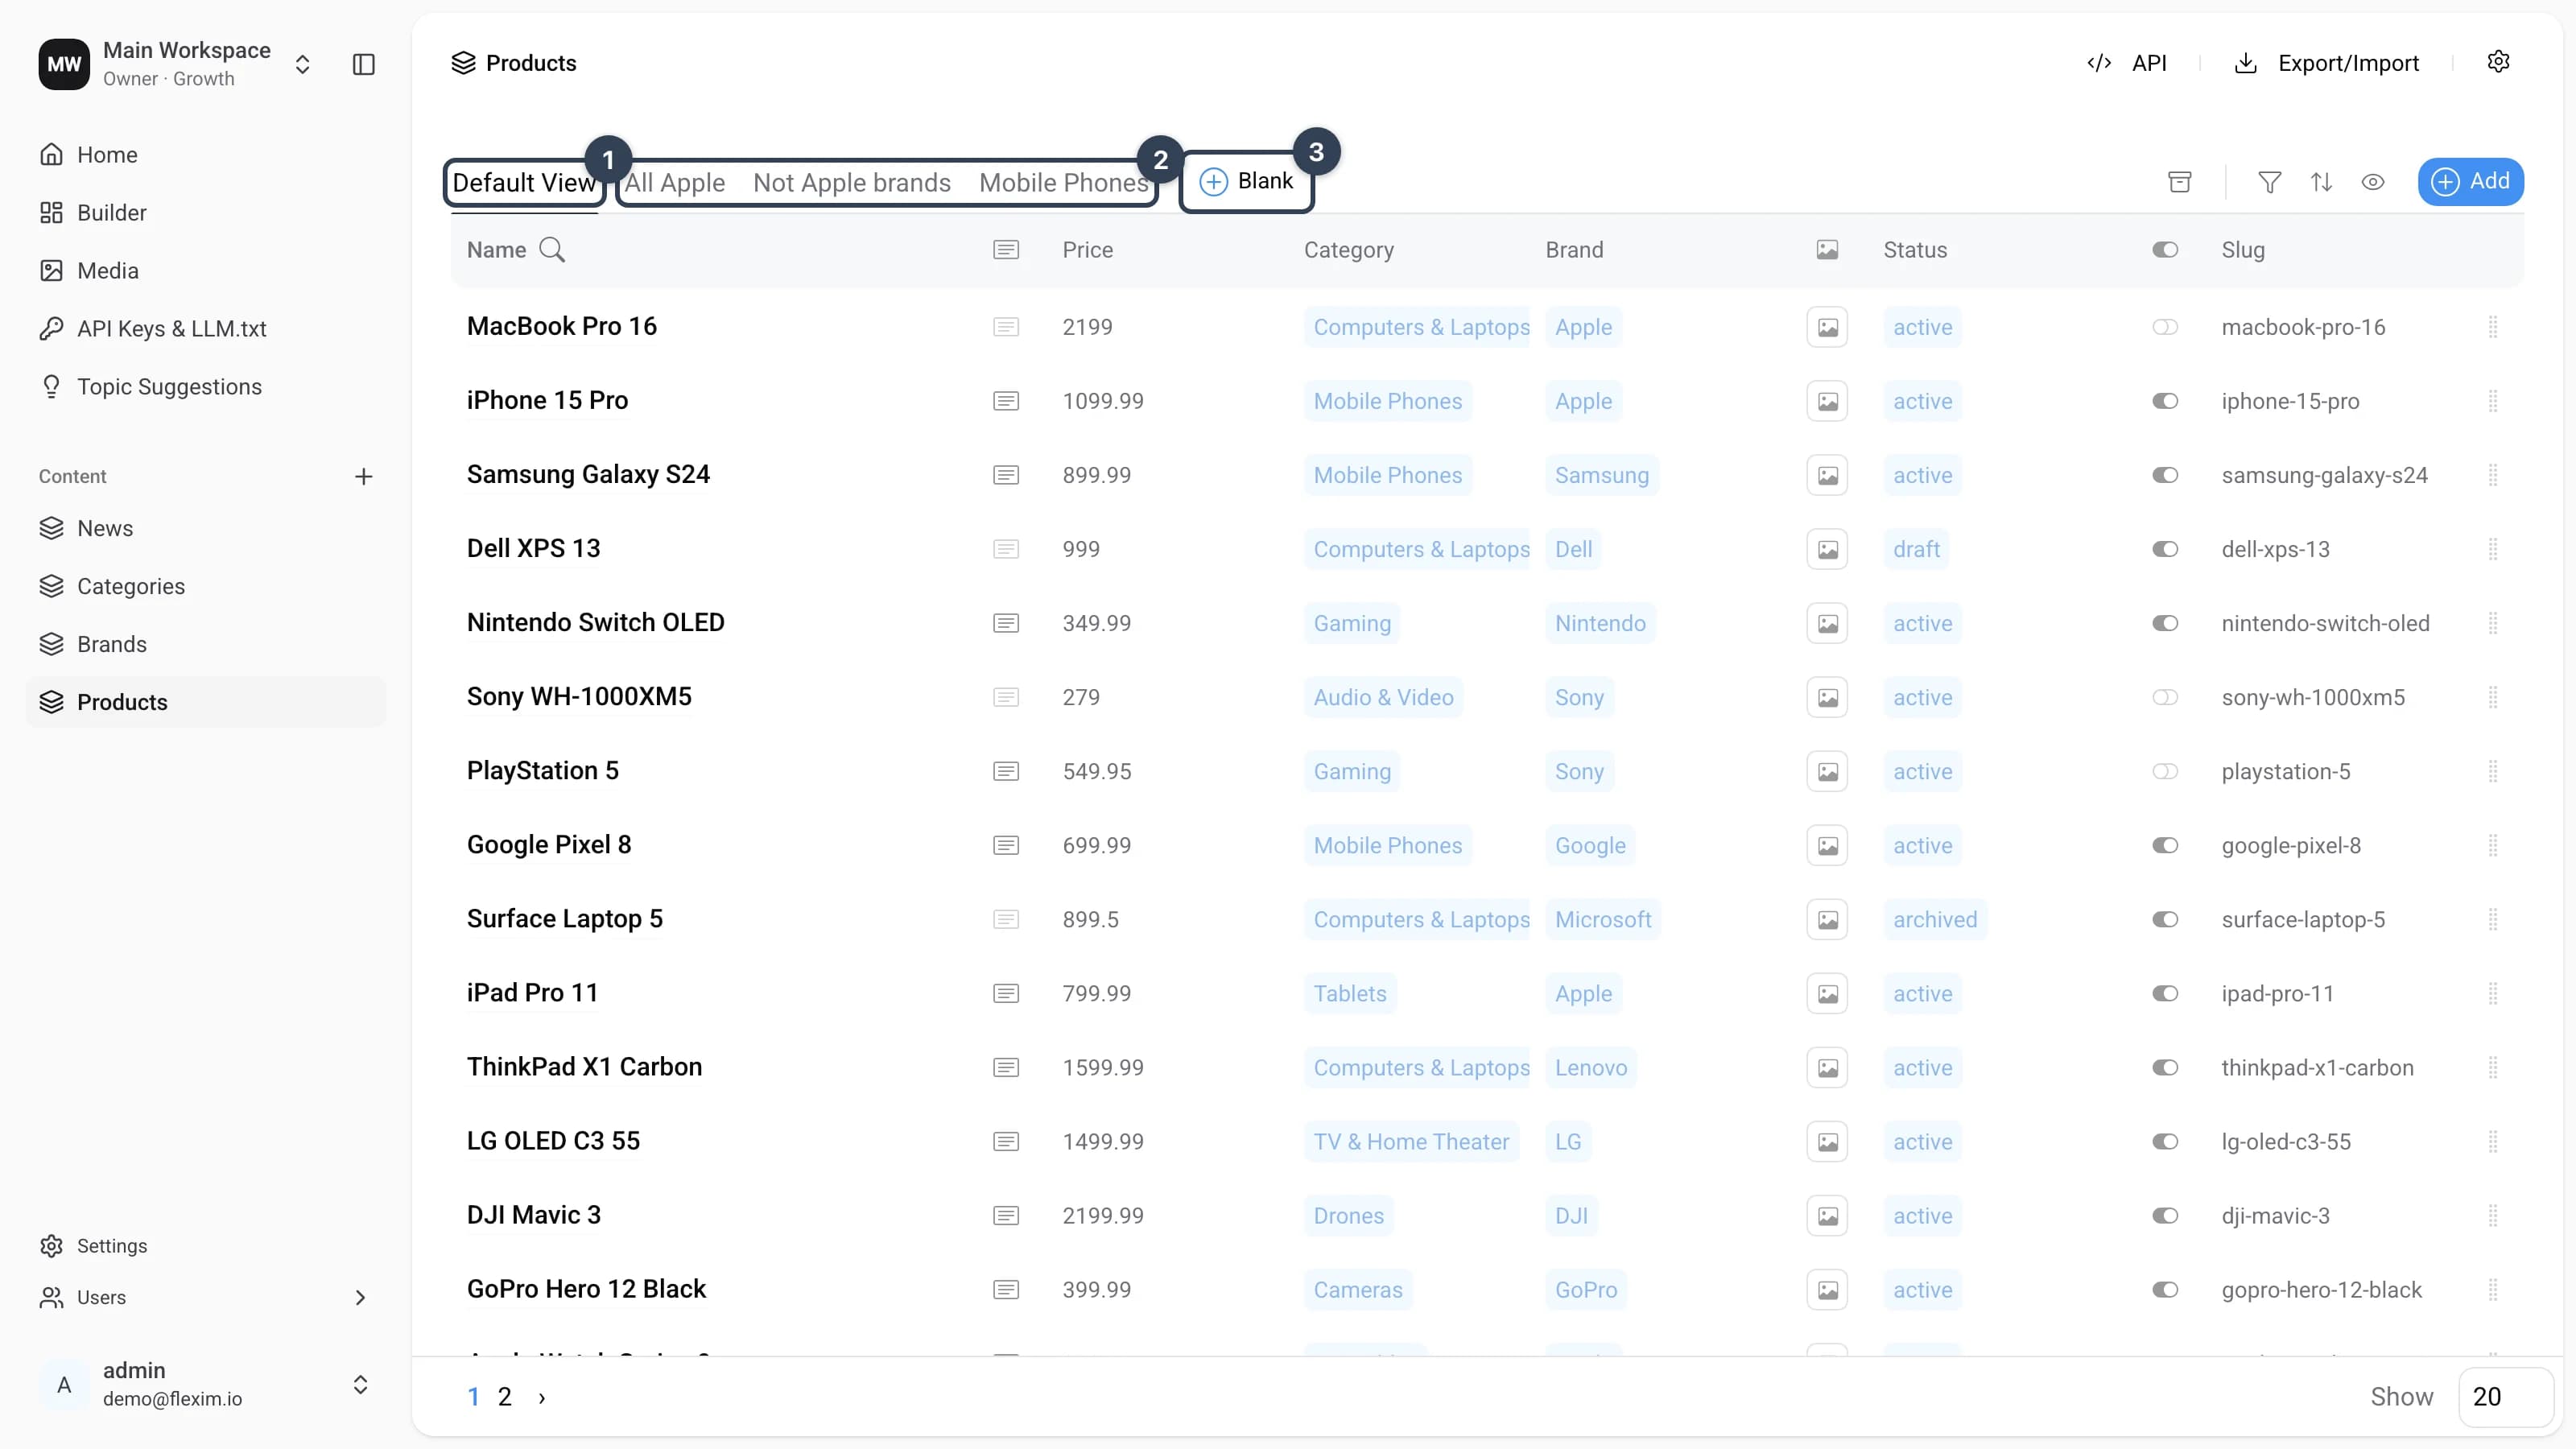
When working with a collection, you can save the current combination of filters, sorting, and displayed fields (hereinafter referred to as settings) as a view and reuse it later.
The views row at the top of the collection consists of three parts:
- Default View — the basic display. By default it has no active filters or sorting, and all fields are shown. You can still change and save settings on it.
- Custom views — the views you have added.
- Blank / Save as — the button for adding a new view. Use
Blankto add a clean view, orSave asto add a view together with the settings you have configured.
Creating a Blank View
A blank view is a display without filters or sorting, where all fields are shown. To create one:
-
Click
+ Blank.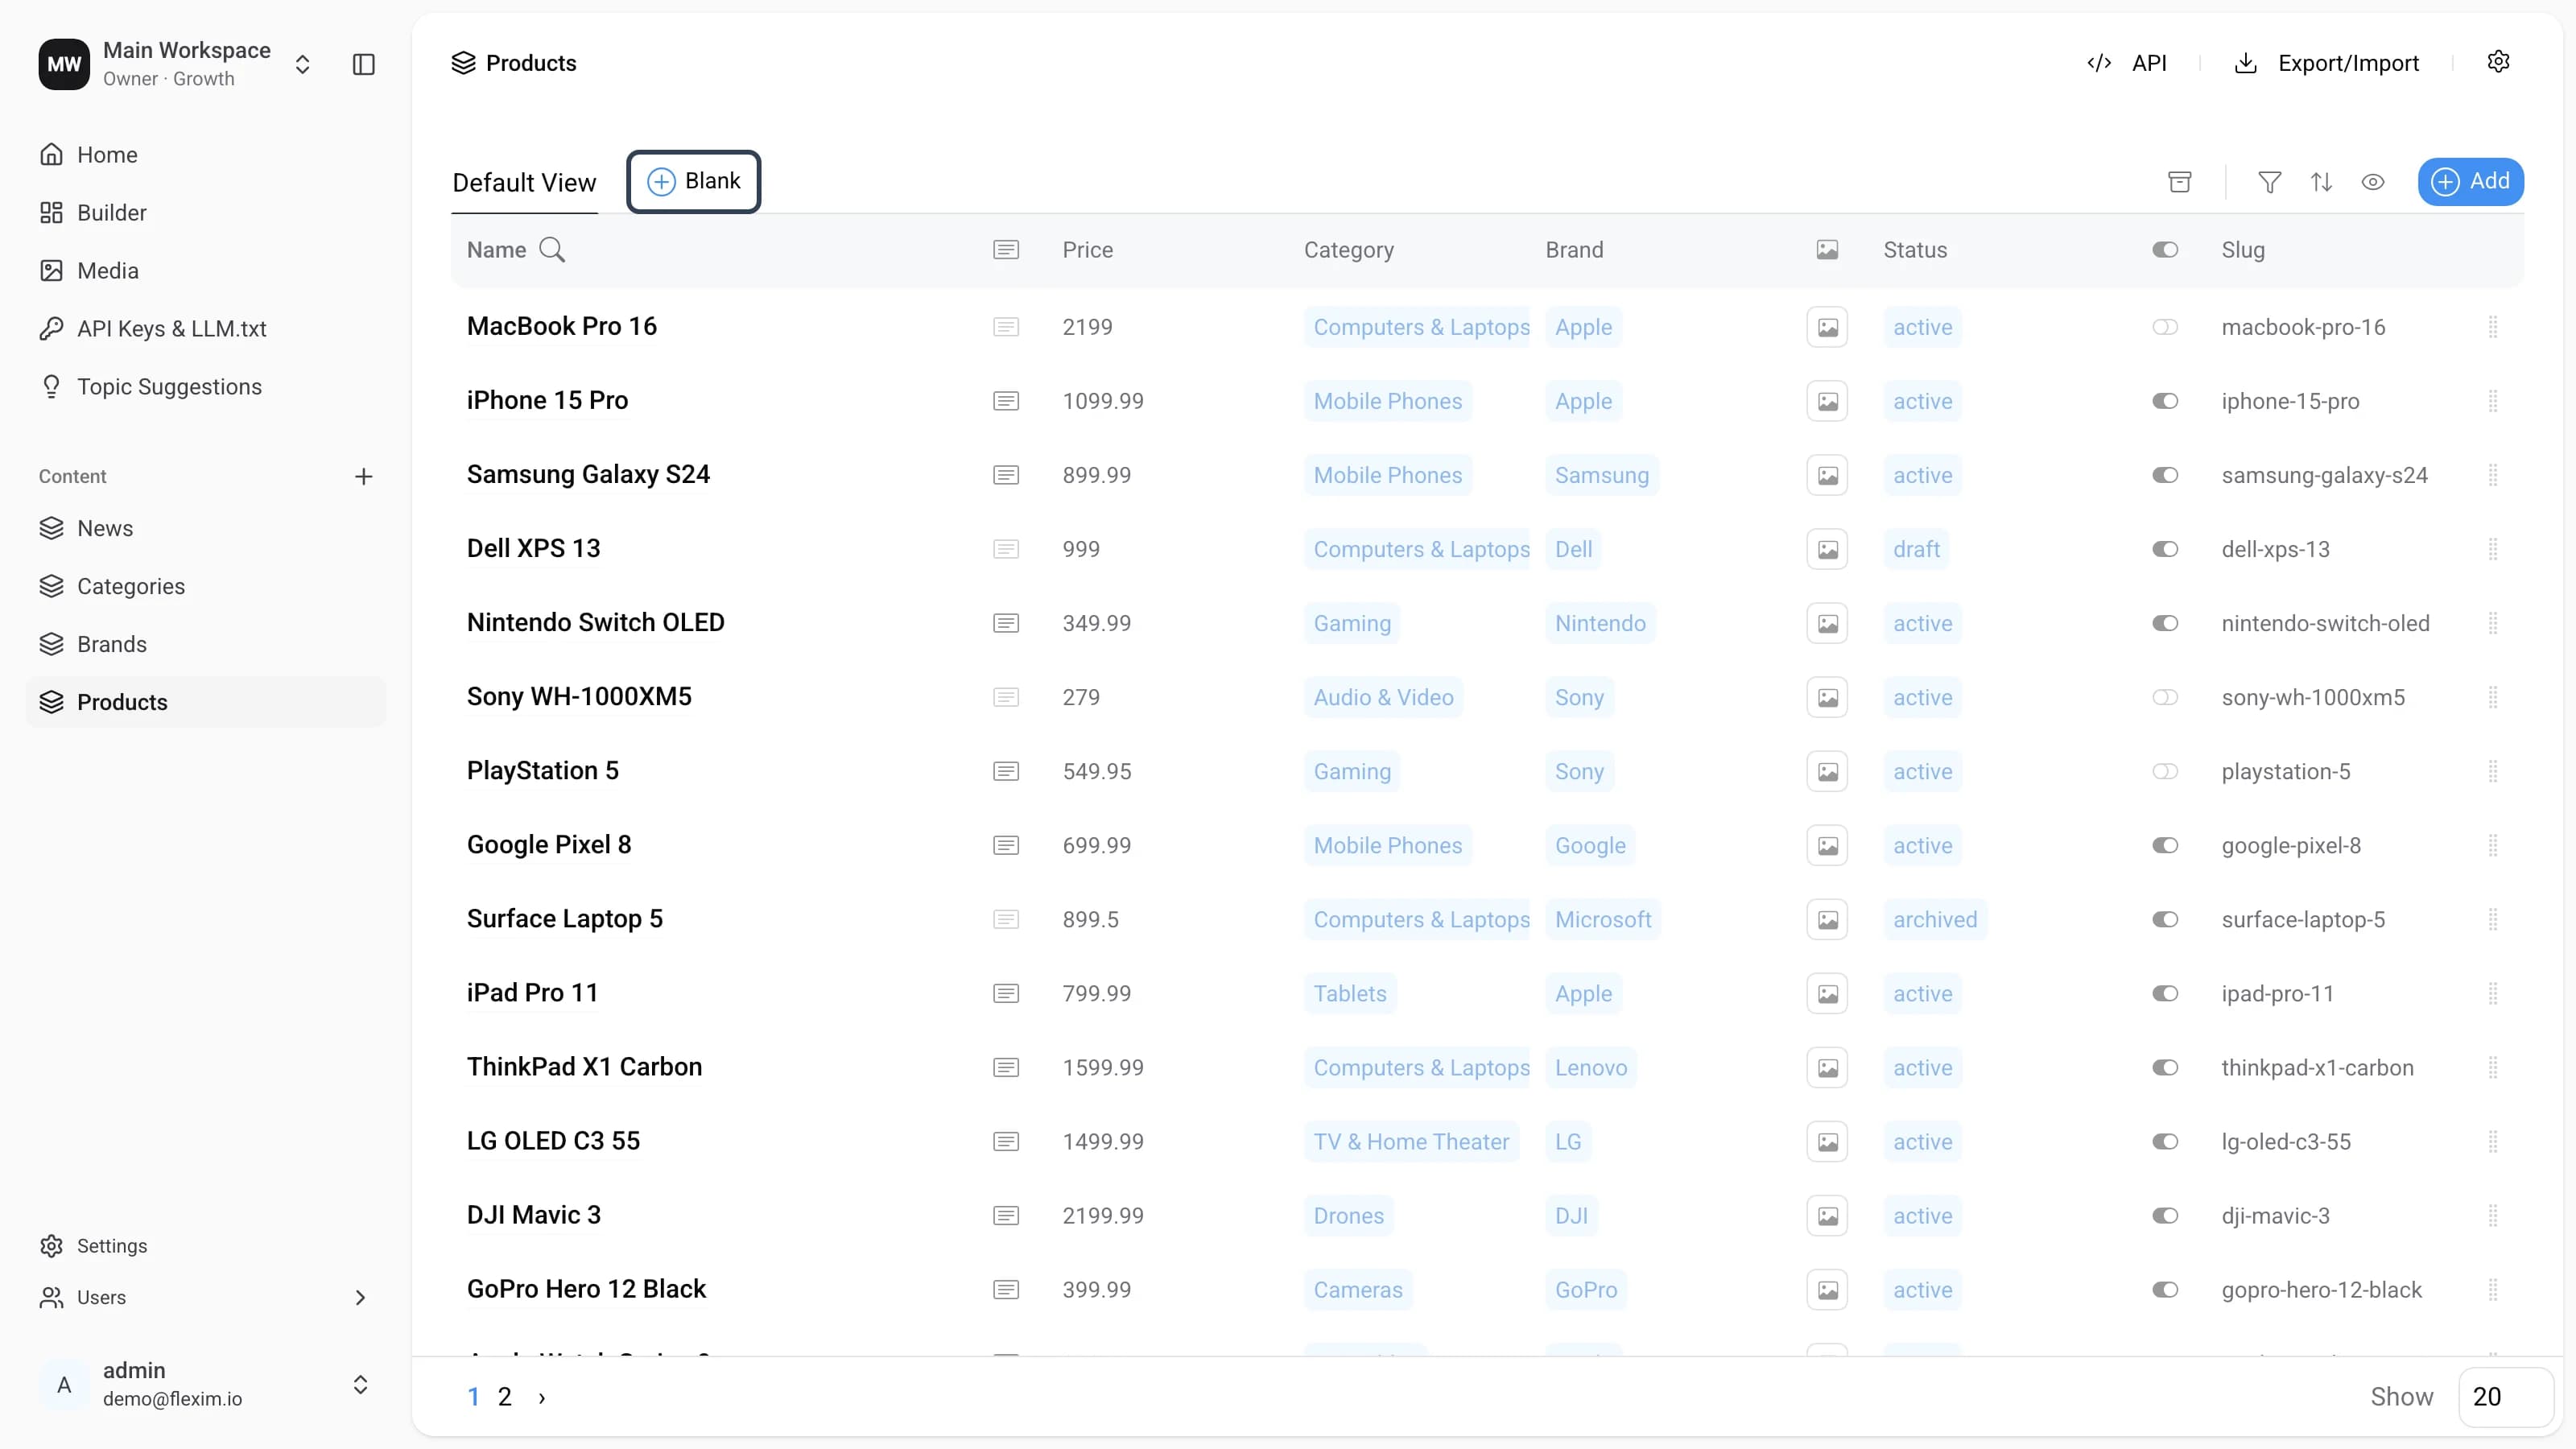
-
Fill in the input with a name. Click
Xto cancel, or✓to save the view.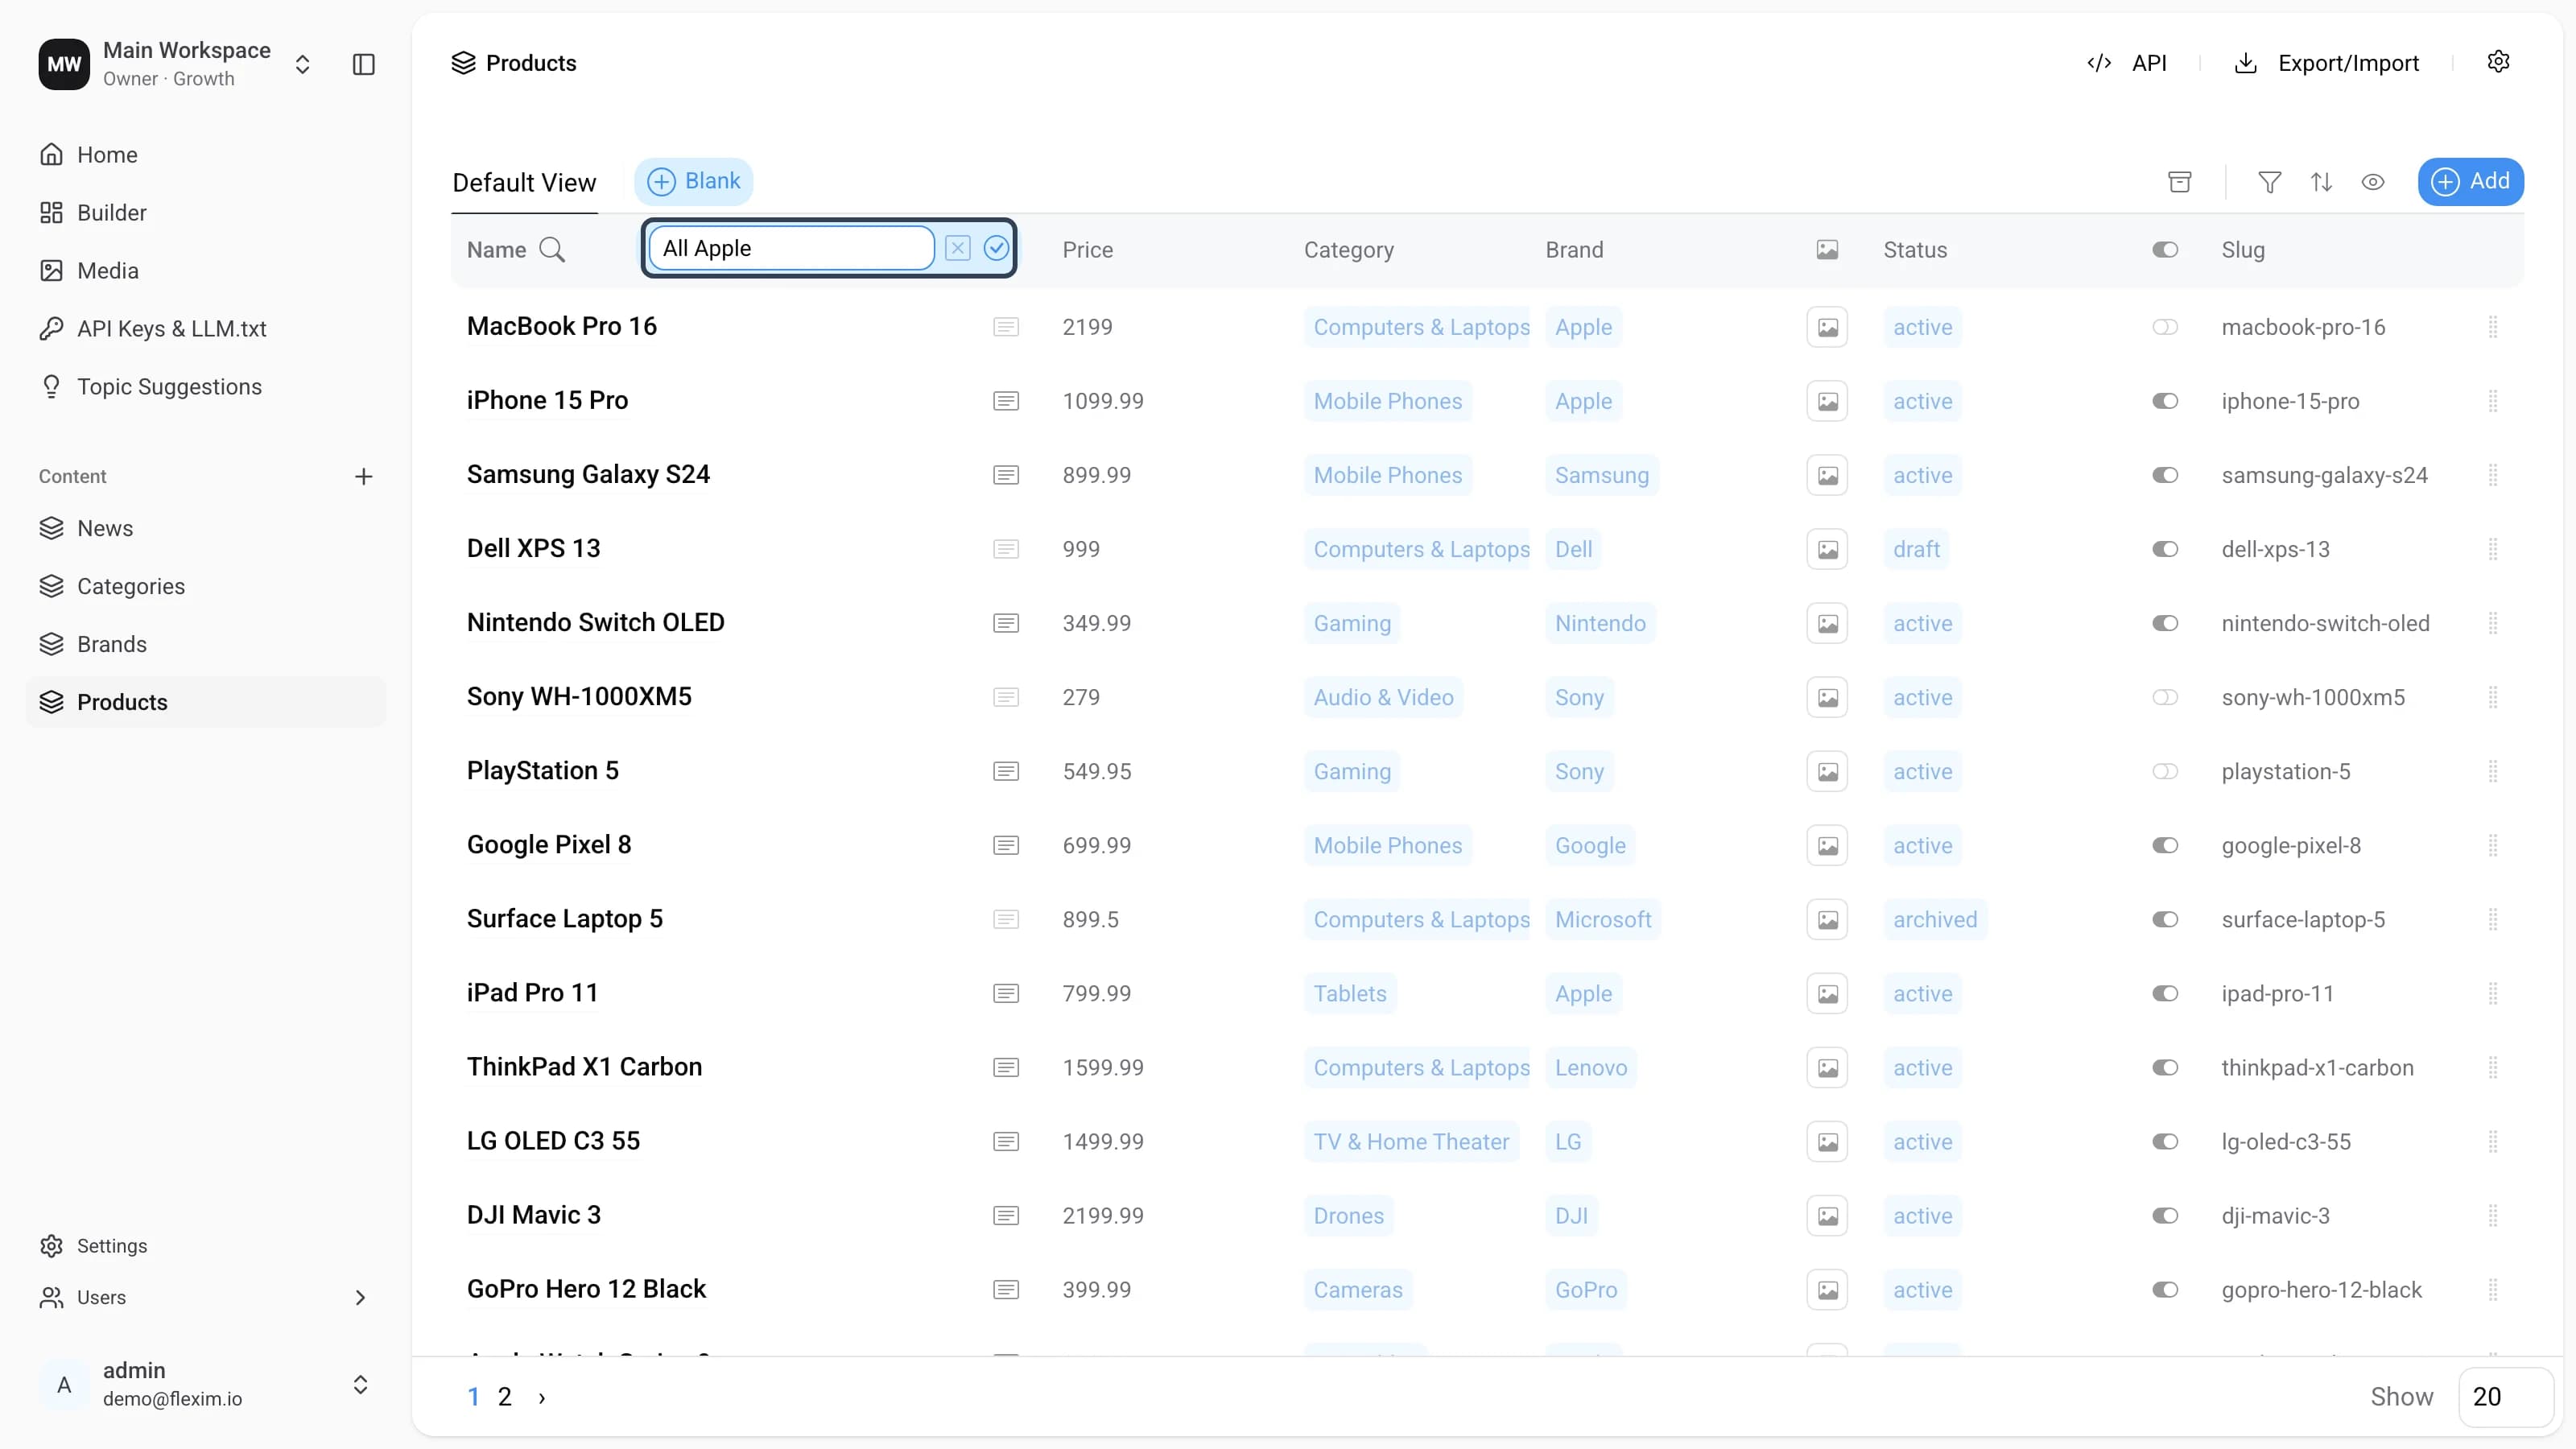
-
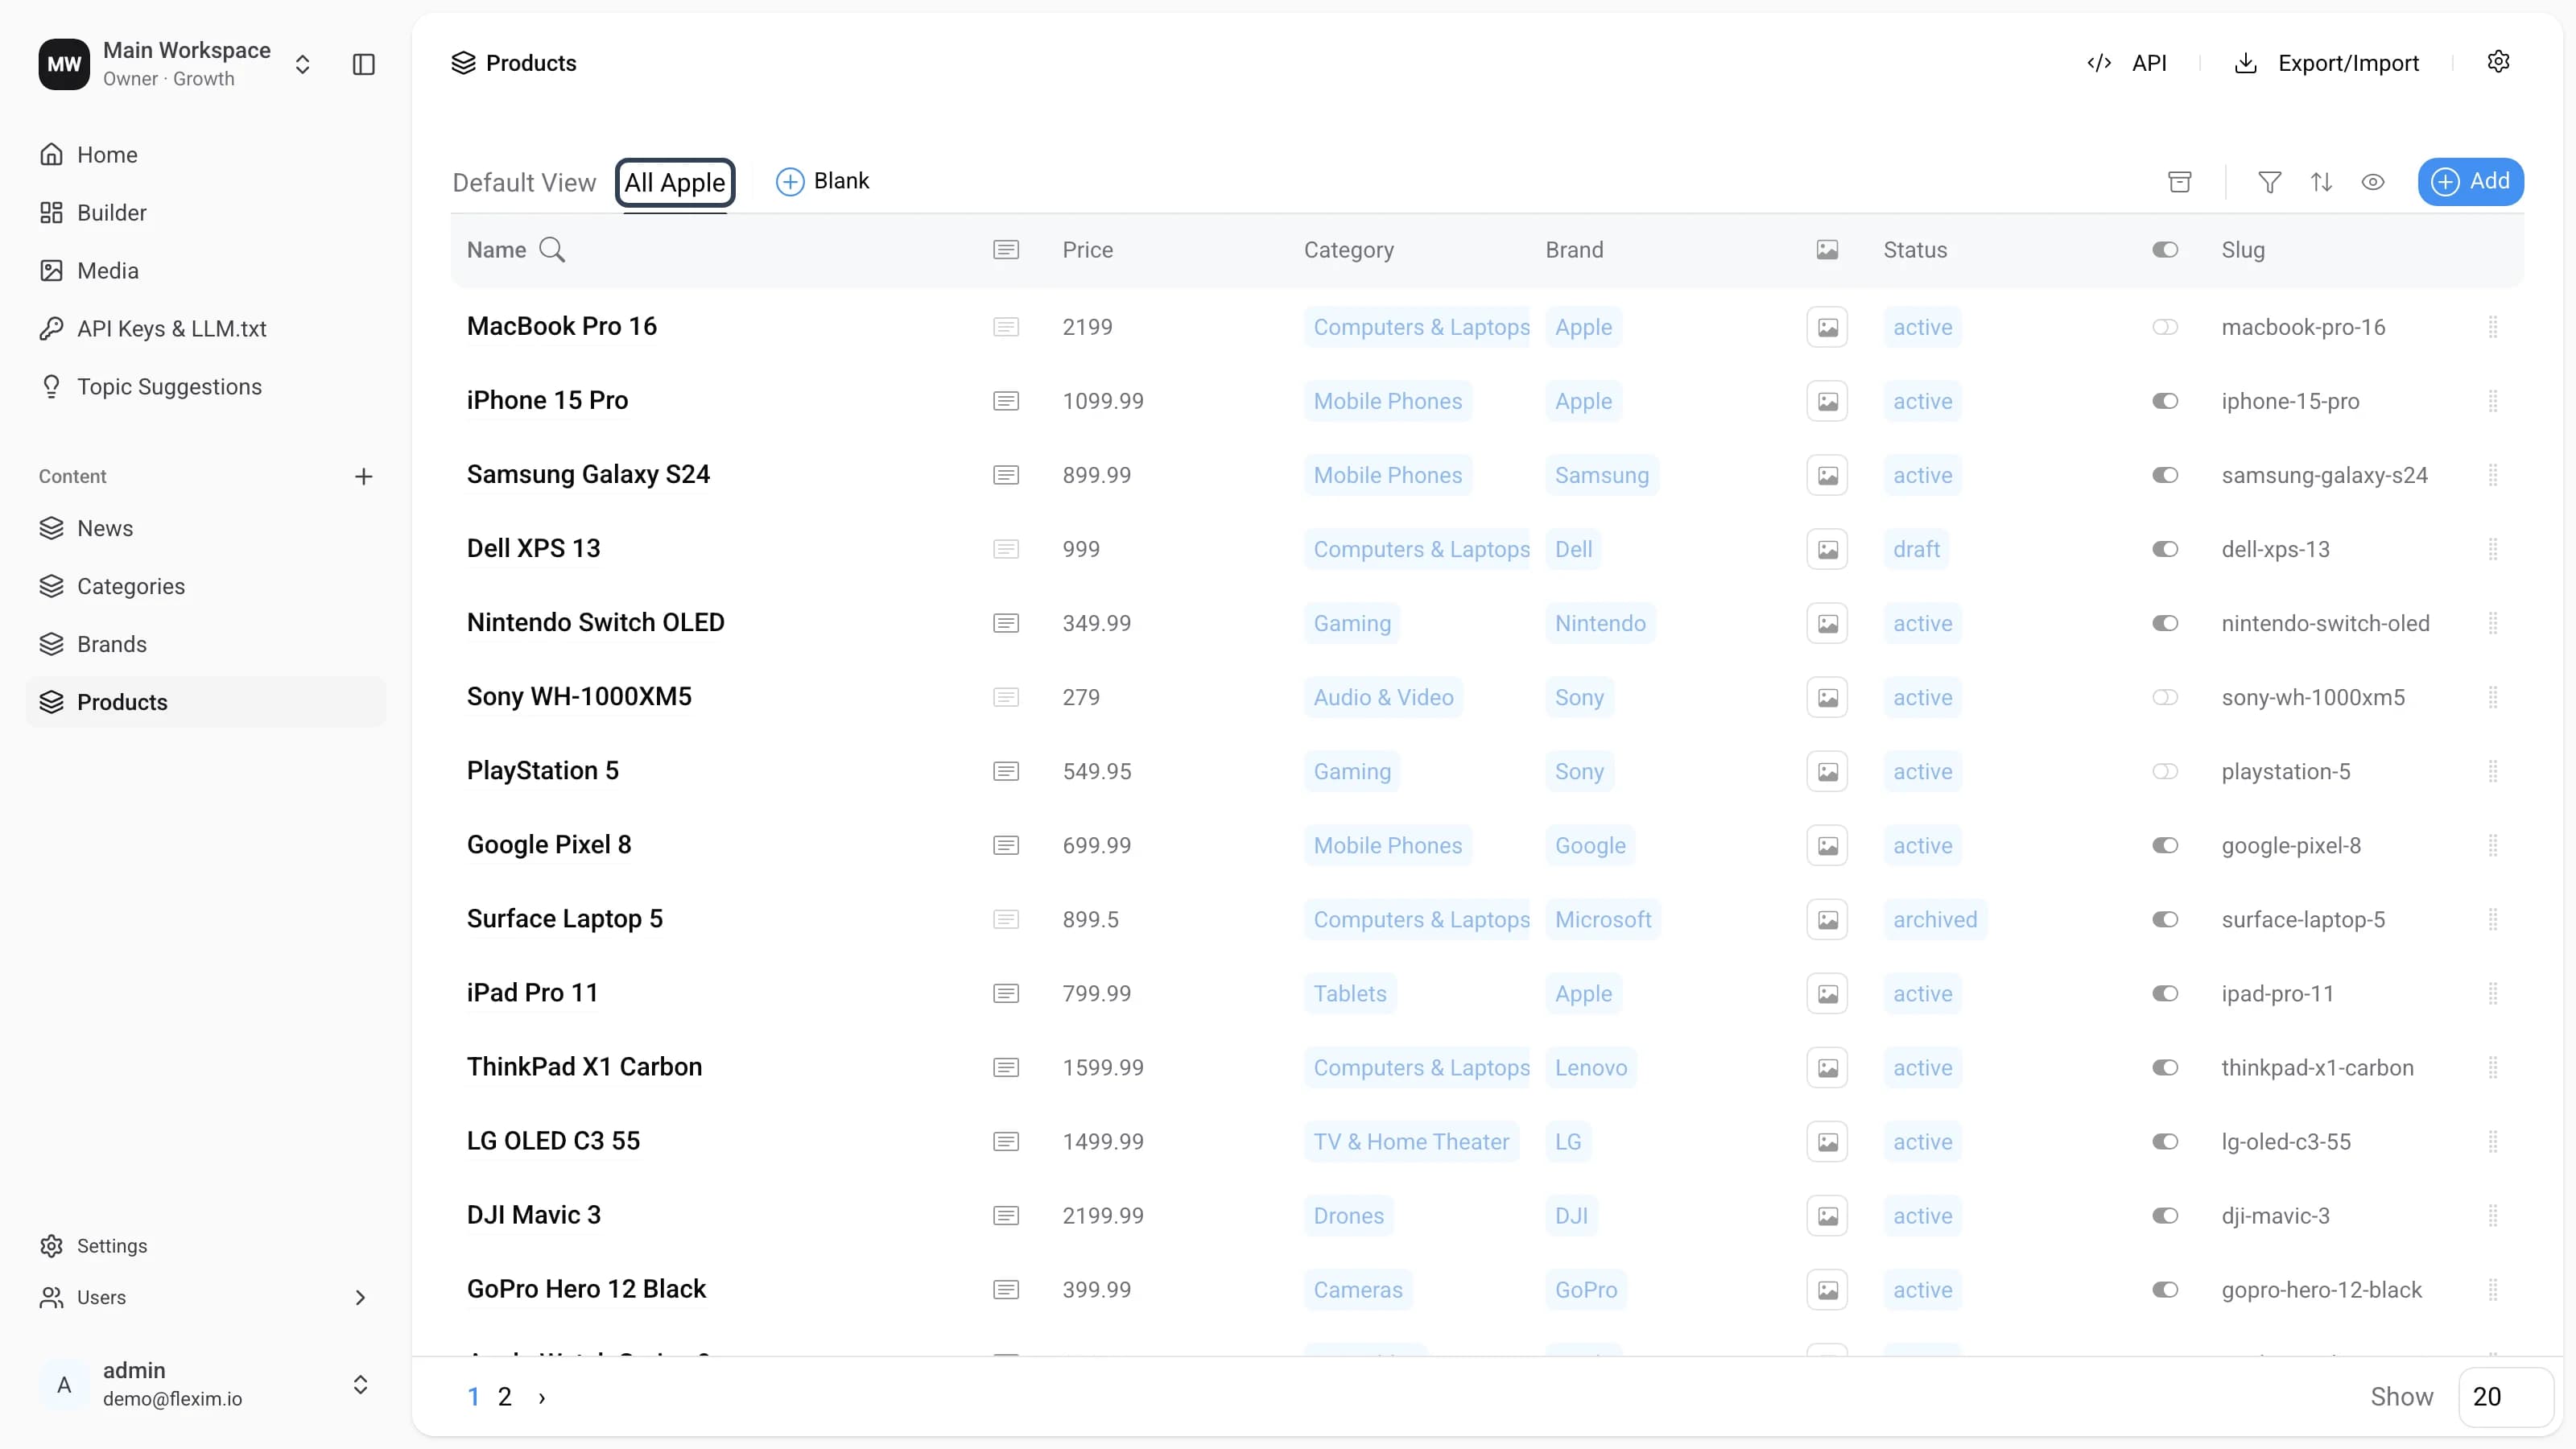
After the view is saved, you are switched to it automatically.
Changing the view
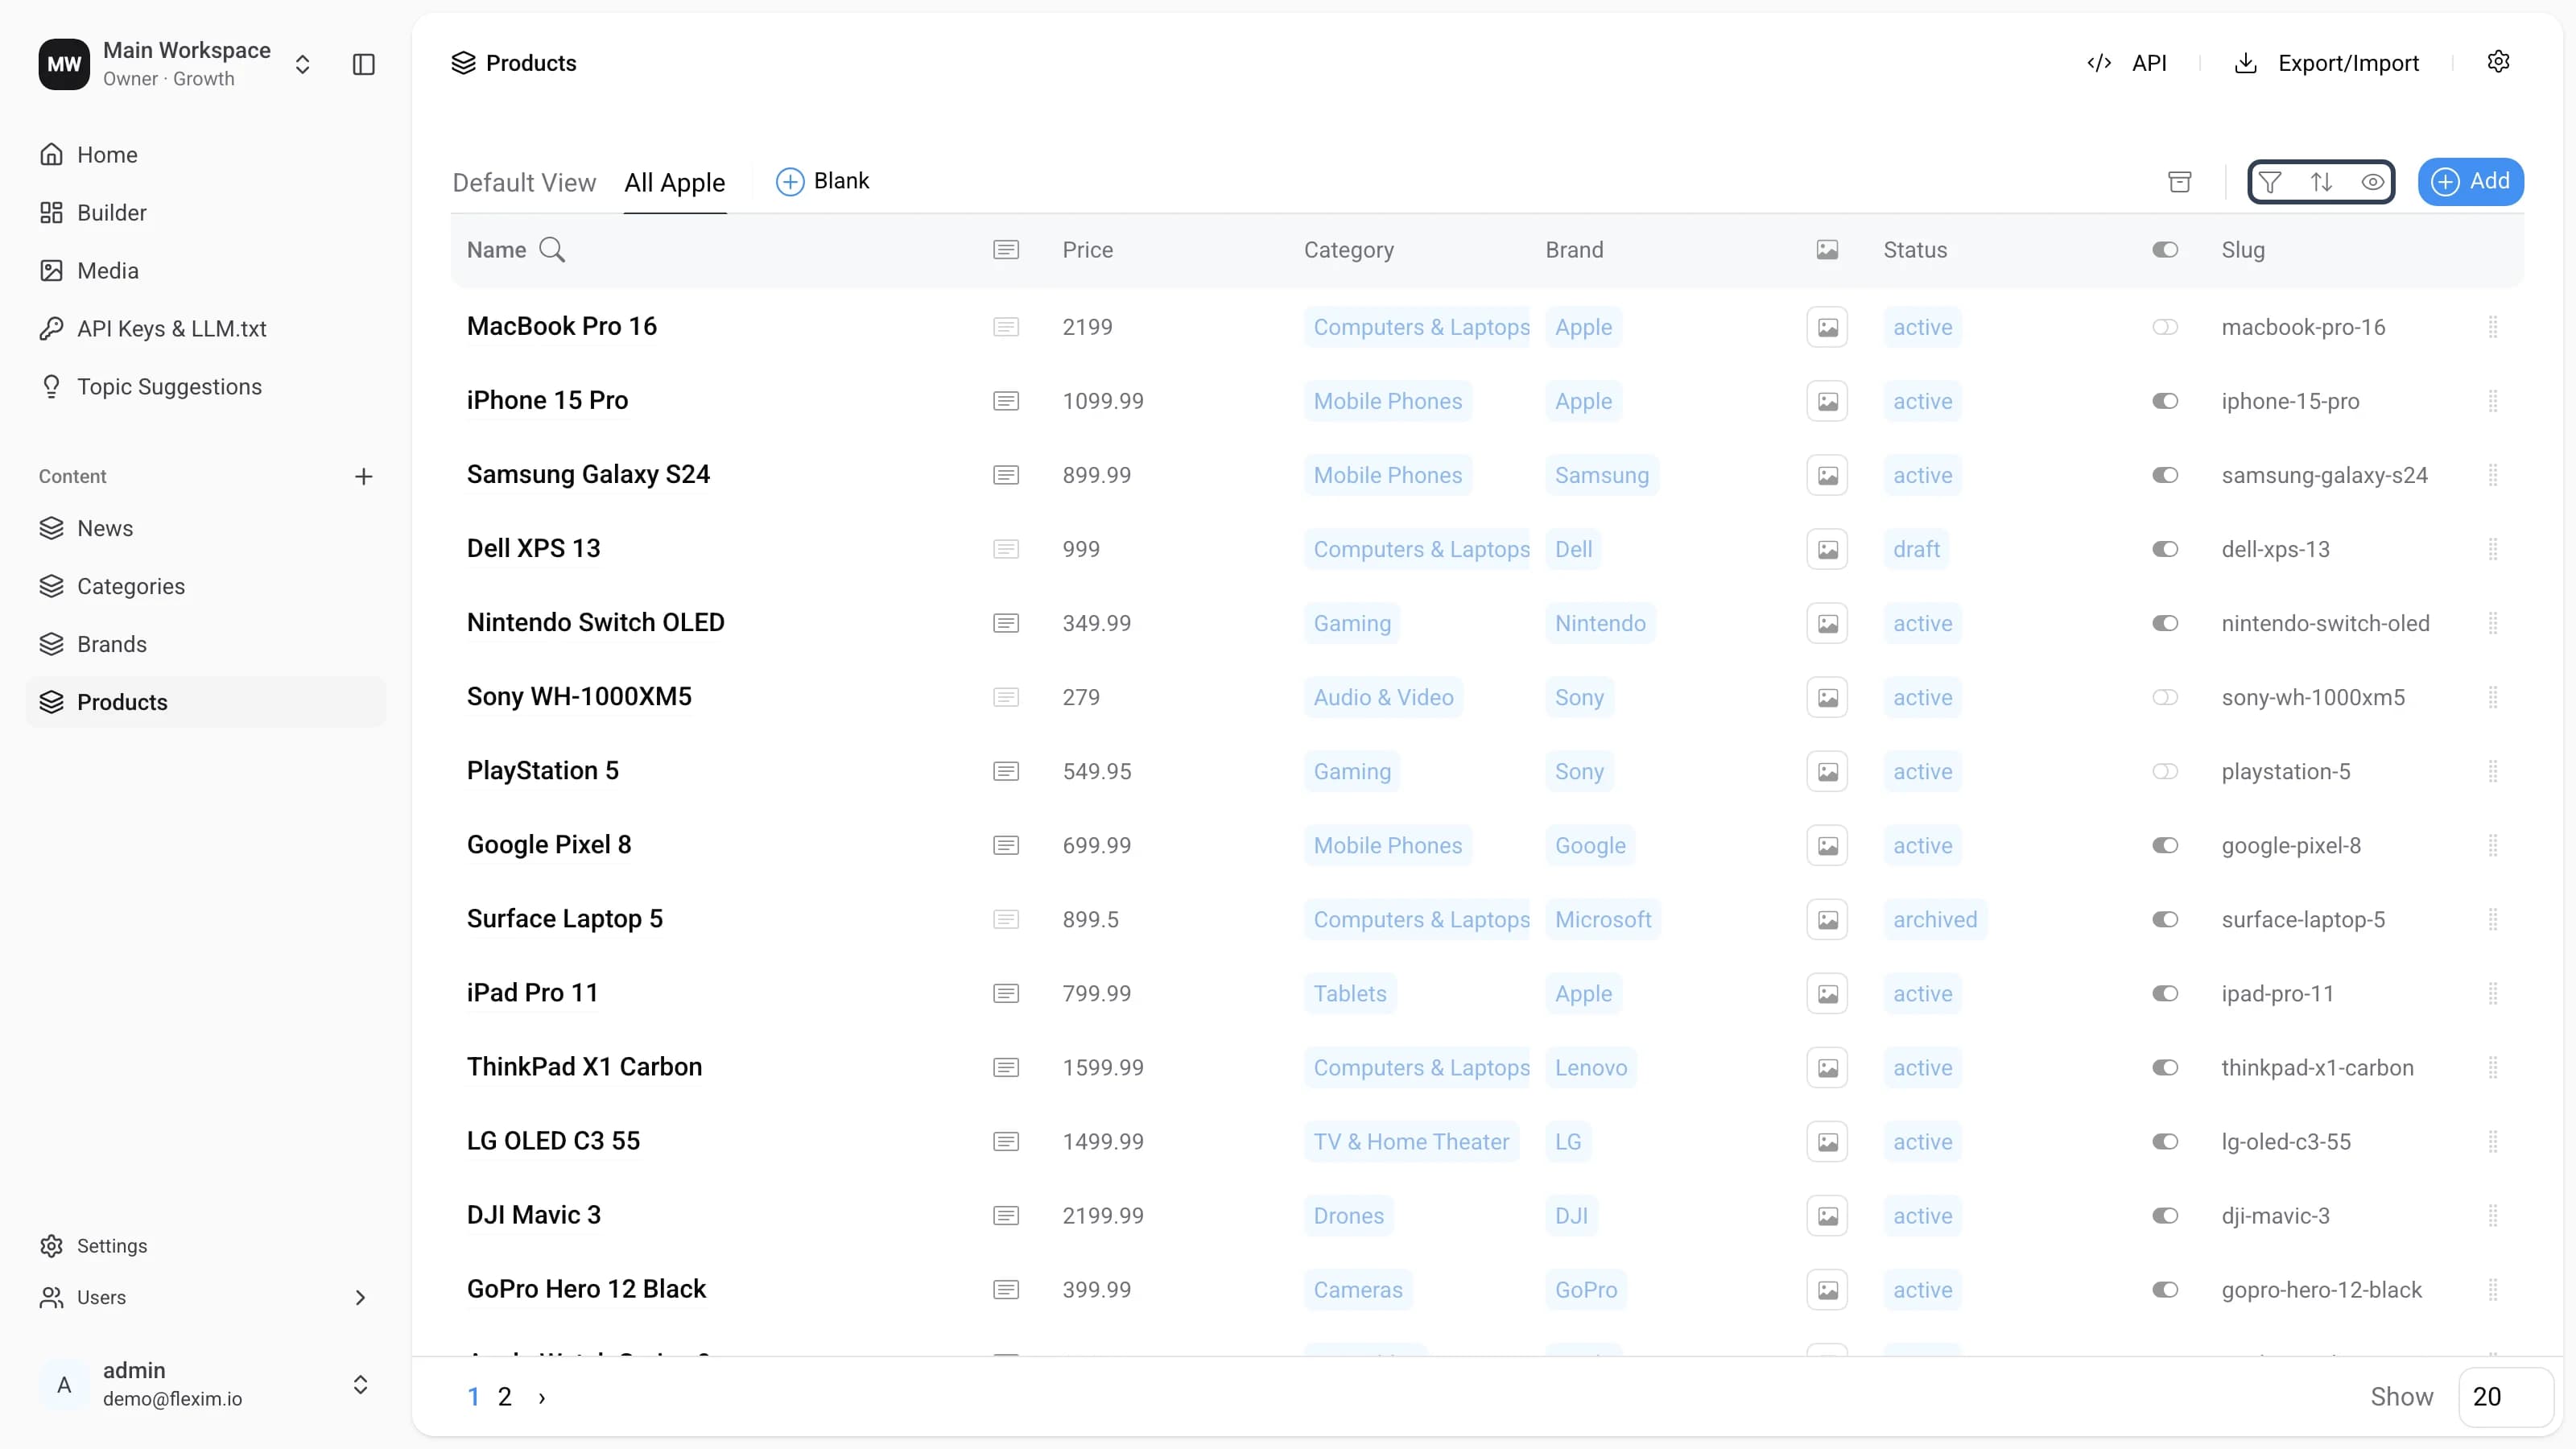
The filter, sorting, and field-visibility controls sit above the table on the right (funnel, sort, and eye icons).
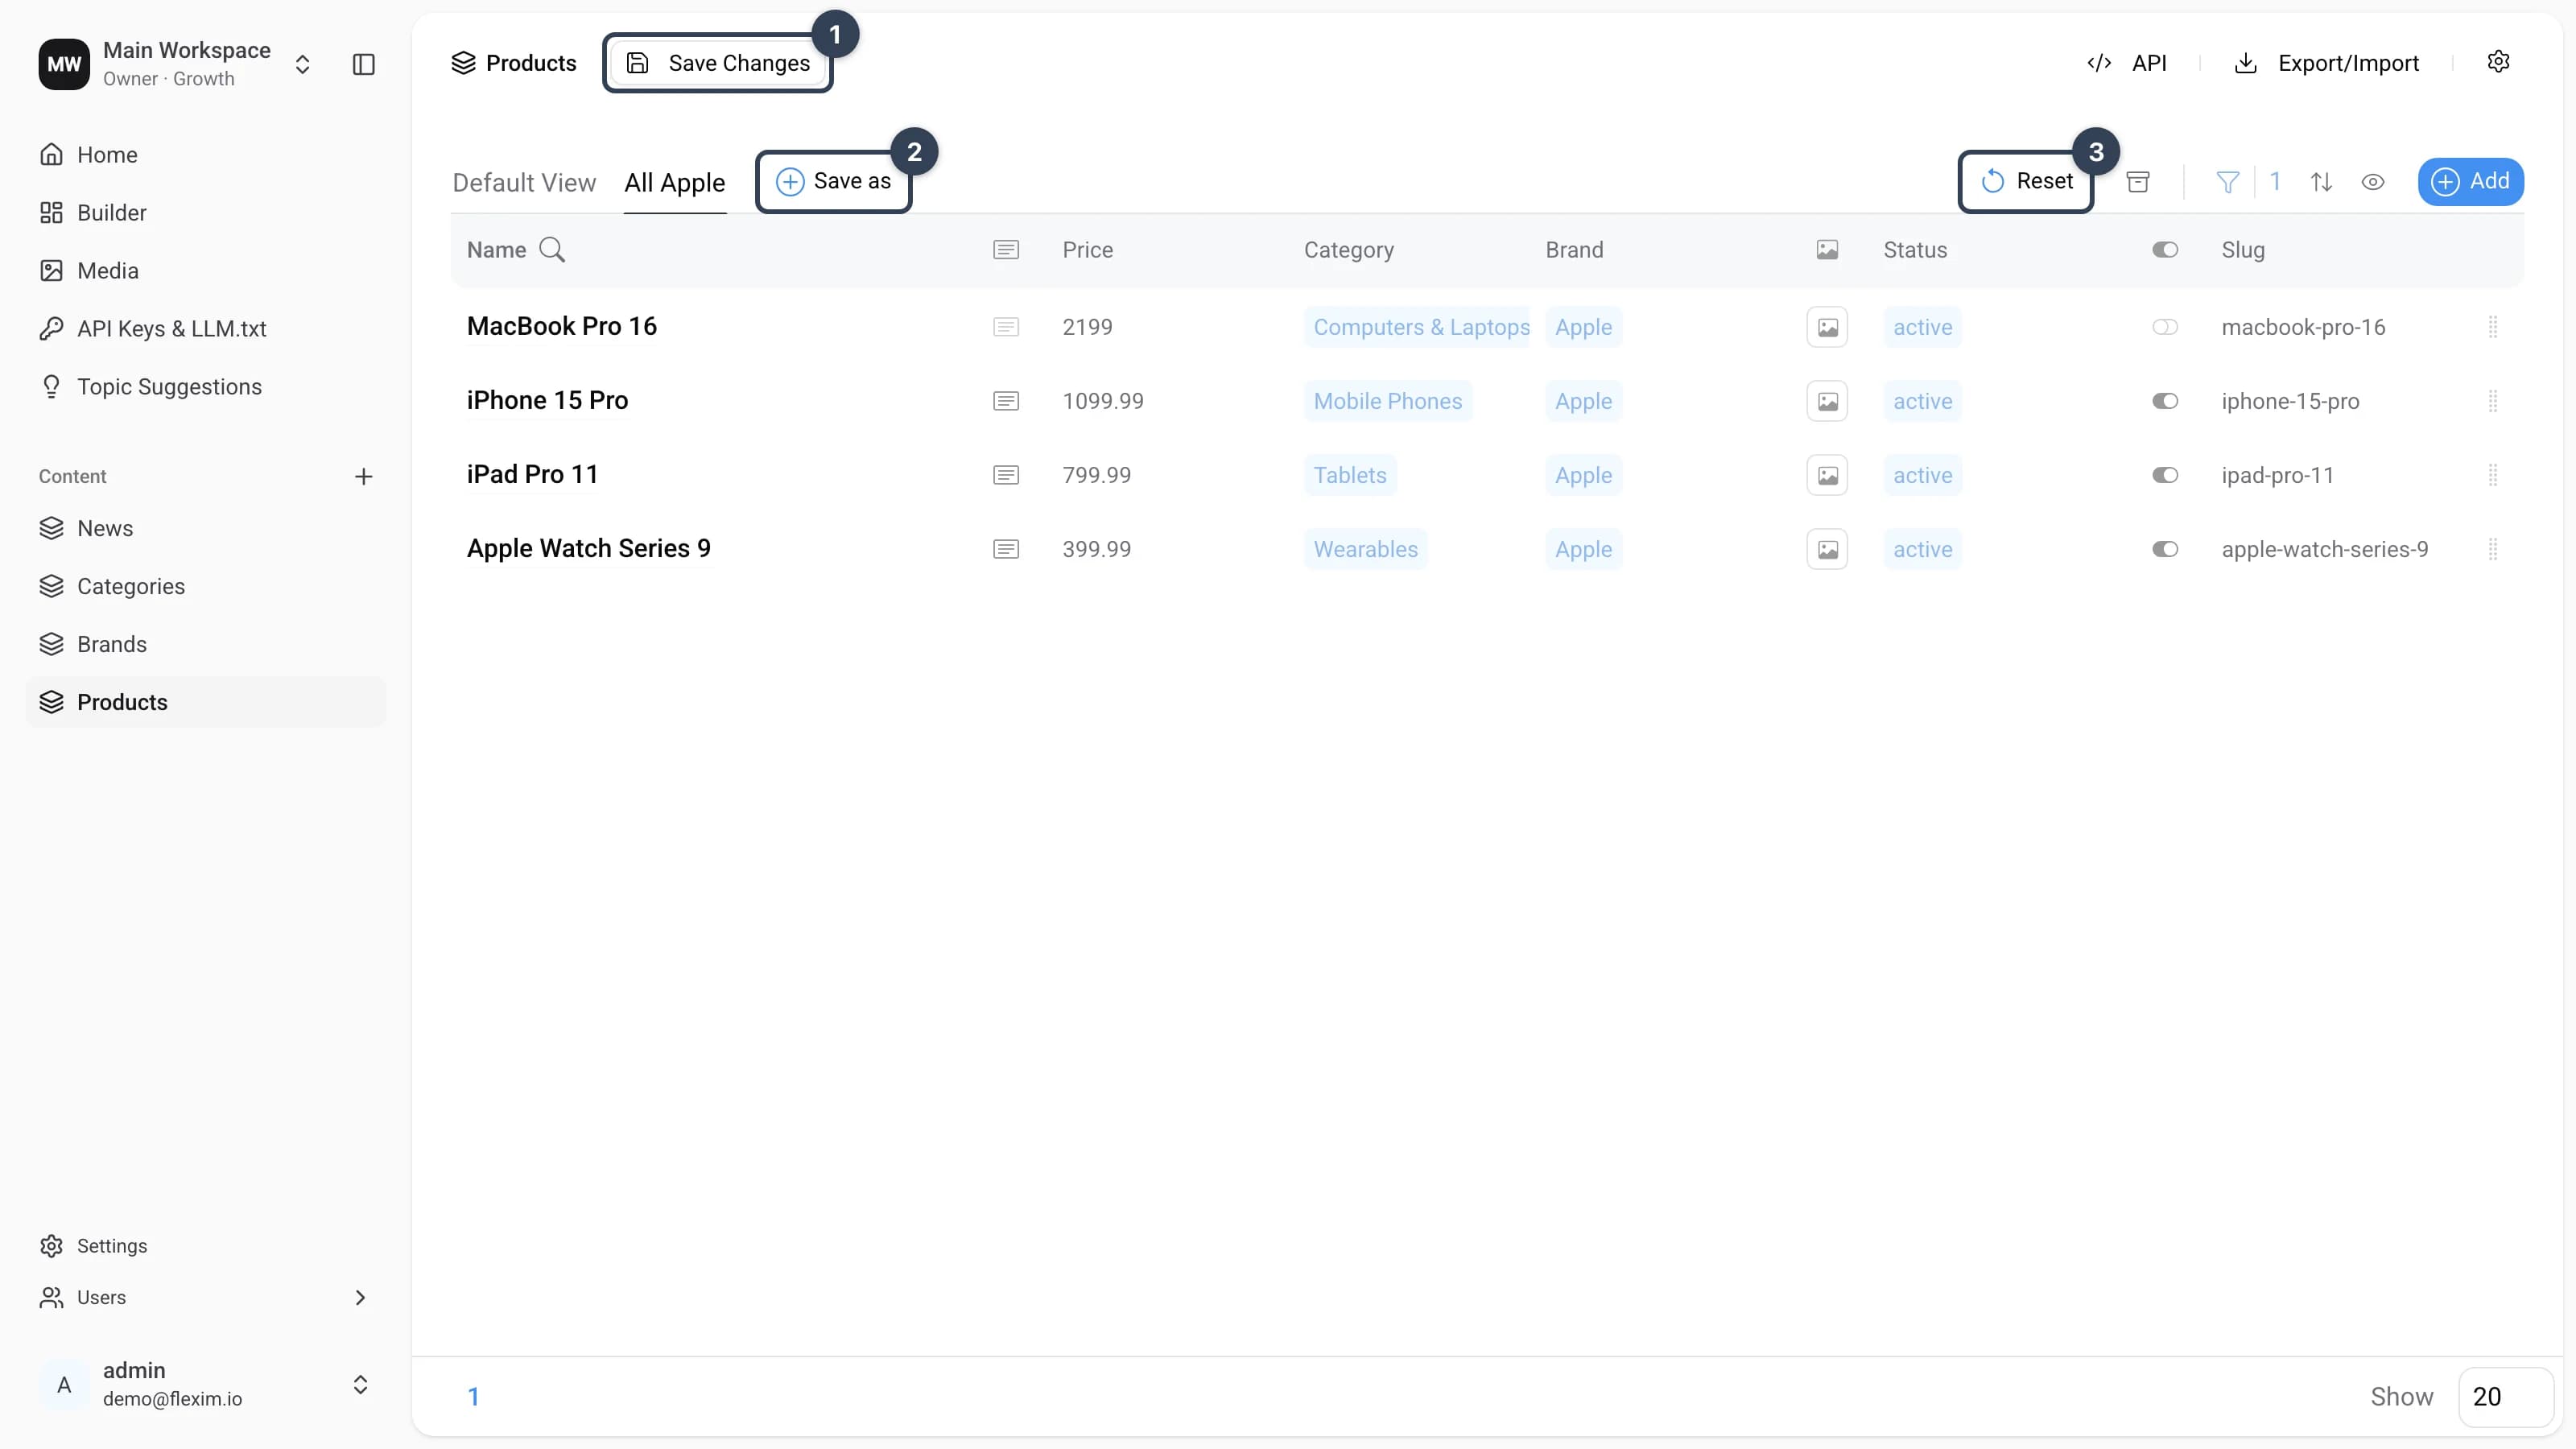
As soon as you change any of these settings — for example, add a filter for the Apple brand — the interface changes:
-
Save Changes
Appears in the top bar whenever the settings differ from what is saved. It is a reminder: "you changed something — save it if you don't want to lose it." Clicking it stores all the new settings in the current view. After a short saving animation the button disappears until the next change.
Note: after you press
Save Changes, theSave asbutton turns back intoBlank, because there are no unsaved changes anymore. -
Save as
The
Blankbutton turns intoSave aswhen the current view has unsaved changes. It saves those settings into a new view. The steps after clicking are the same as forBlank. Once saved, you land on the new view, where there are no unsaved changes, so theBlankbutton is shown again.If instead you want a clean view without these settings, press
Resetfirst — the button changes back toBlank. -
Reset
Appears when there are unsaved settings. It discards all changes made since the last save. After clicking, it disappears, the
Save asbutton turns back intoBlank, andSave Changesgoes away.
Examples of use
-
Open the saved view
All Apple. It has a saved filter by brand. We realize we forgot to add sorting by category, so we enable it and thereby change the view's settings.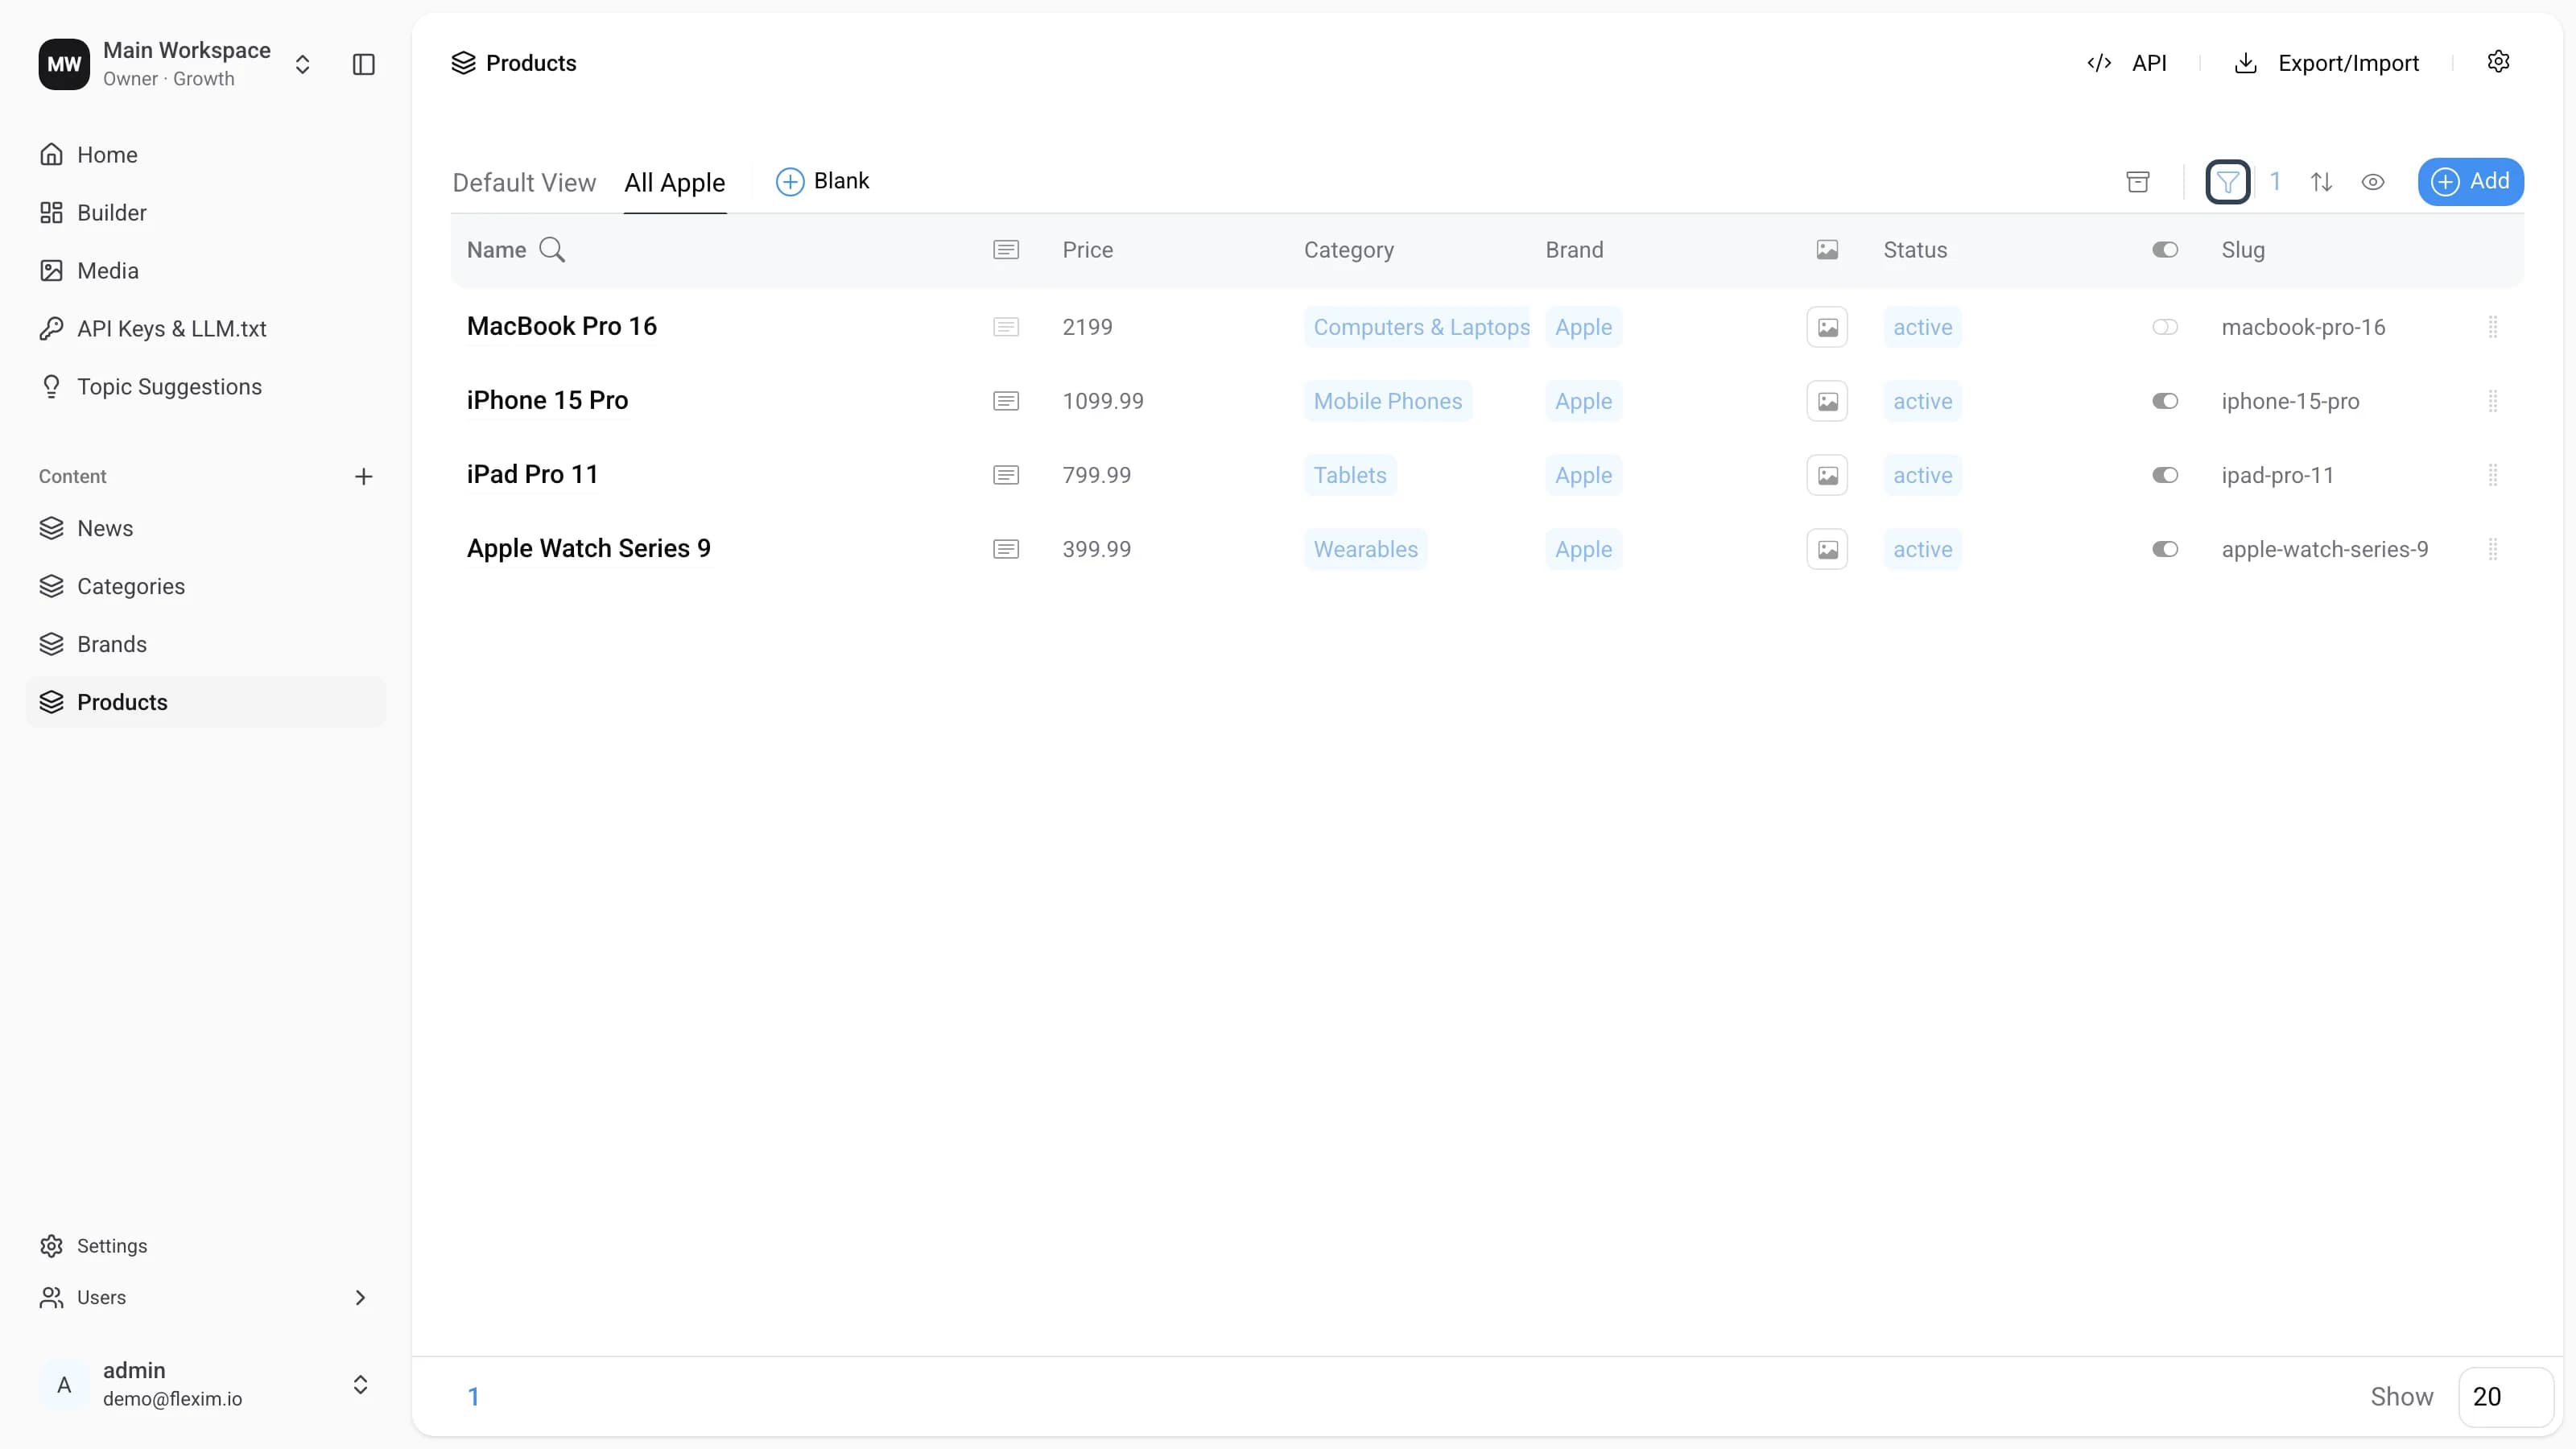
-
Sorting by category is on, and the
Save Changes,Save as, andResetbuttons appear. We want to keep these changes, so we clickSave Changes.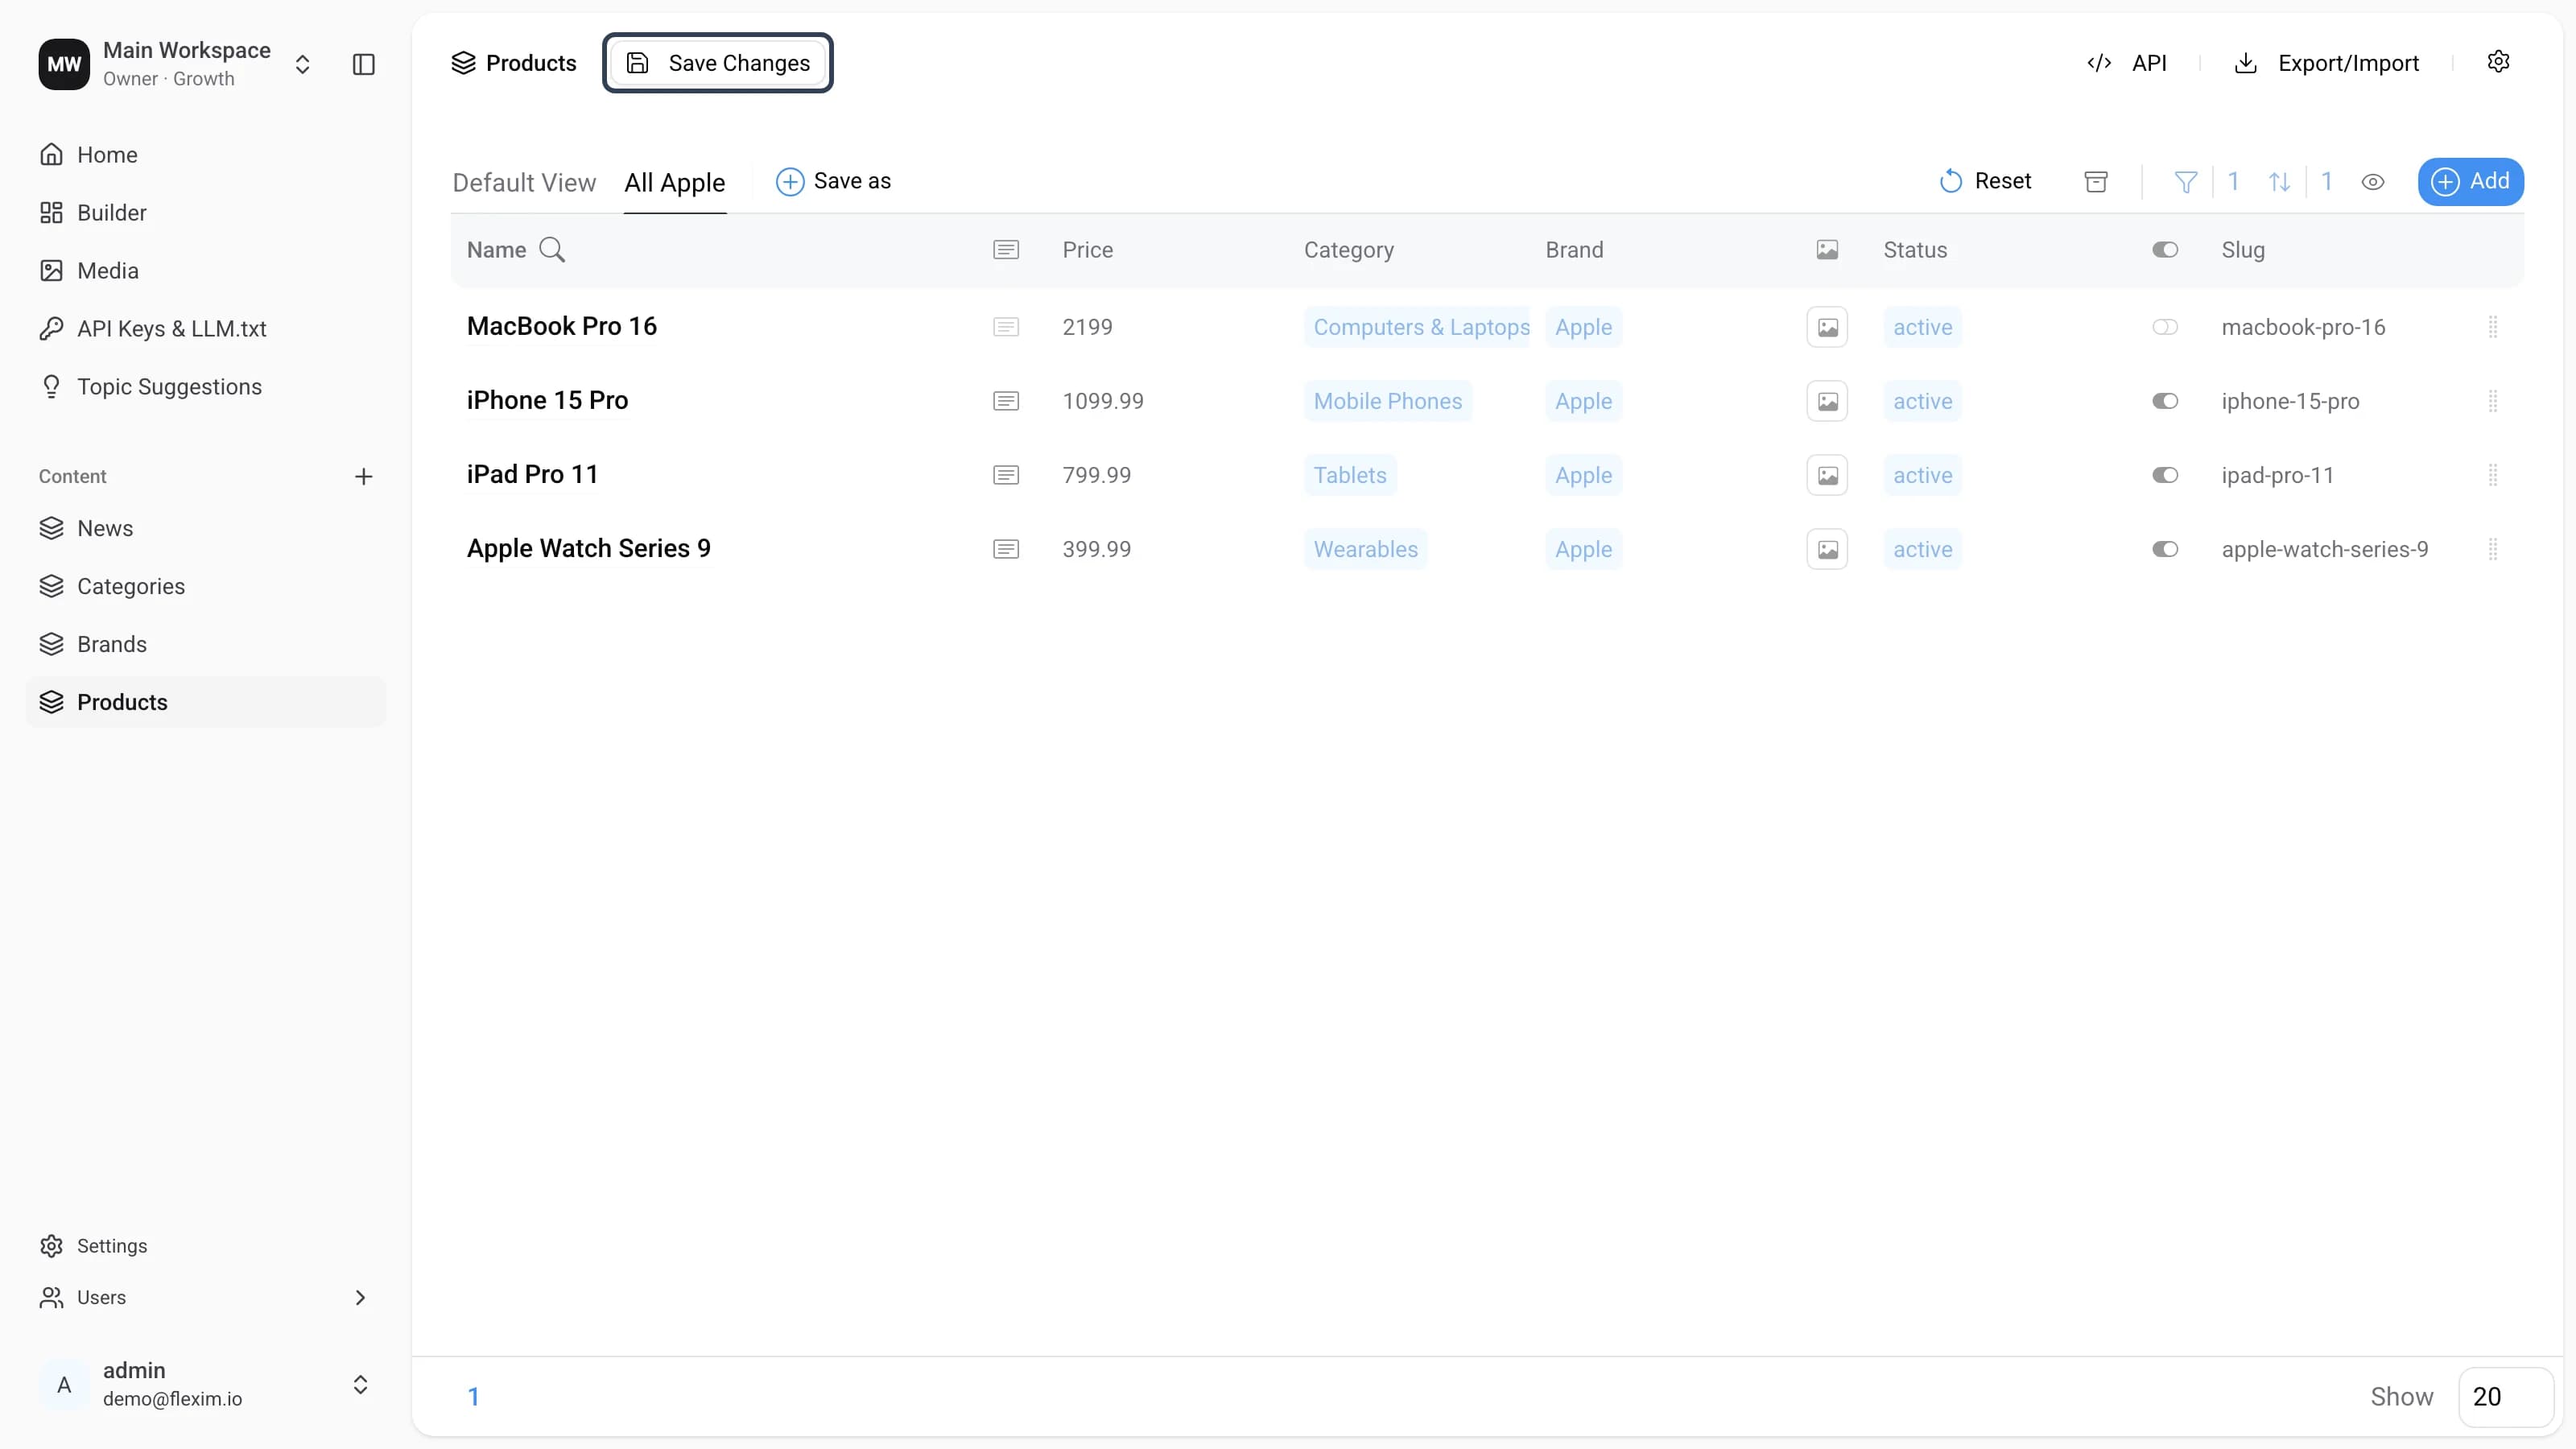
-
The changes are saved and the view is ready. Now we want a similar view, but for every brand except Apple. Rather than starting from scratch, we change the filter of the current view.
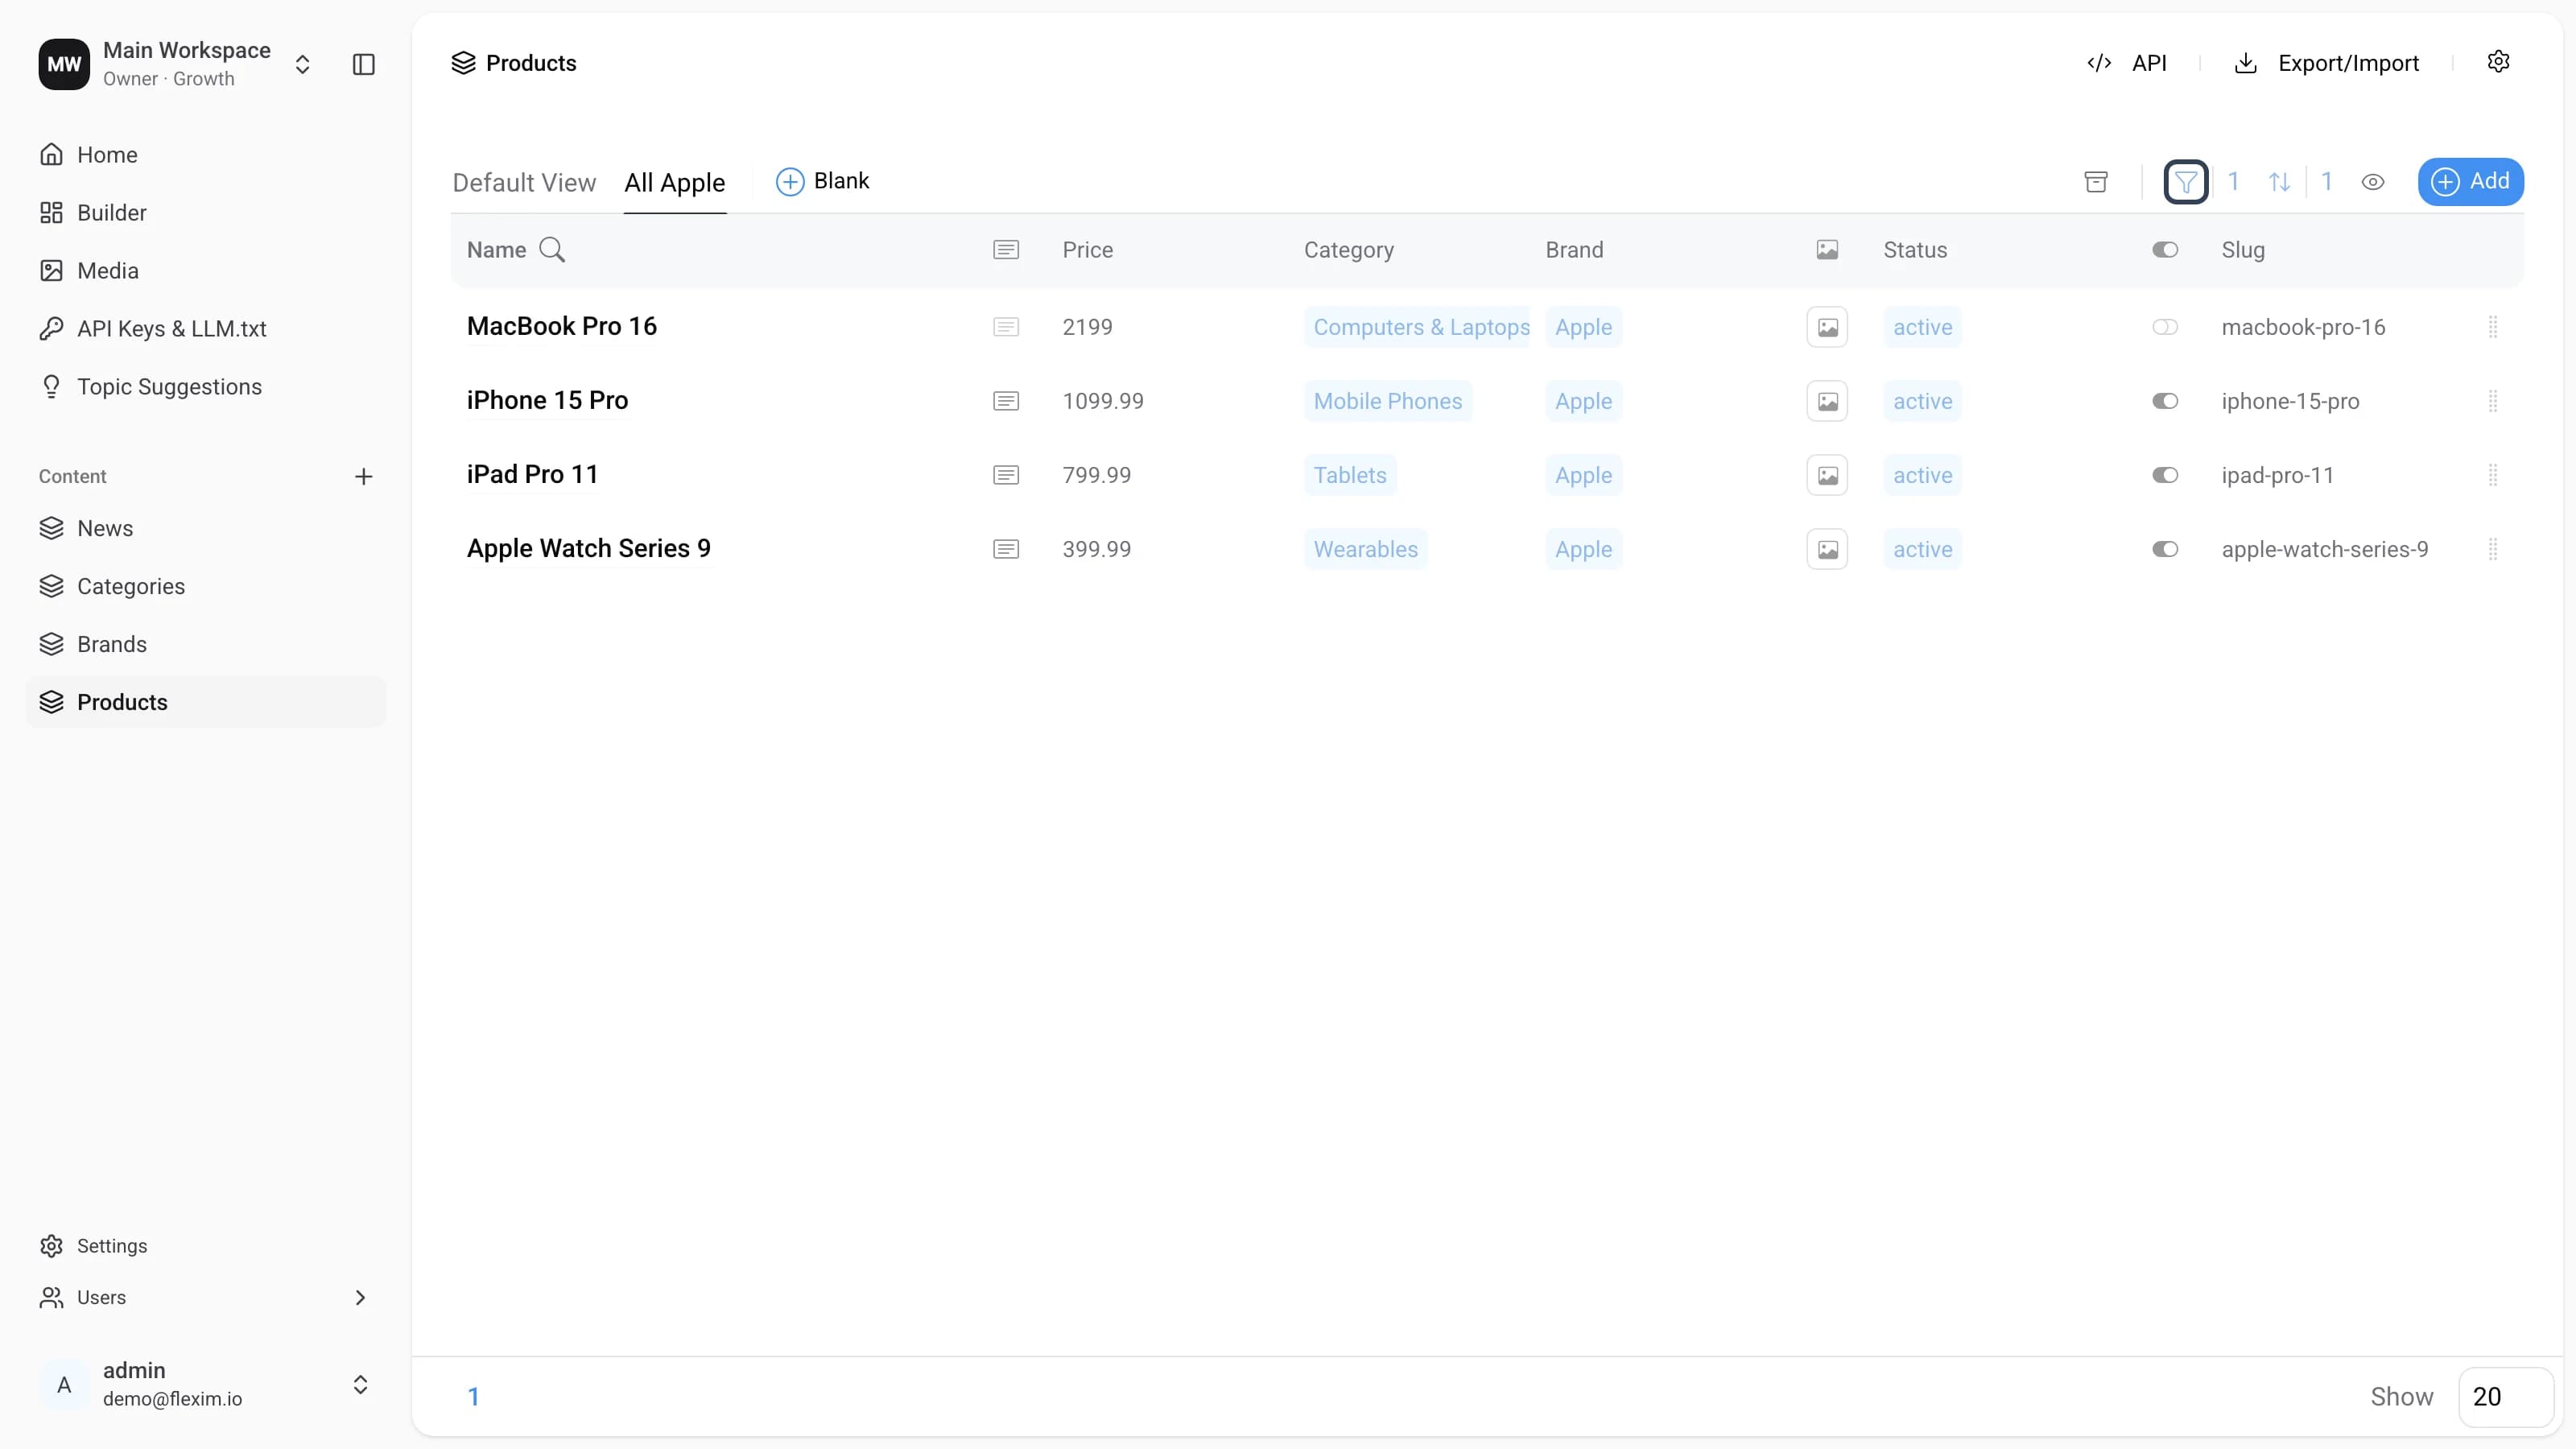
-
After the change, the buttons appear again. This time we want to keep the result as a separate view, so we click
Save as.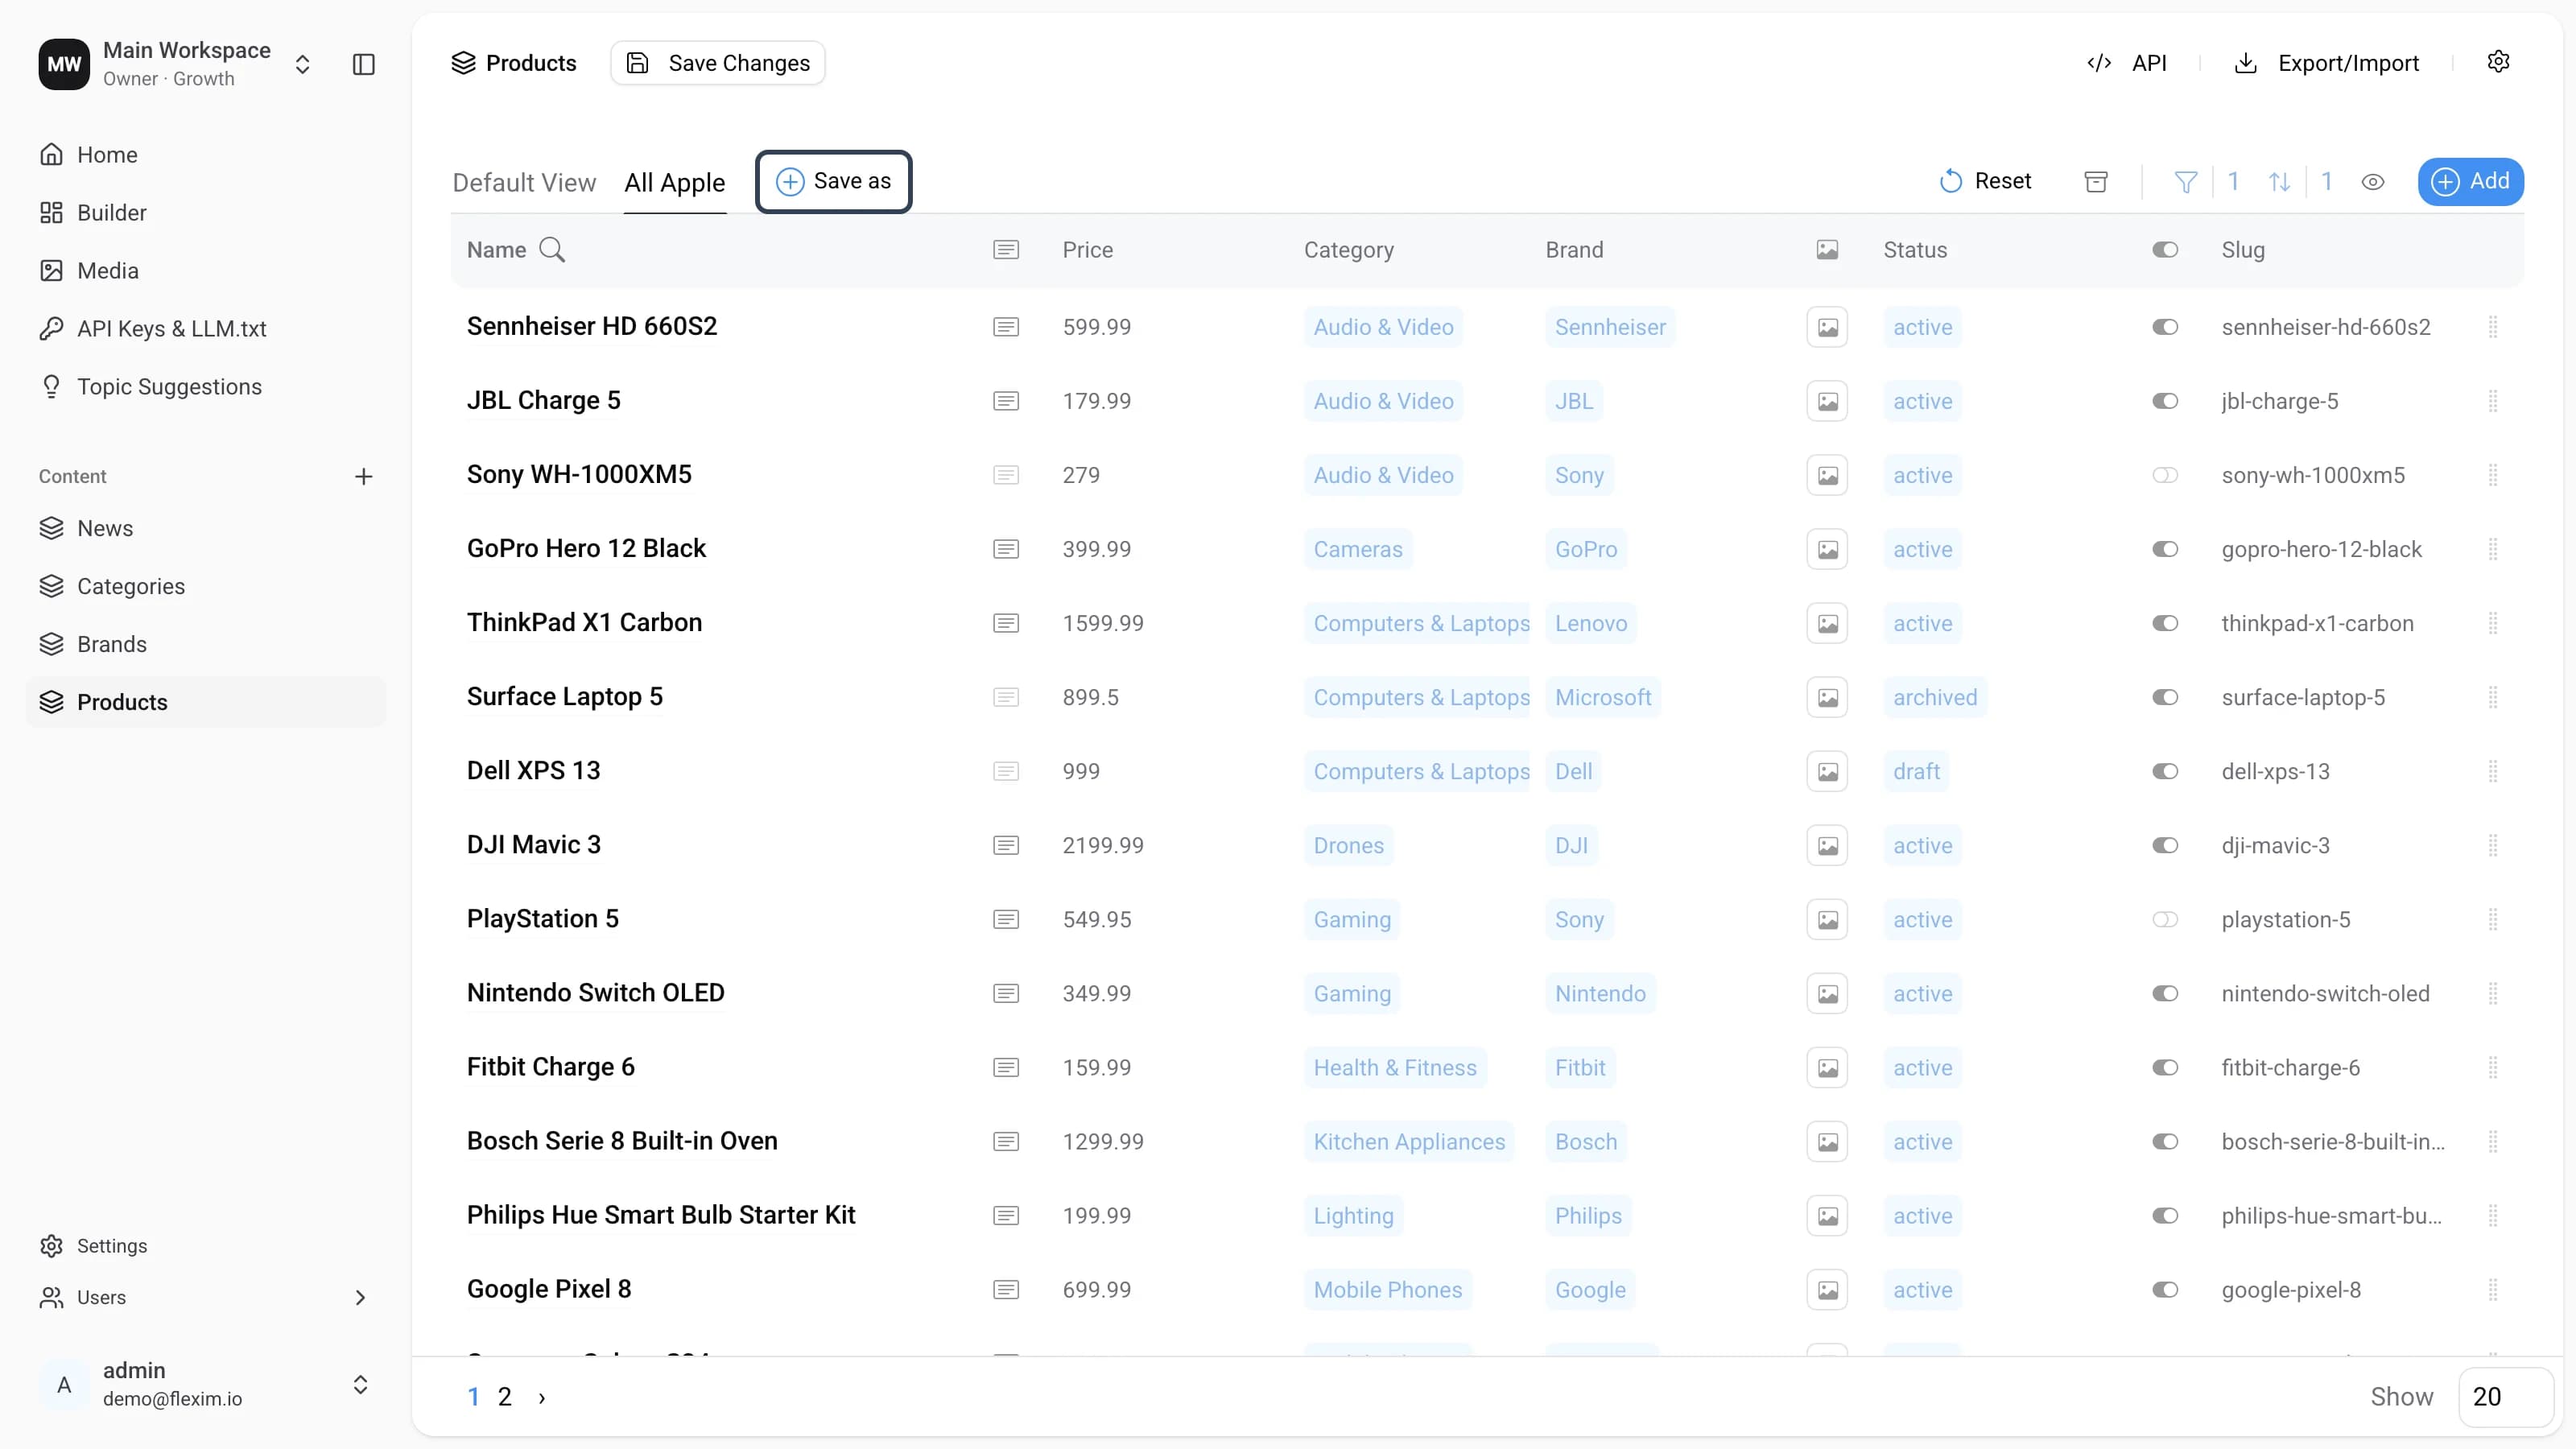
-
Fill in the title
Not Apple brandsand click✓.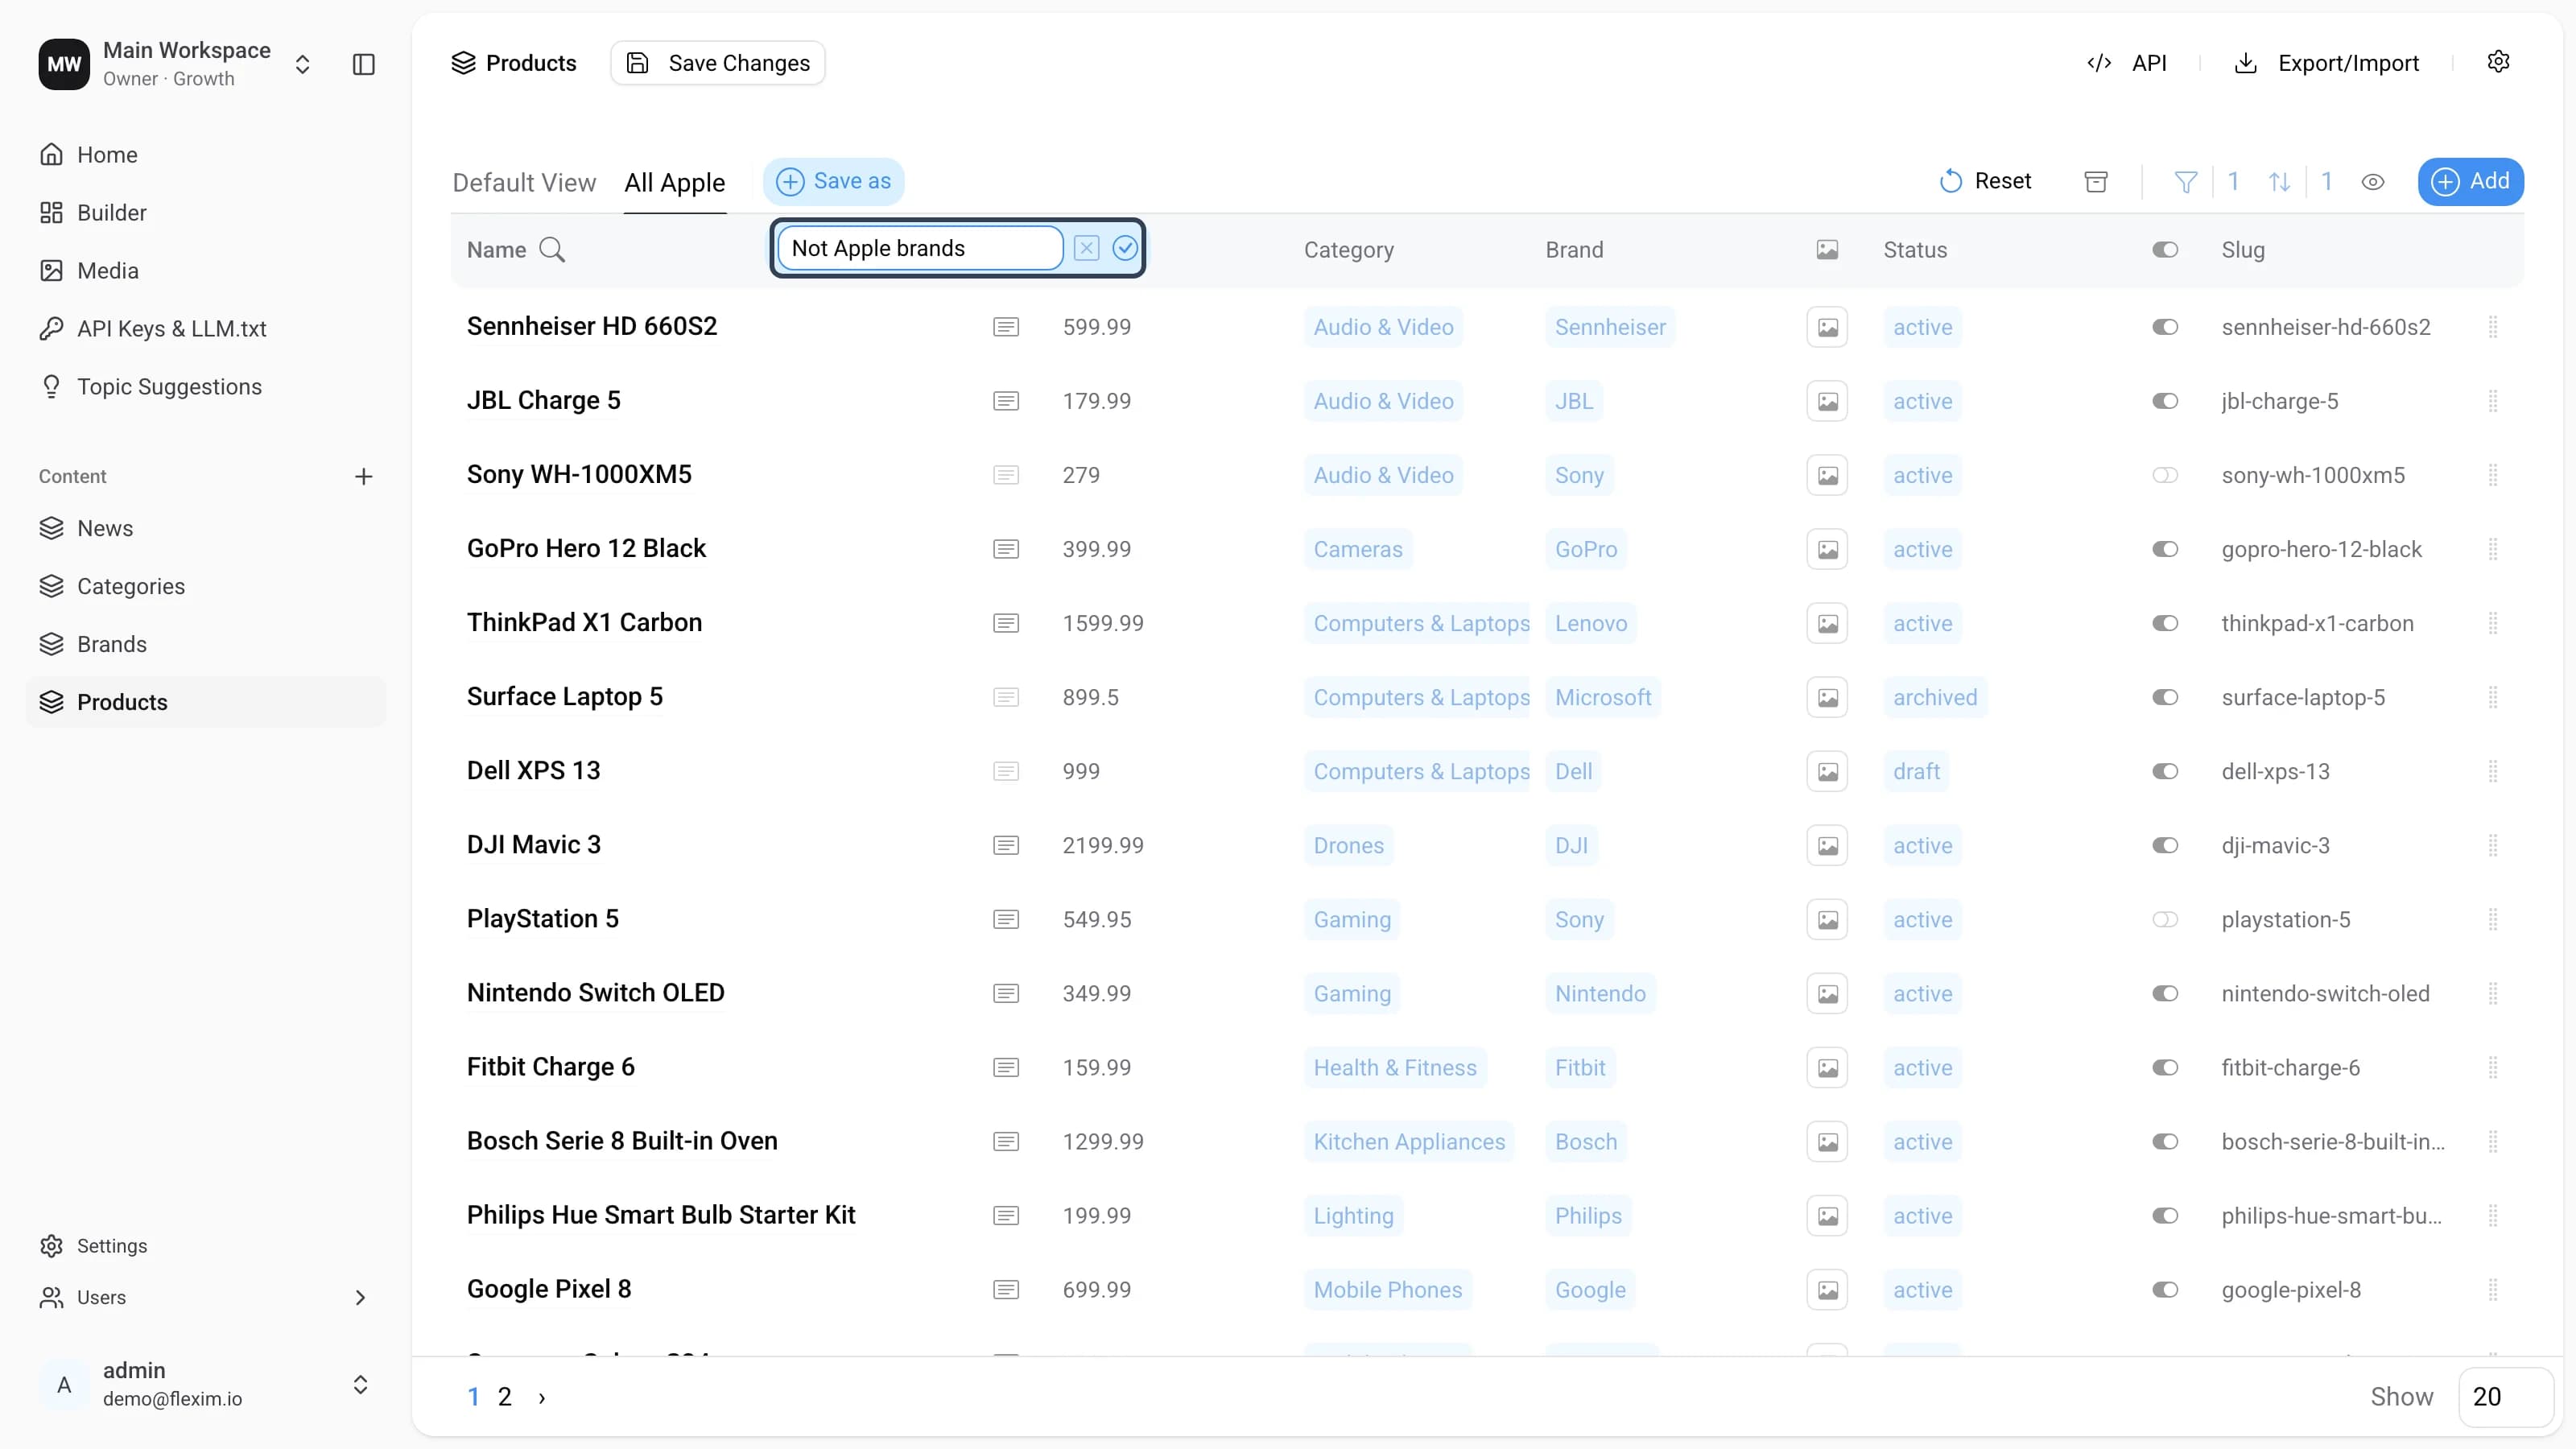
-
After the new view is created, you land on it automatically.
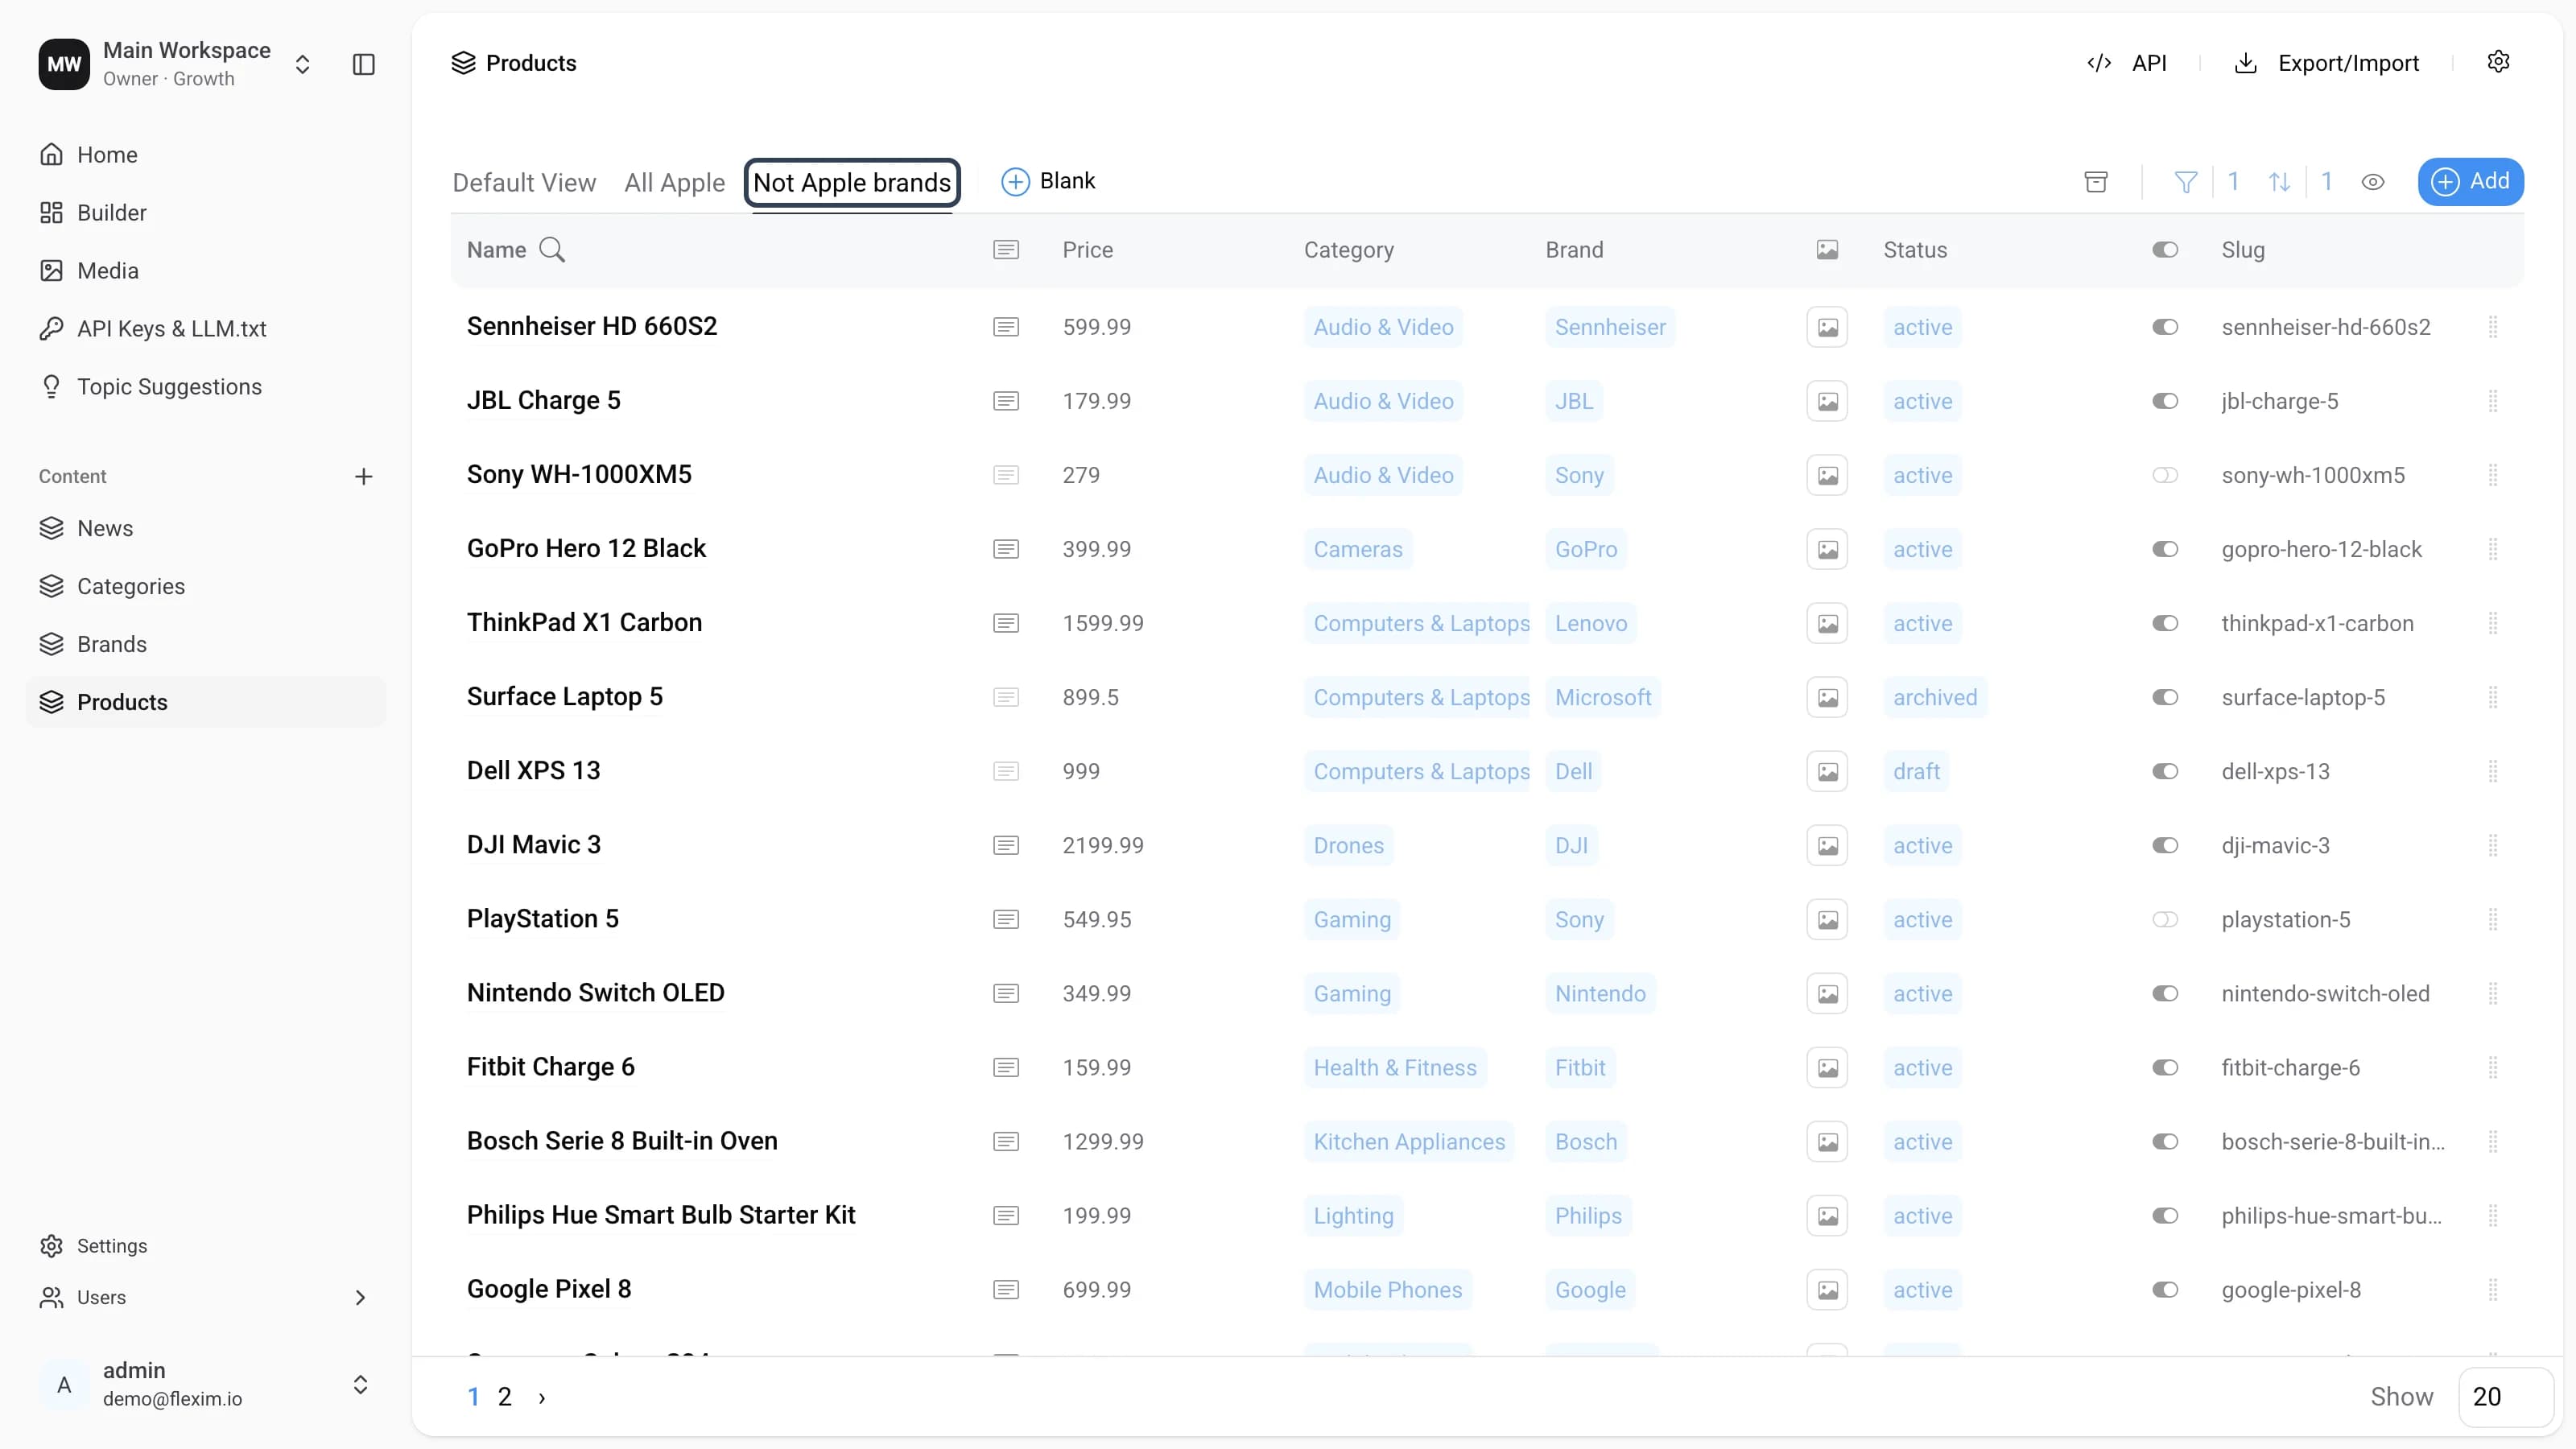
-
Next we want yet another view with different settings, so we start changing the settings of the current view.
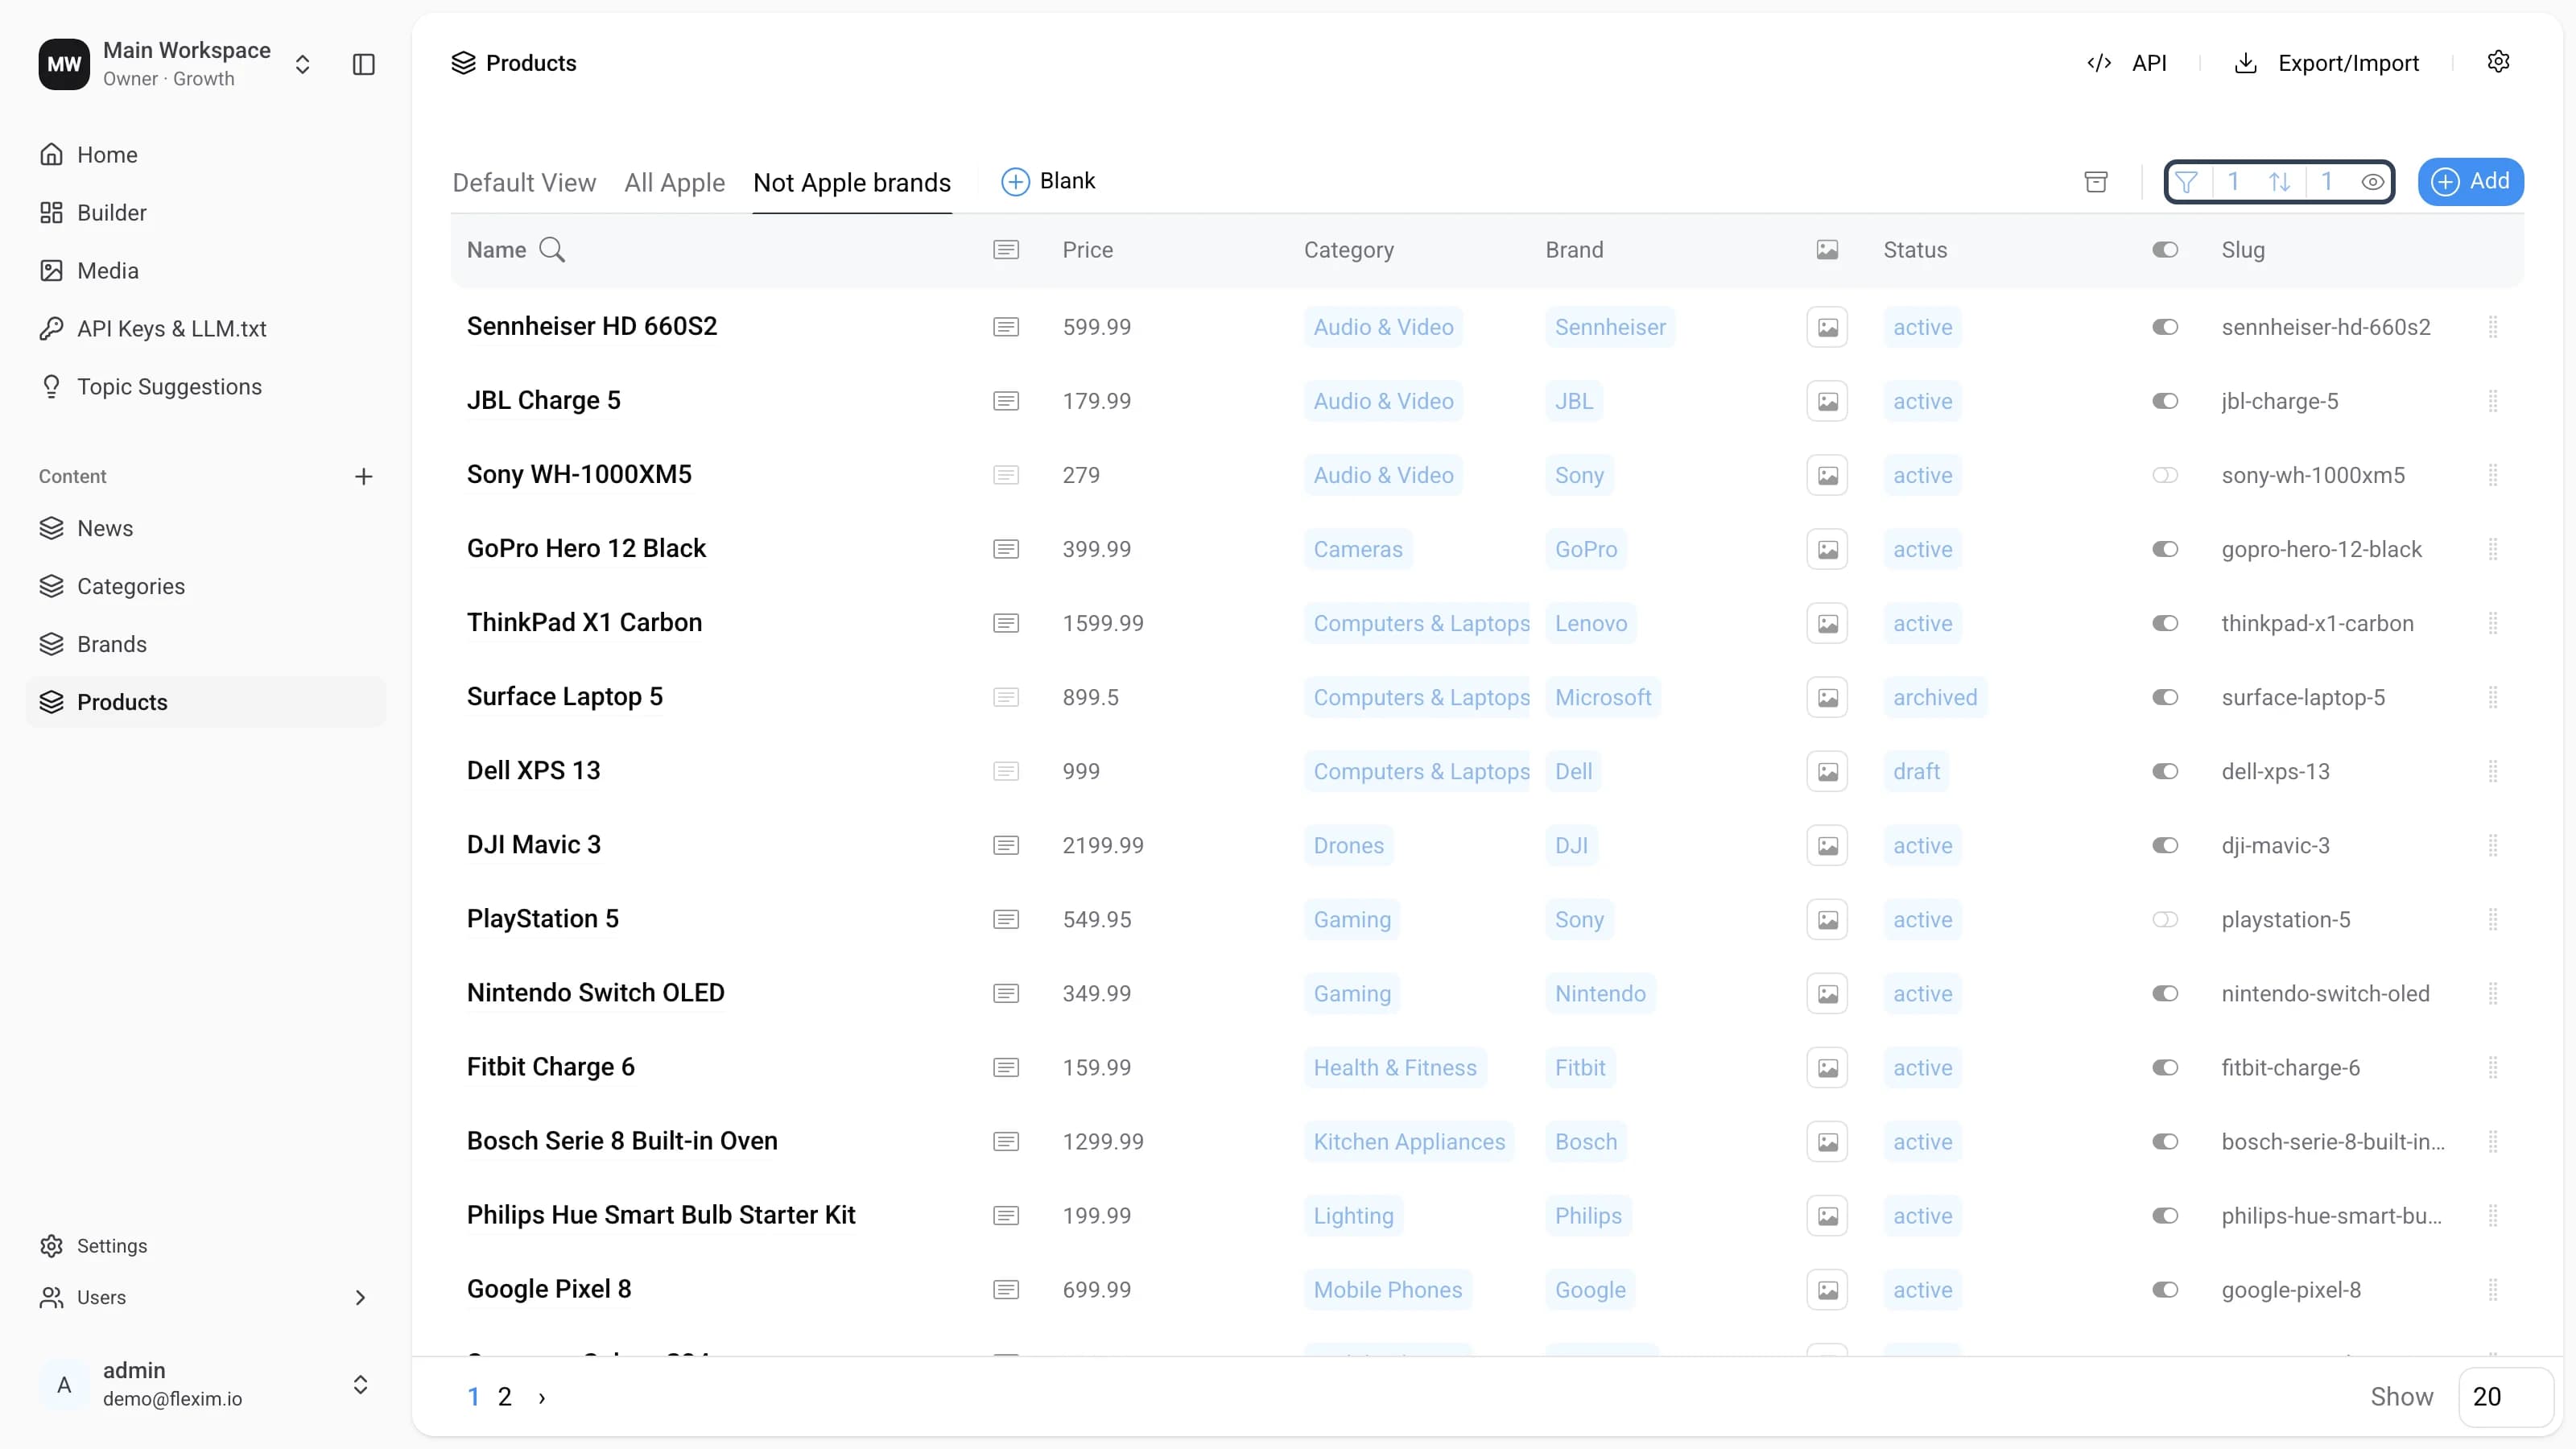
-
We realize the changes we started making are not what we need — we actually just want a clean view with a single category filter. To drop the unsaved settings, we click
Reset.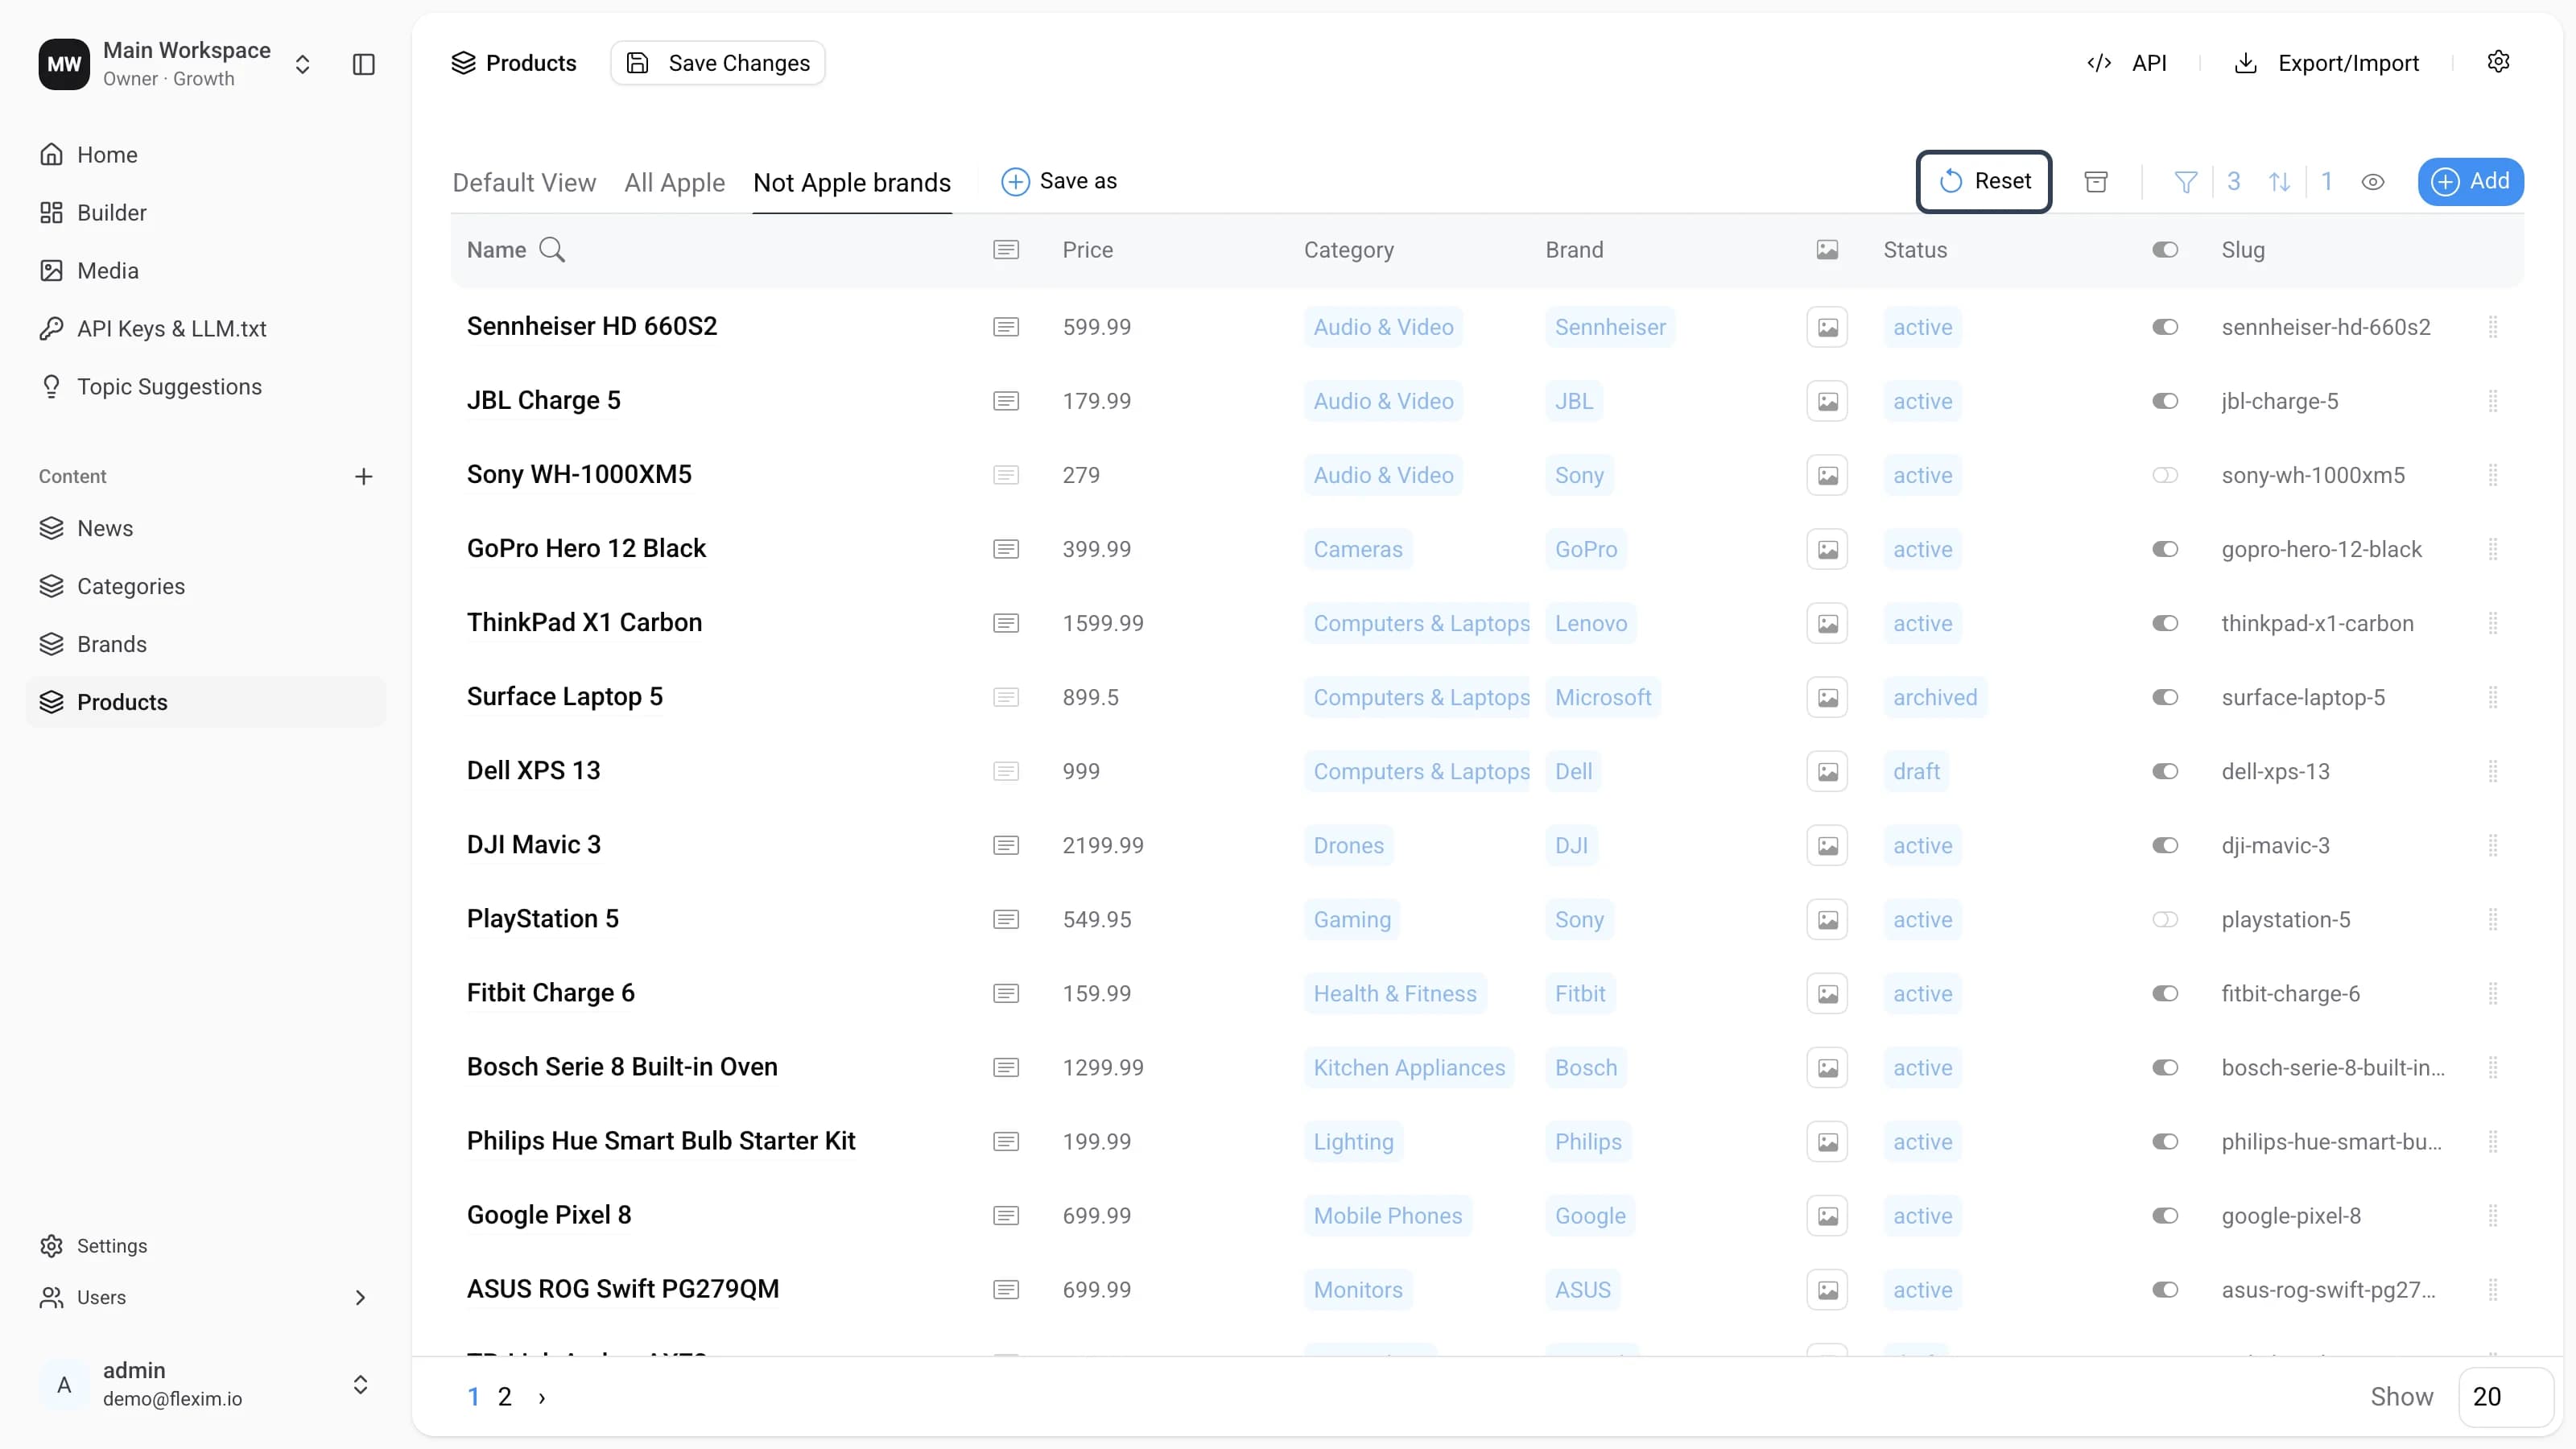
-
Because we reset the unsaved settings, the
Save asbutton turns back intoBlank. We click it.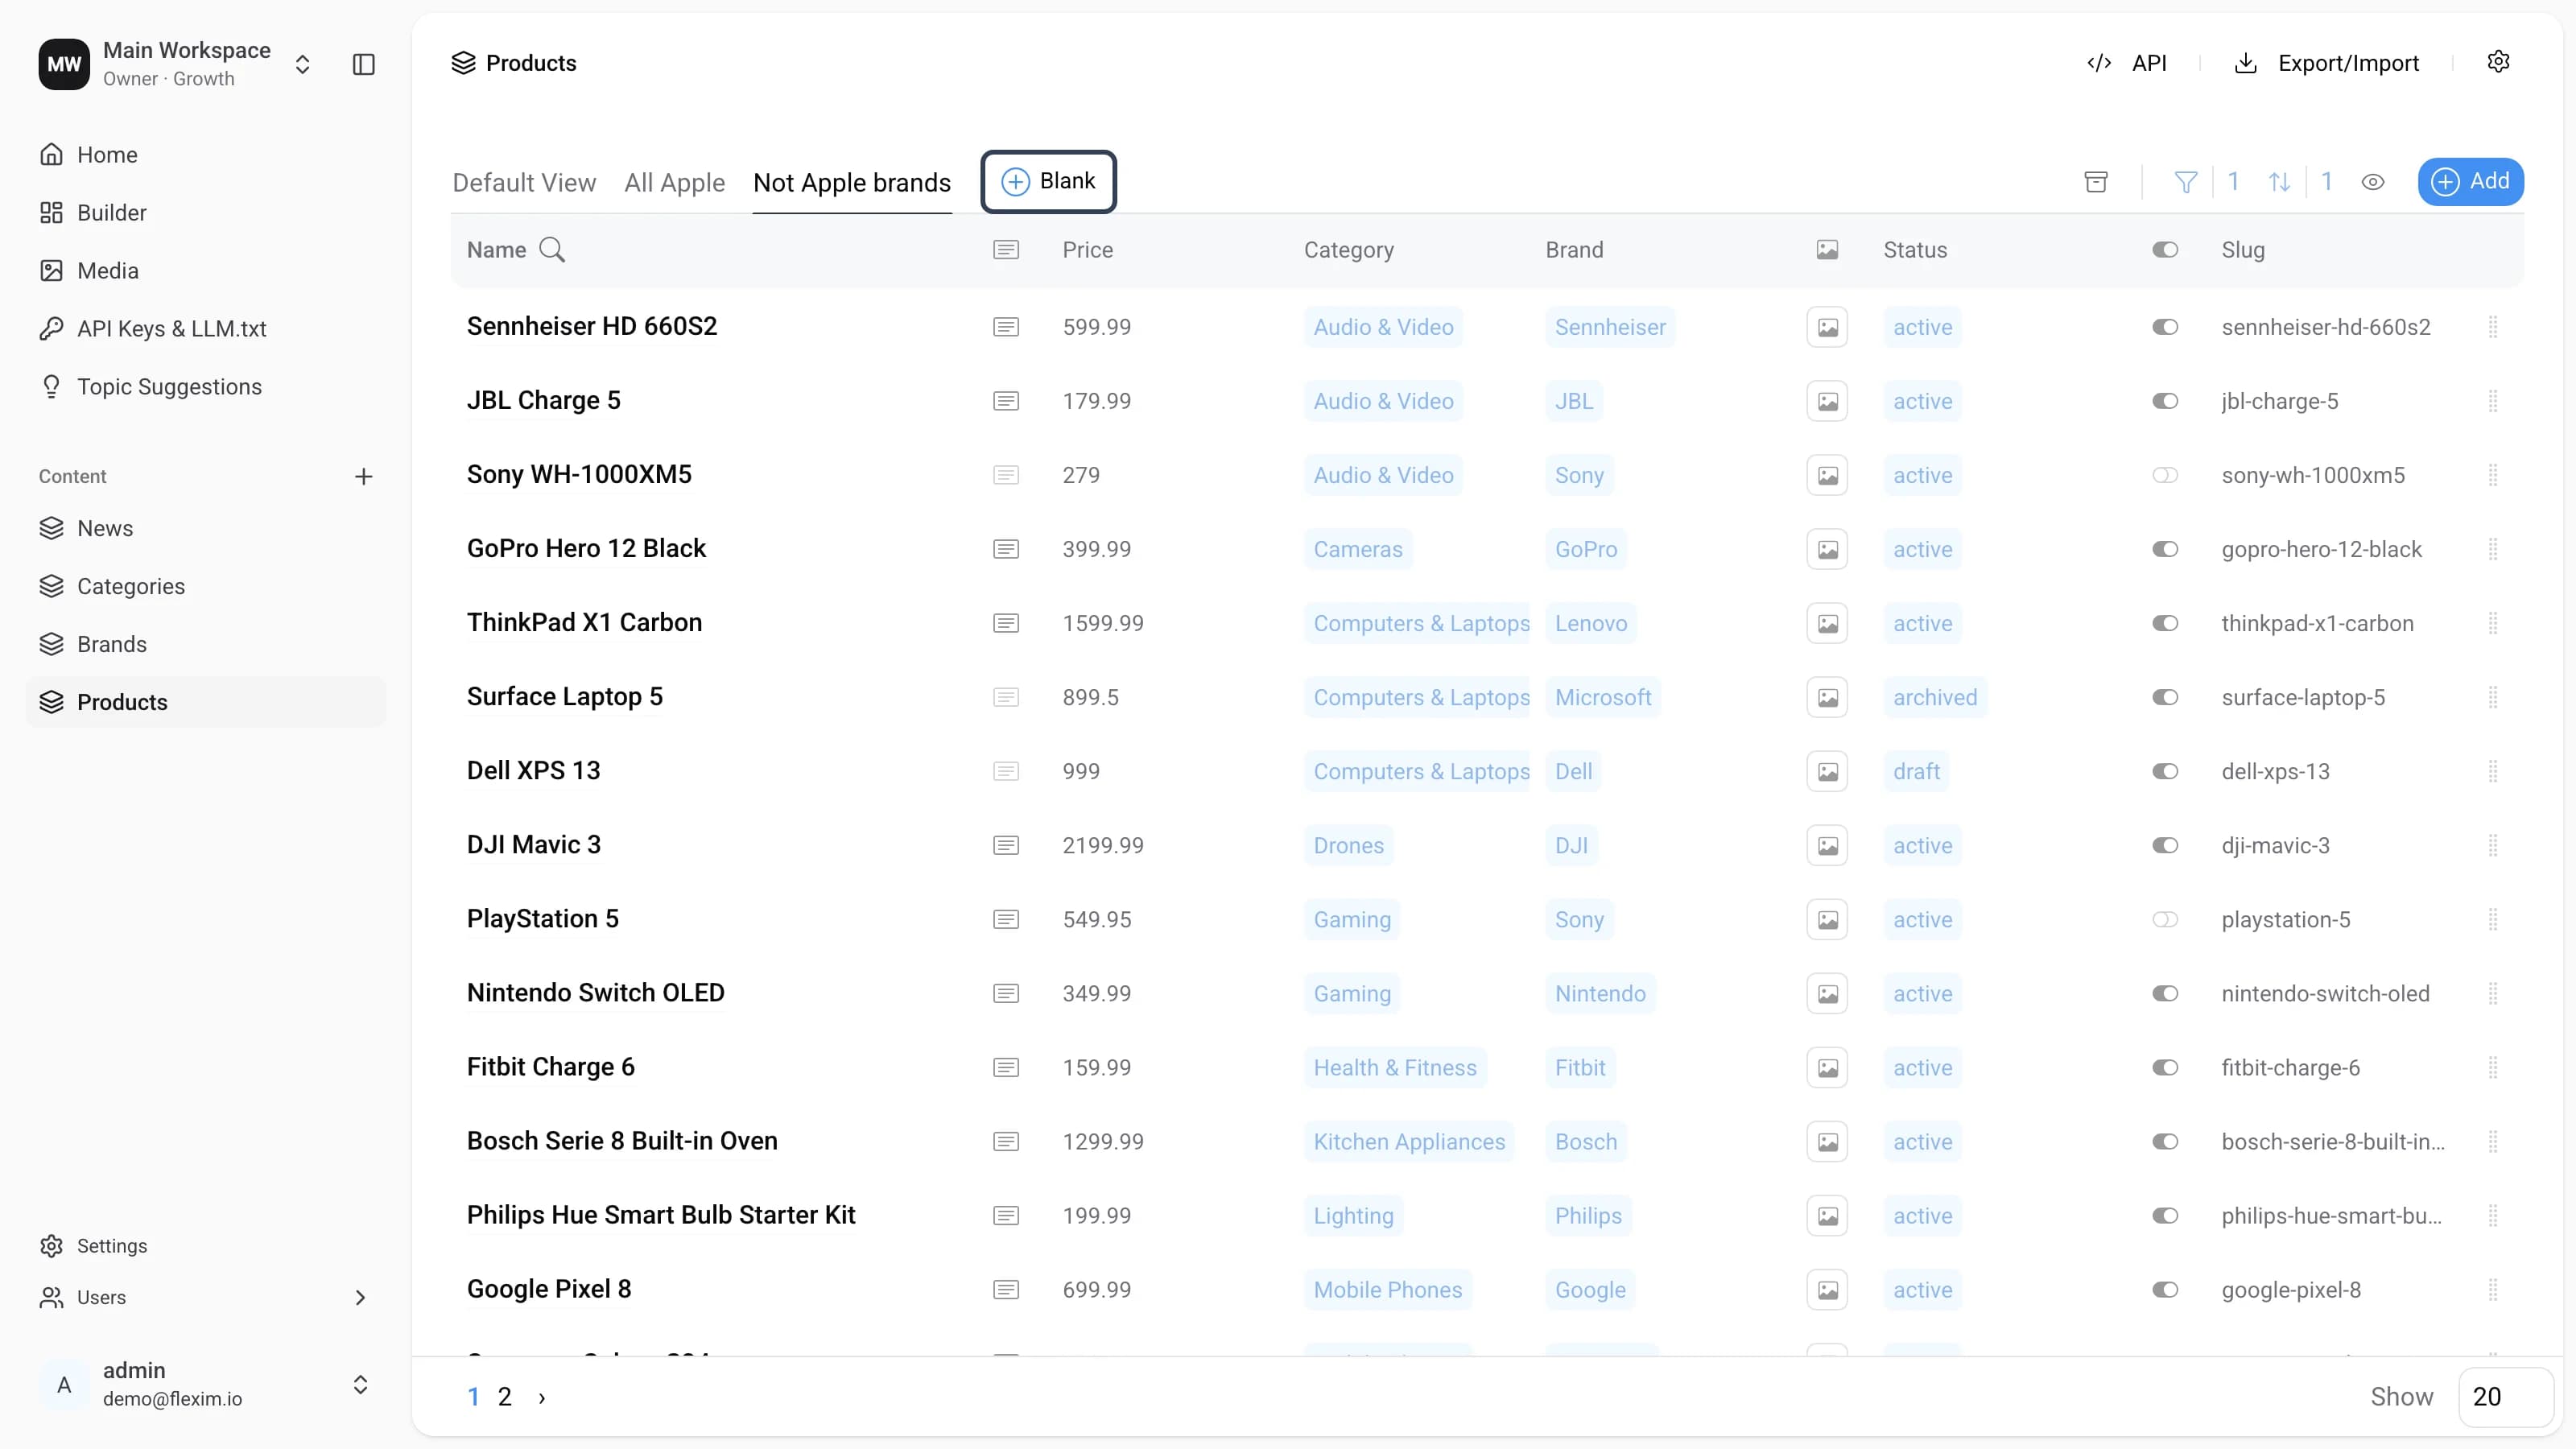
-
Write the name
Mobile Phonesand click✓.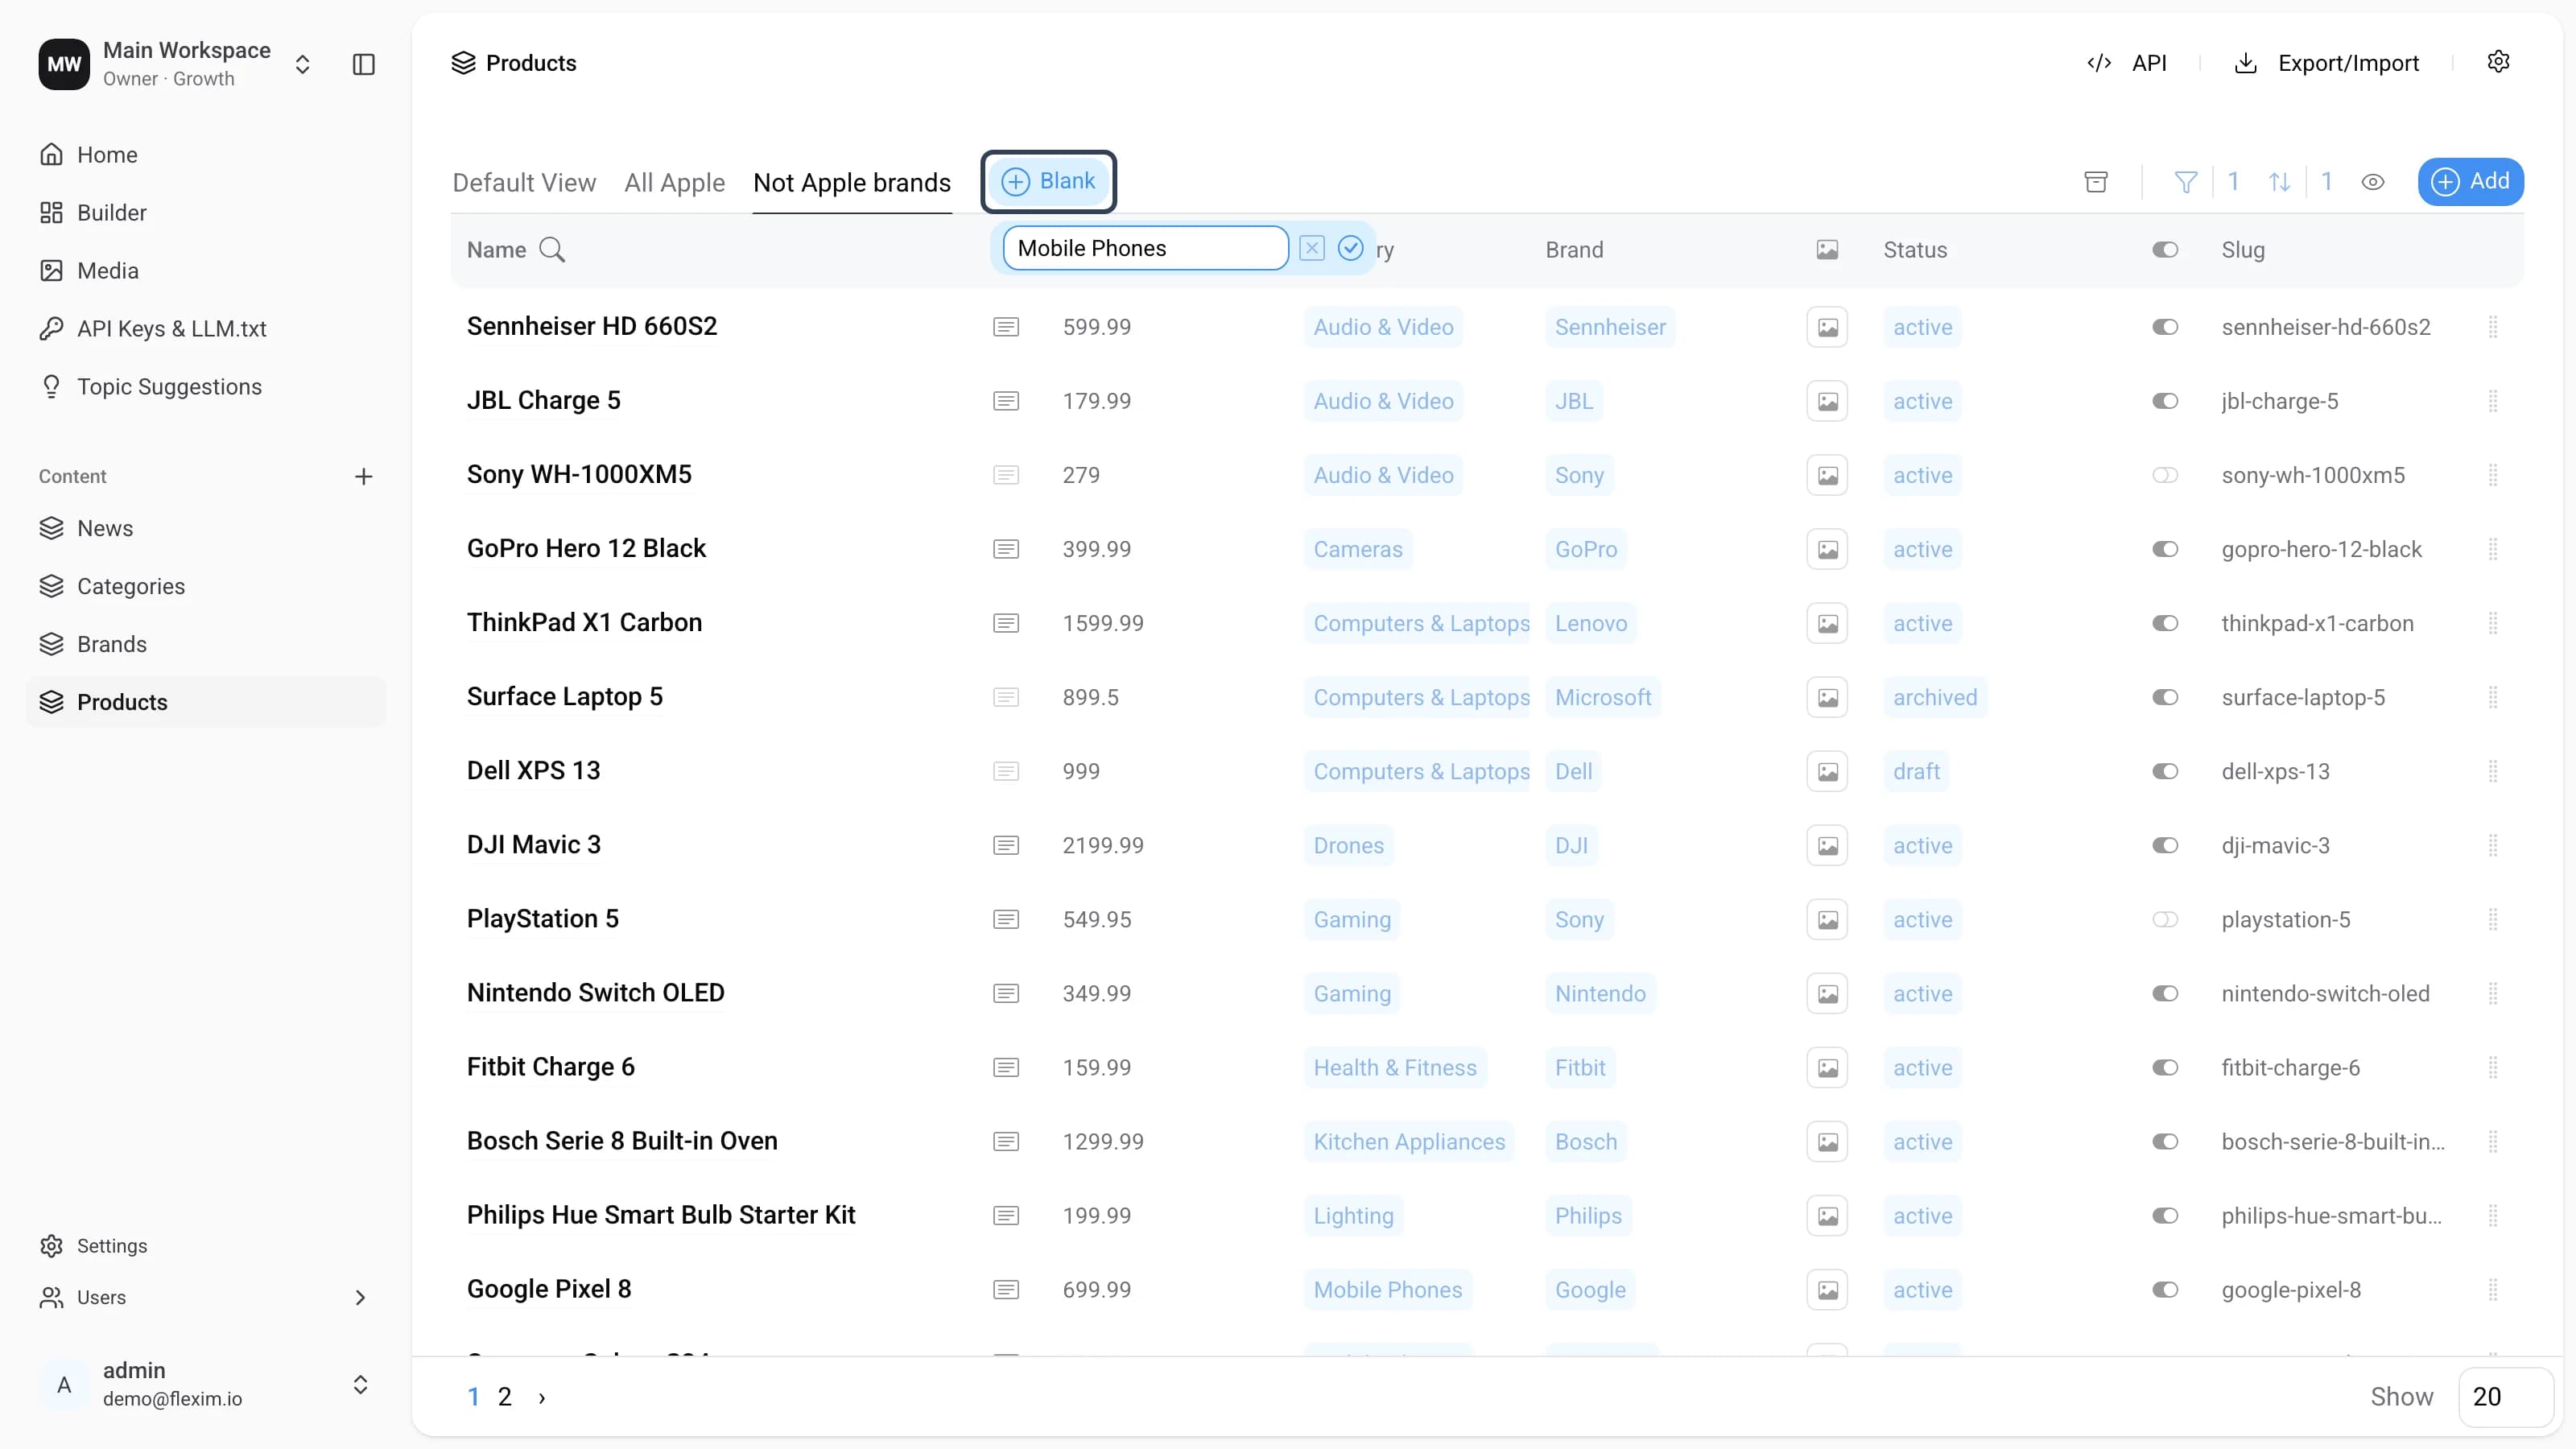
-
The new view is saved. Now it is time to add a filter for the "Mobile Phones" category.
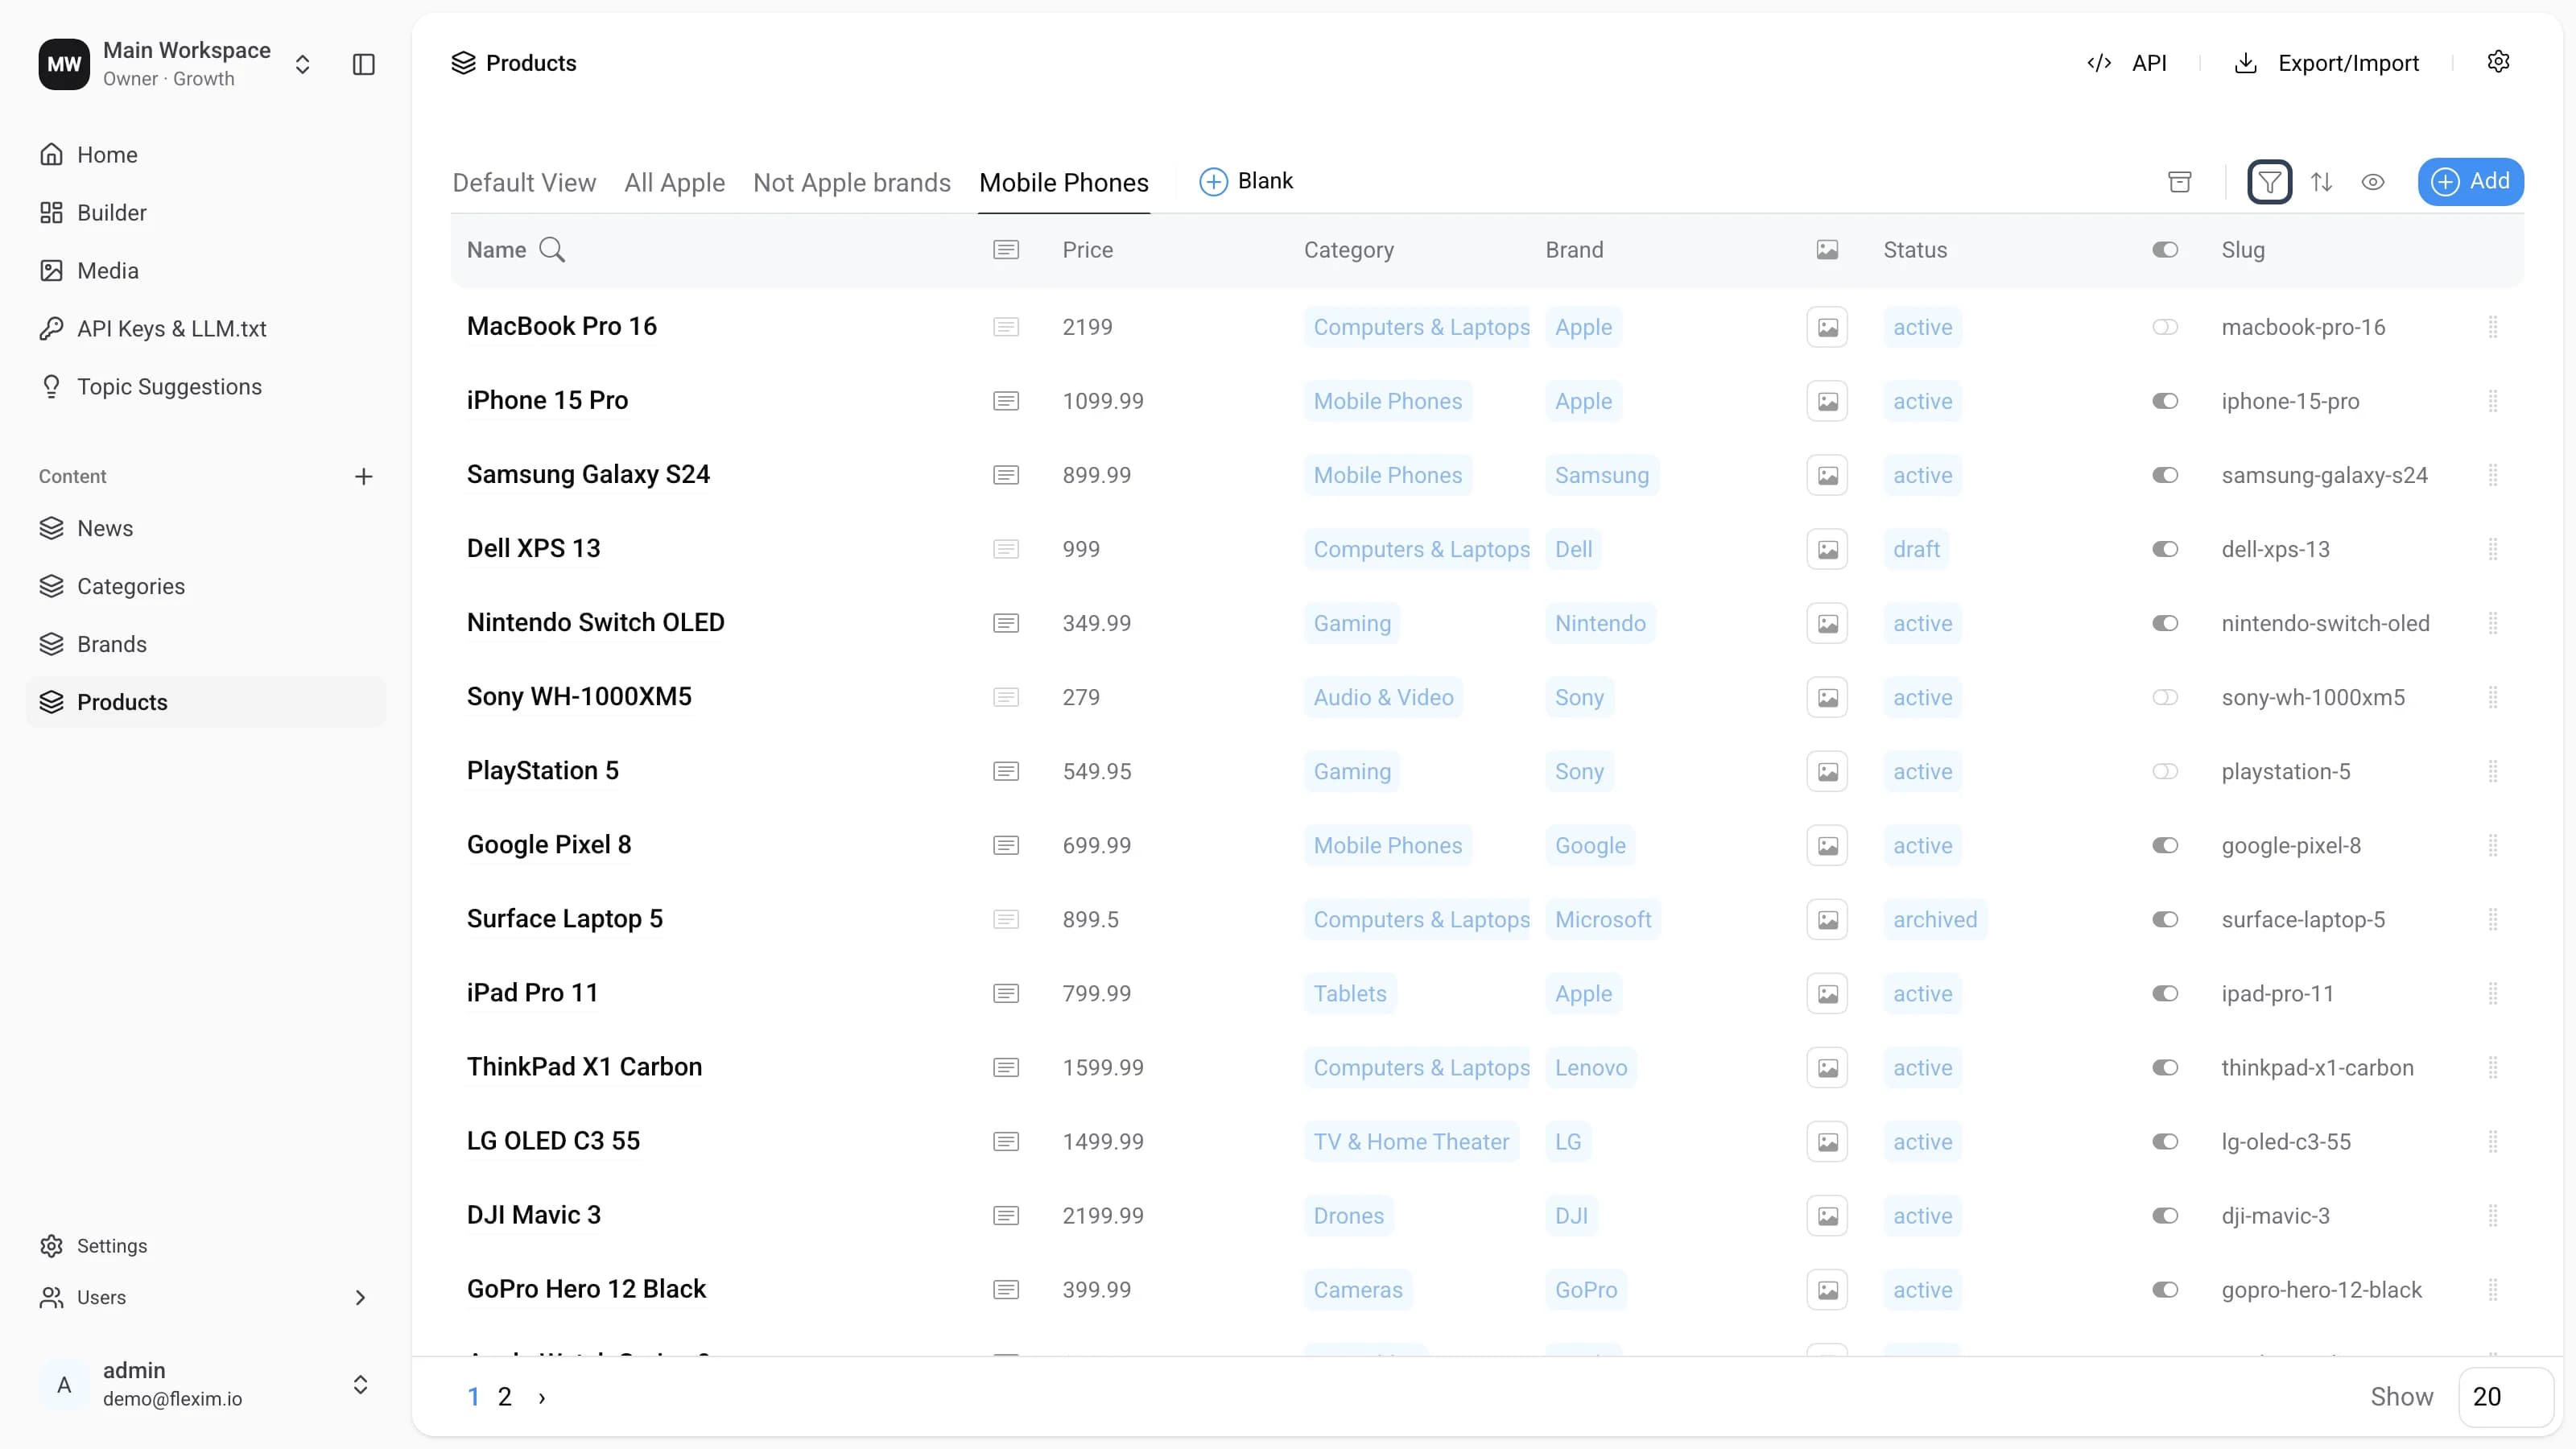
-
Then we save the result.
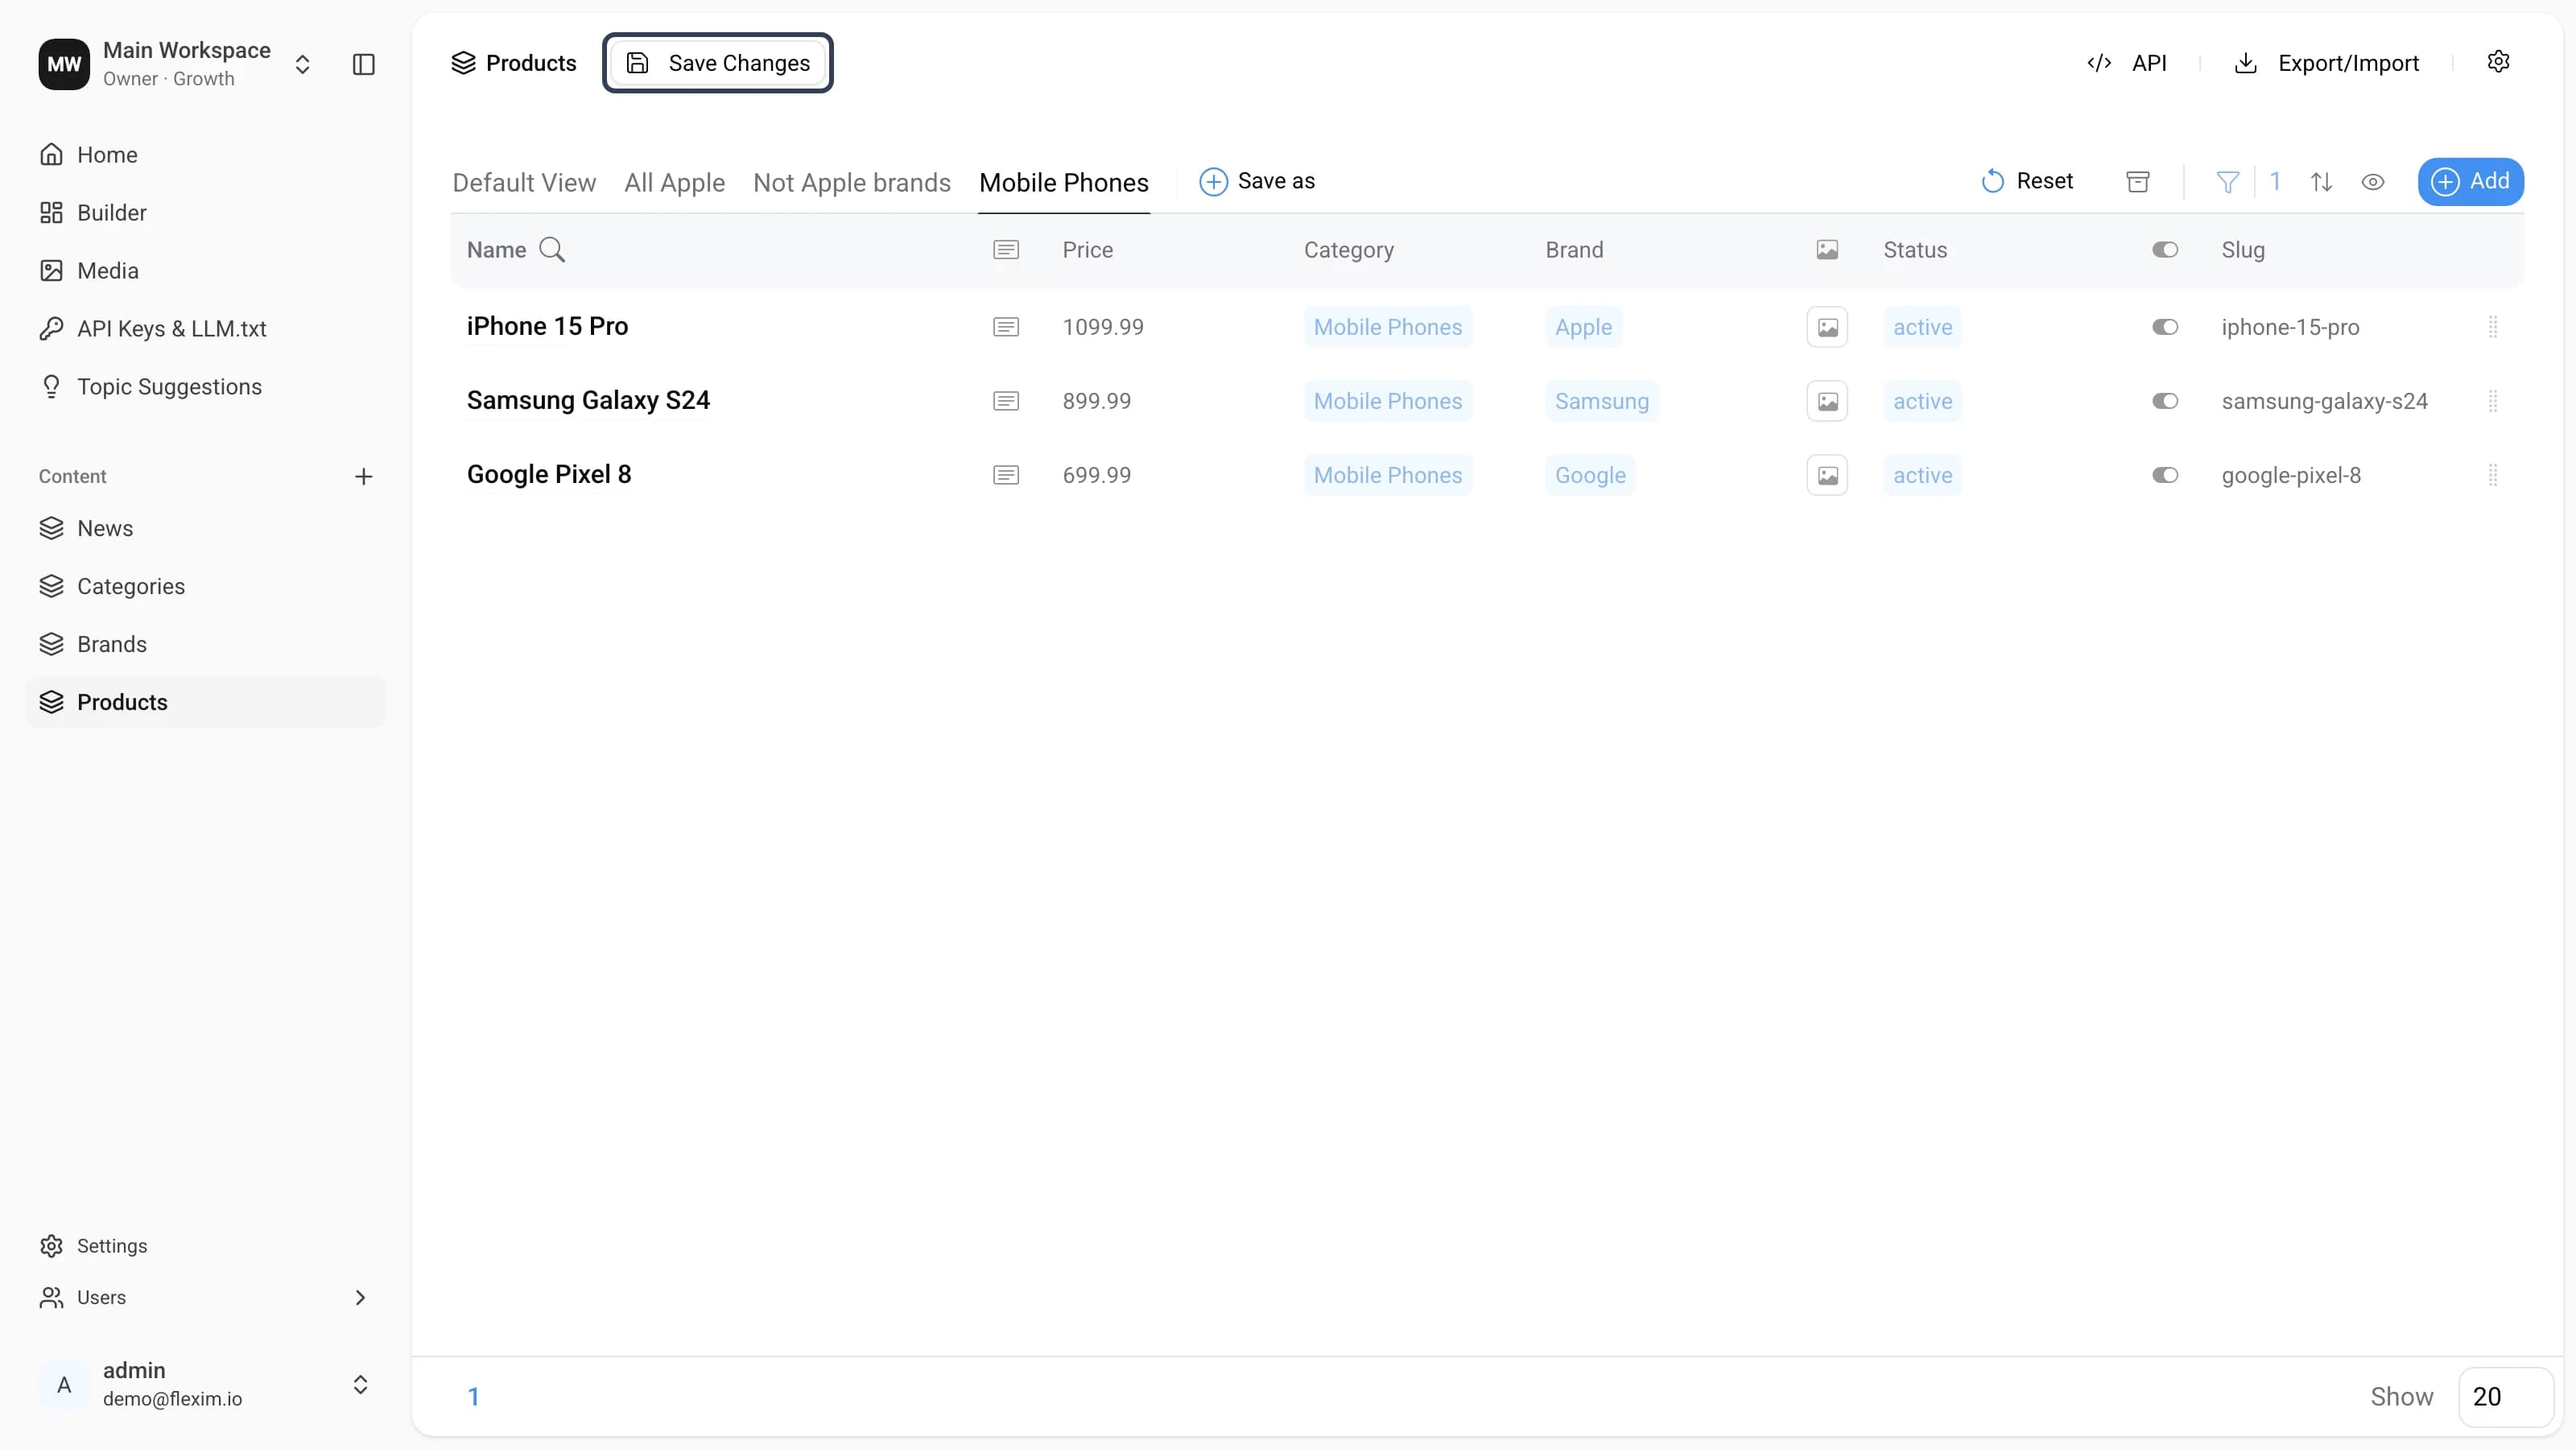
-
Done.
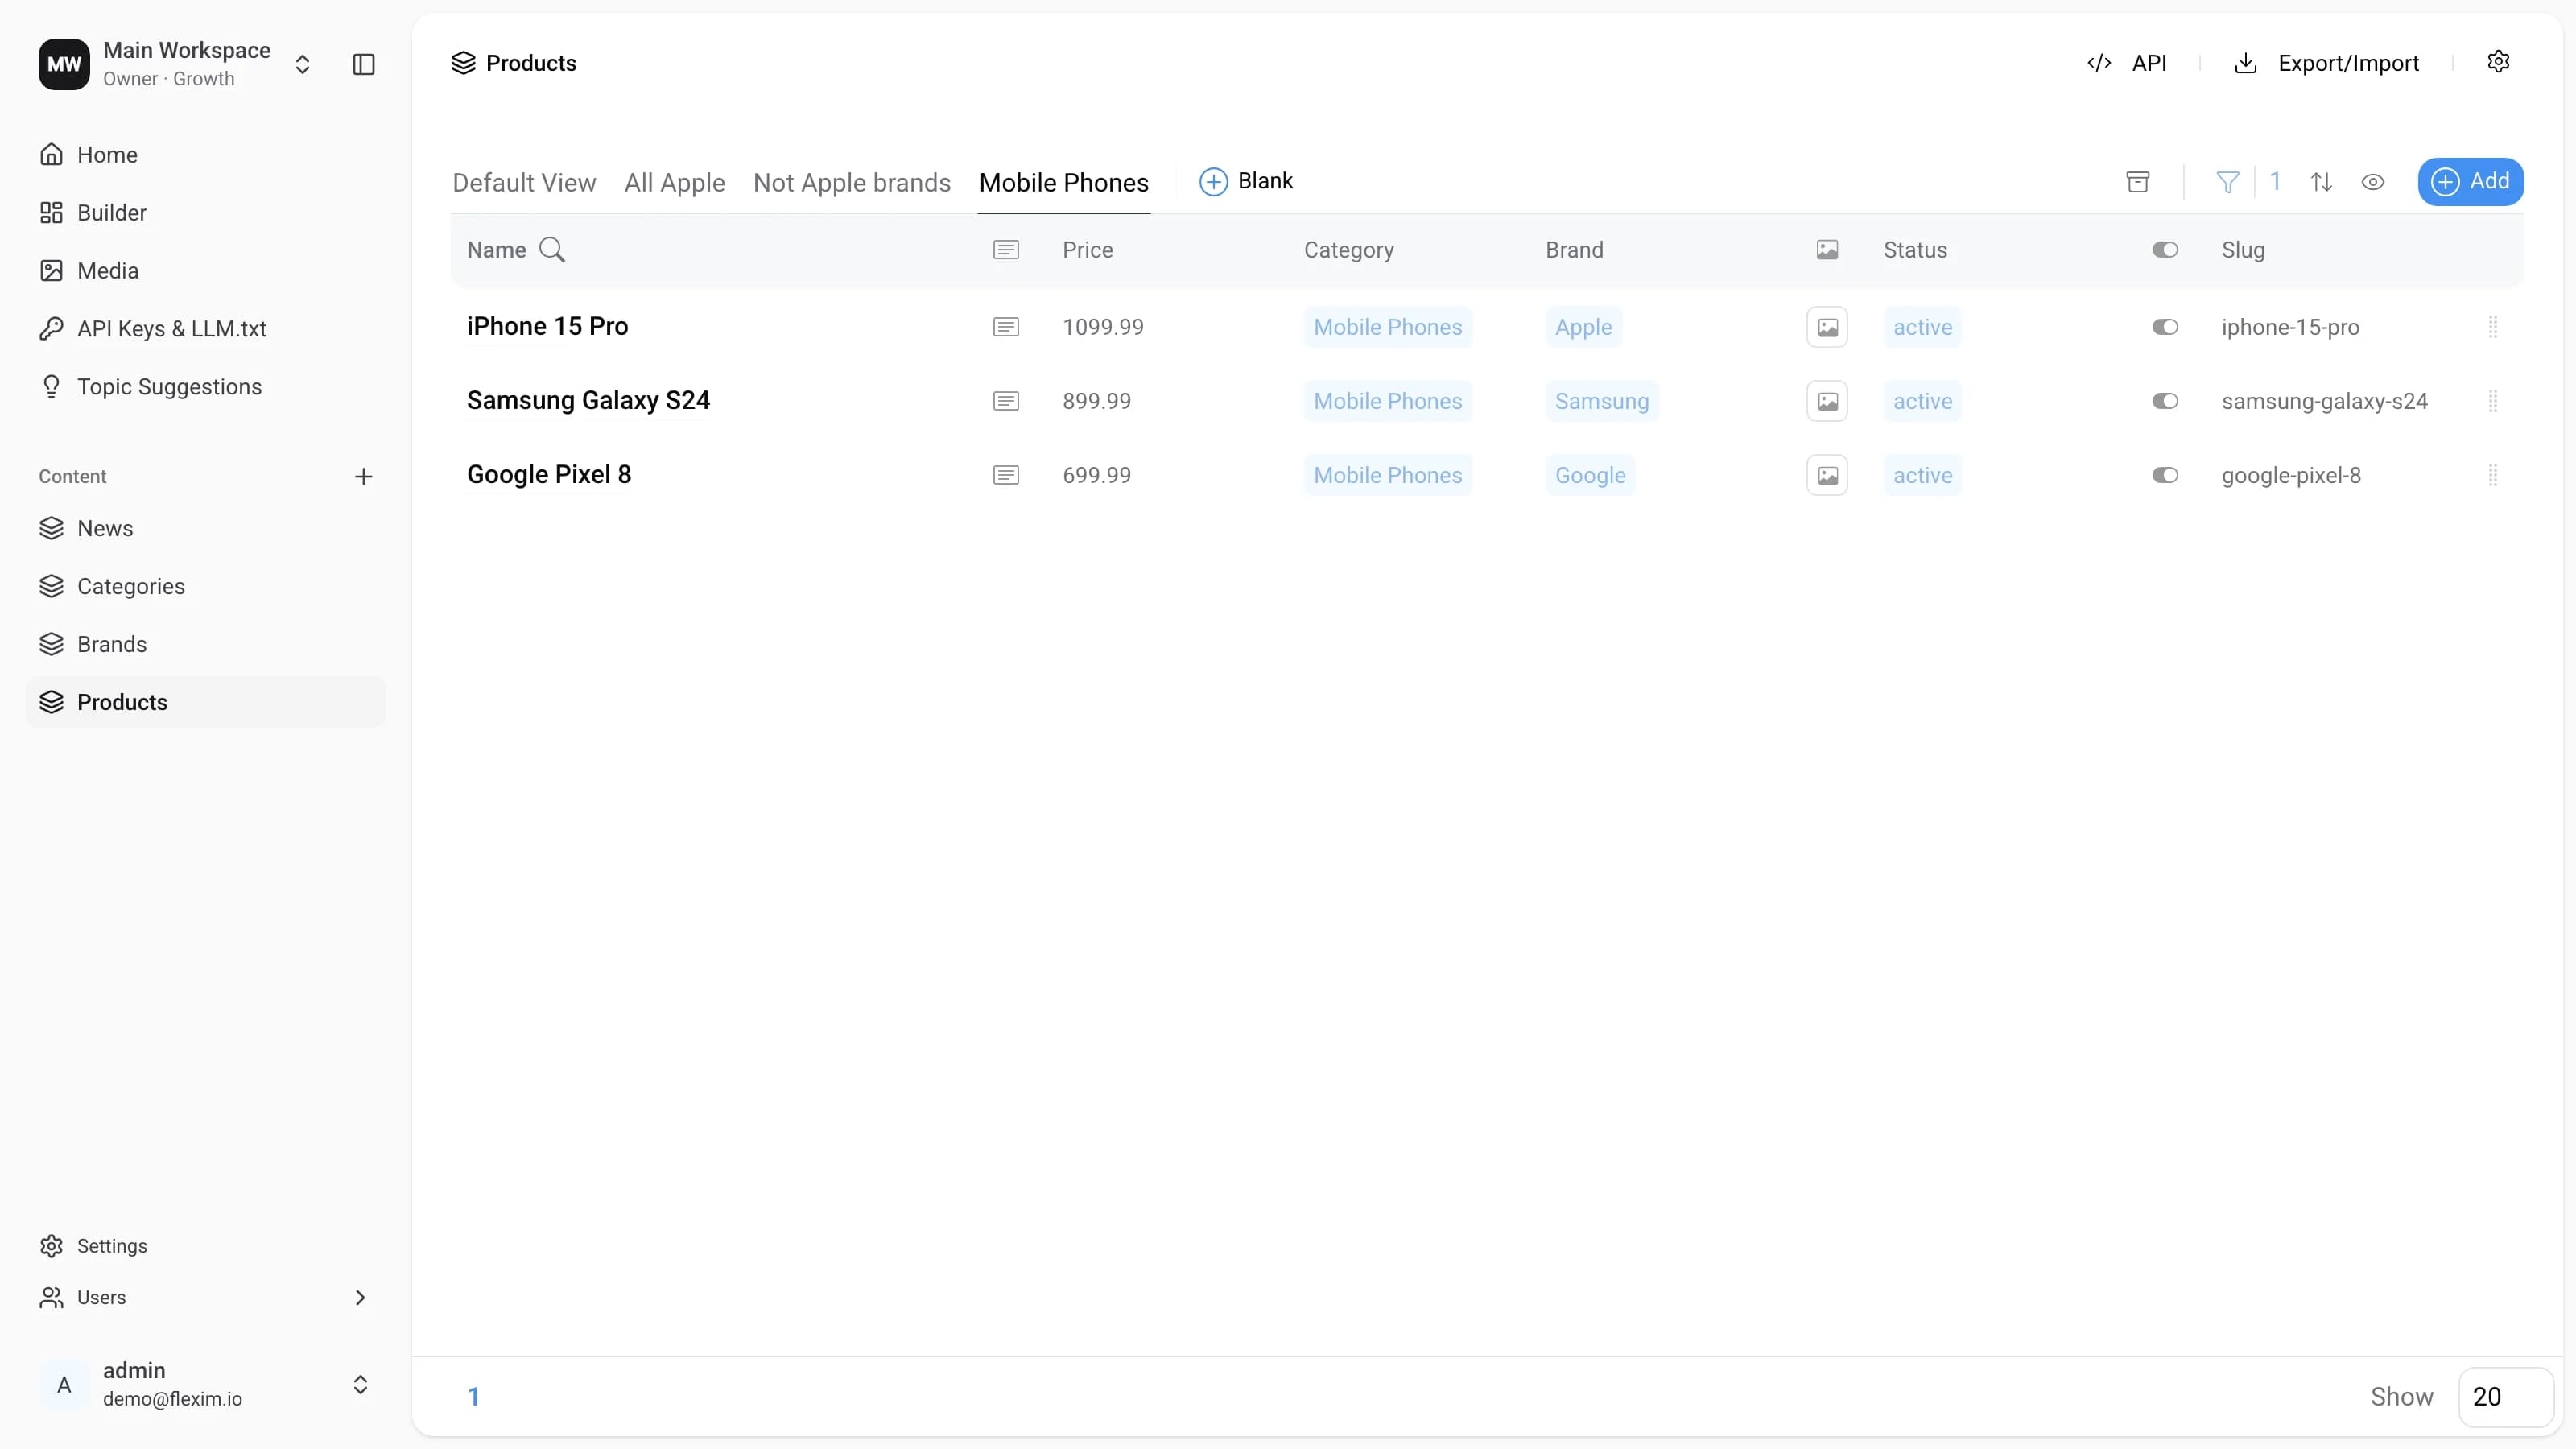
Default View
The Default View differs from custom views in that it cannot be deleted or renamed, and it has no context menu. Otherwise it behaves like any custom view — you can configure and save settings on it if you wish.
Context Menu
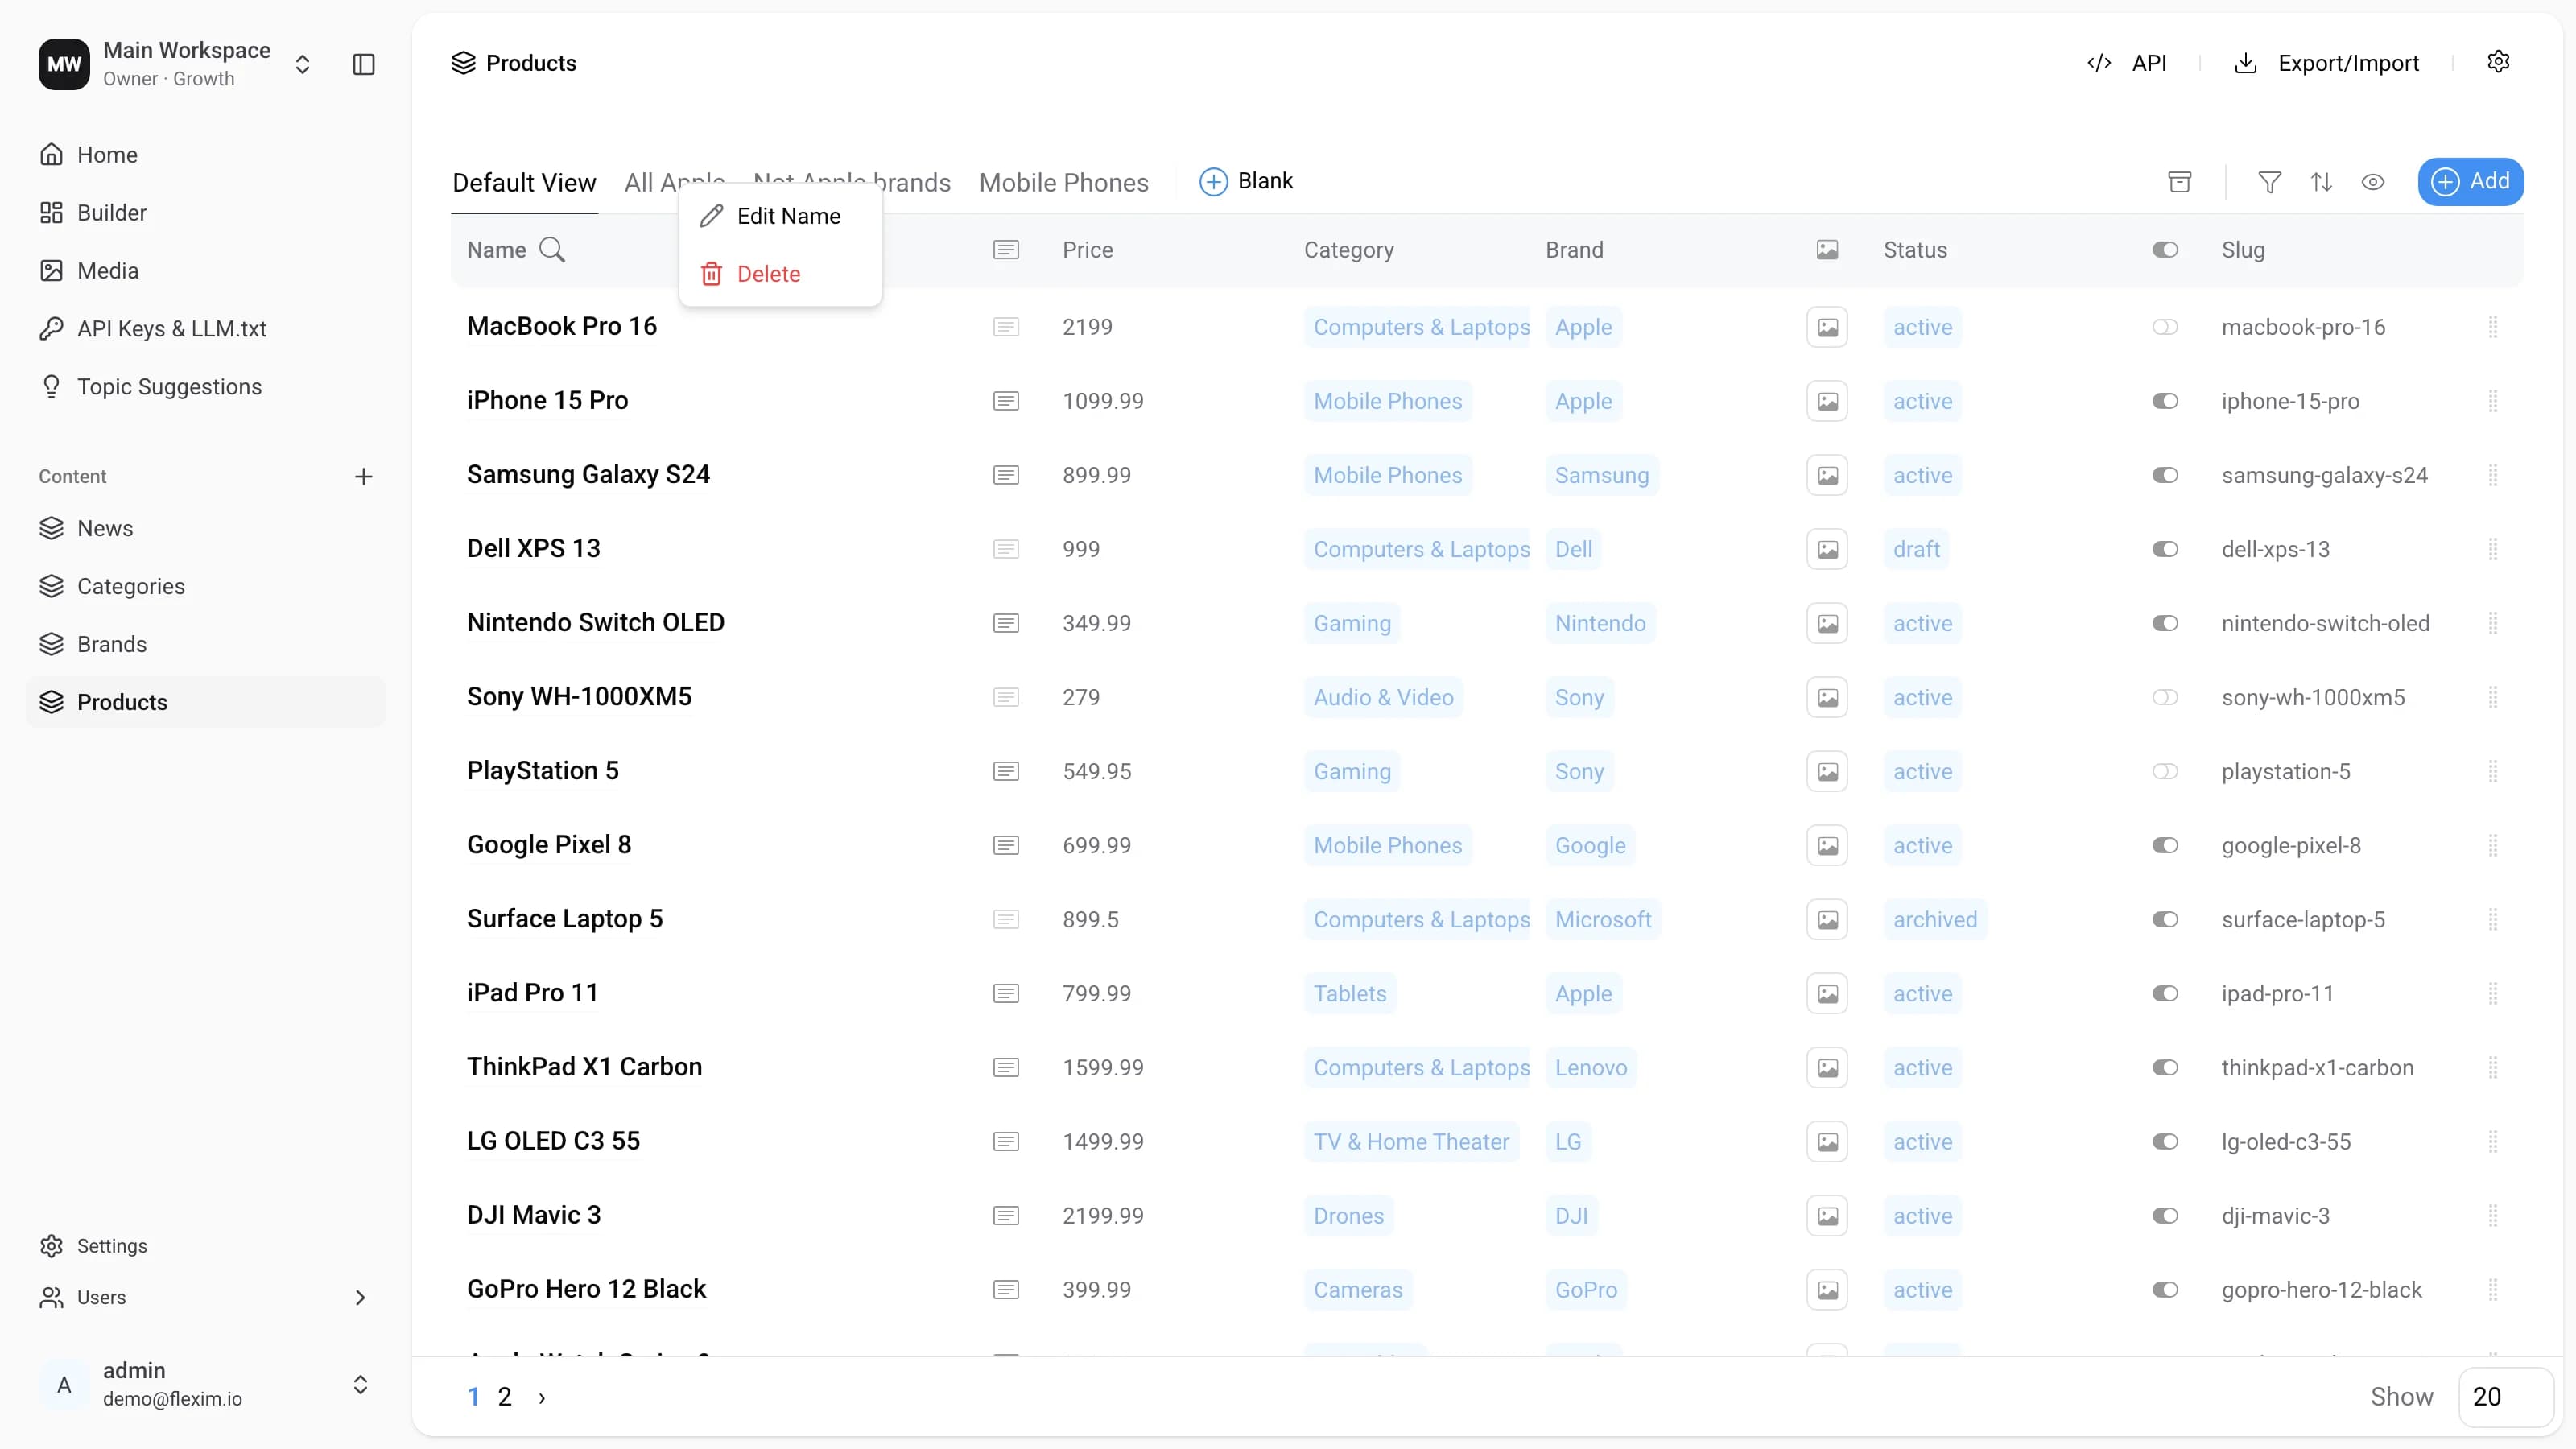
Right-click a custom view to open its context menu with two actions: Edit Name and Delete.
Edit Nameturns the view tab into an inline text field so you can rename it. PressEnterto save the new name, orEscapeto cancel. You can also start renaming by double-clicking the view.Deleteasks you to confirm (Confirm/Cancel); once confirmed, the view is removed.
Multiple Custom Views
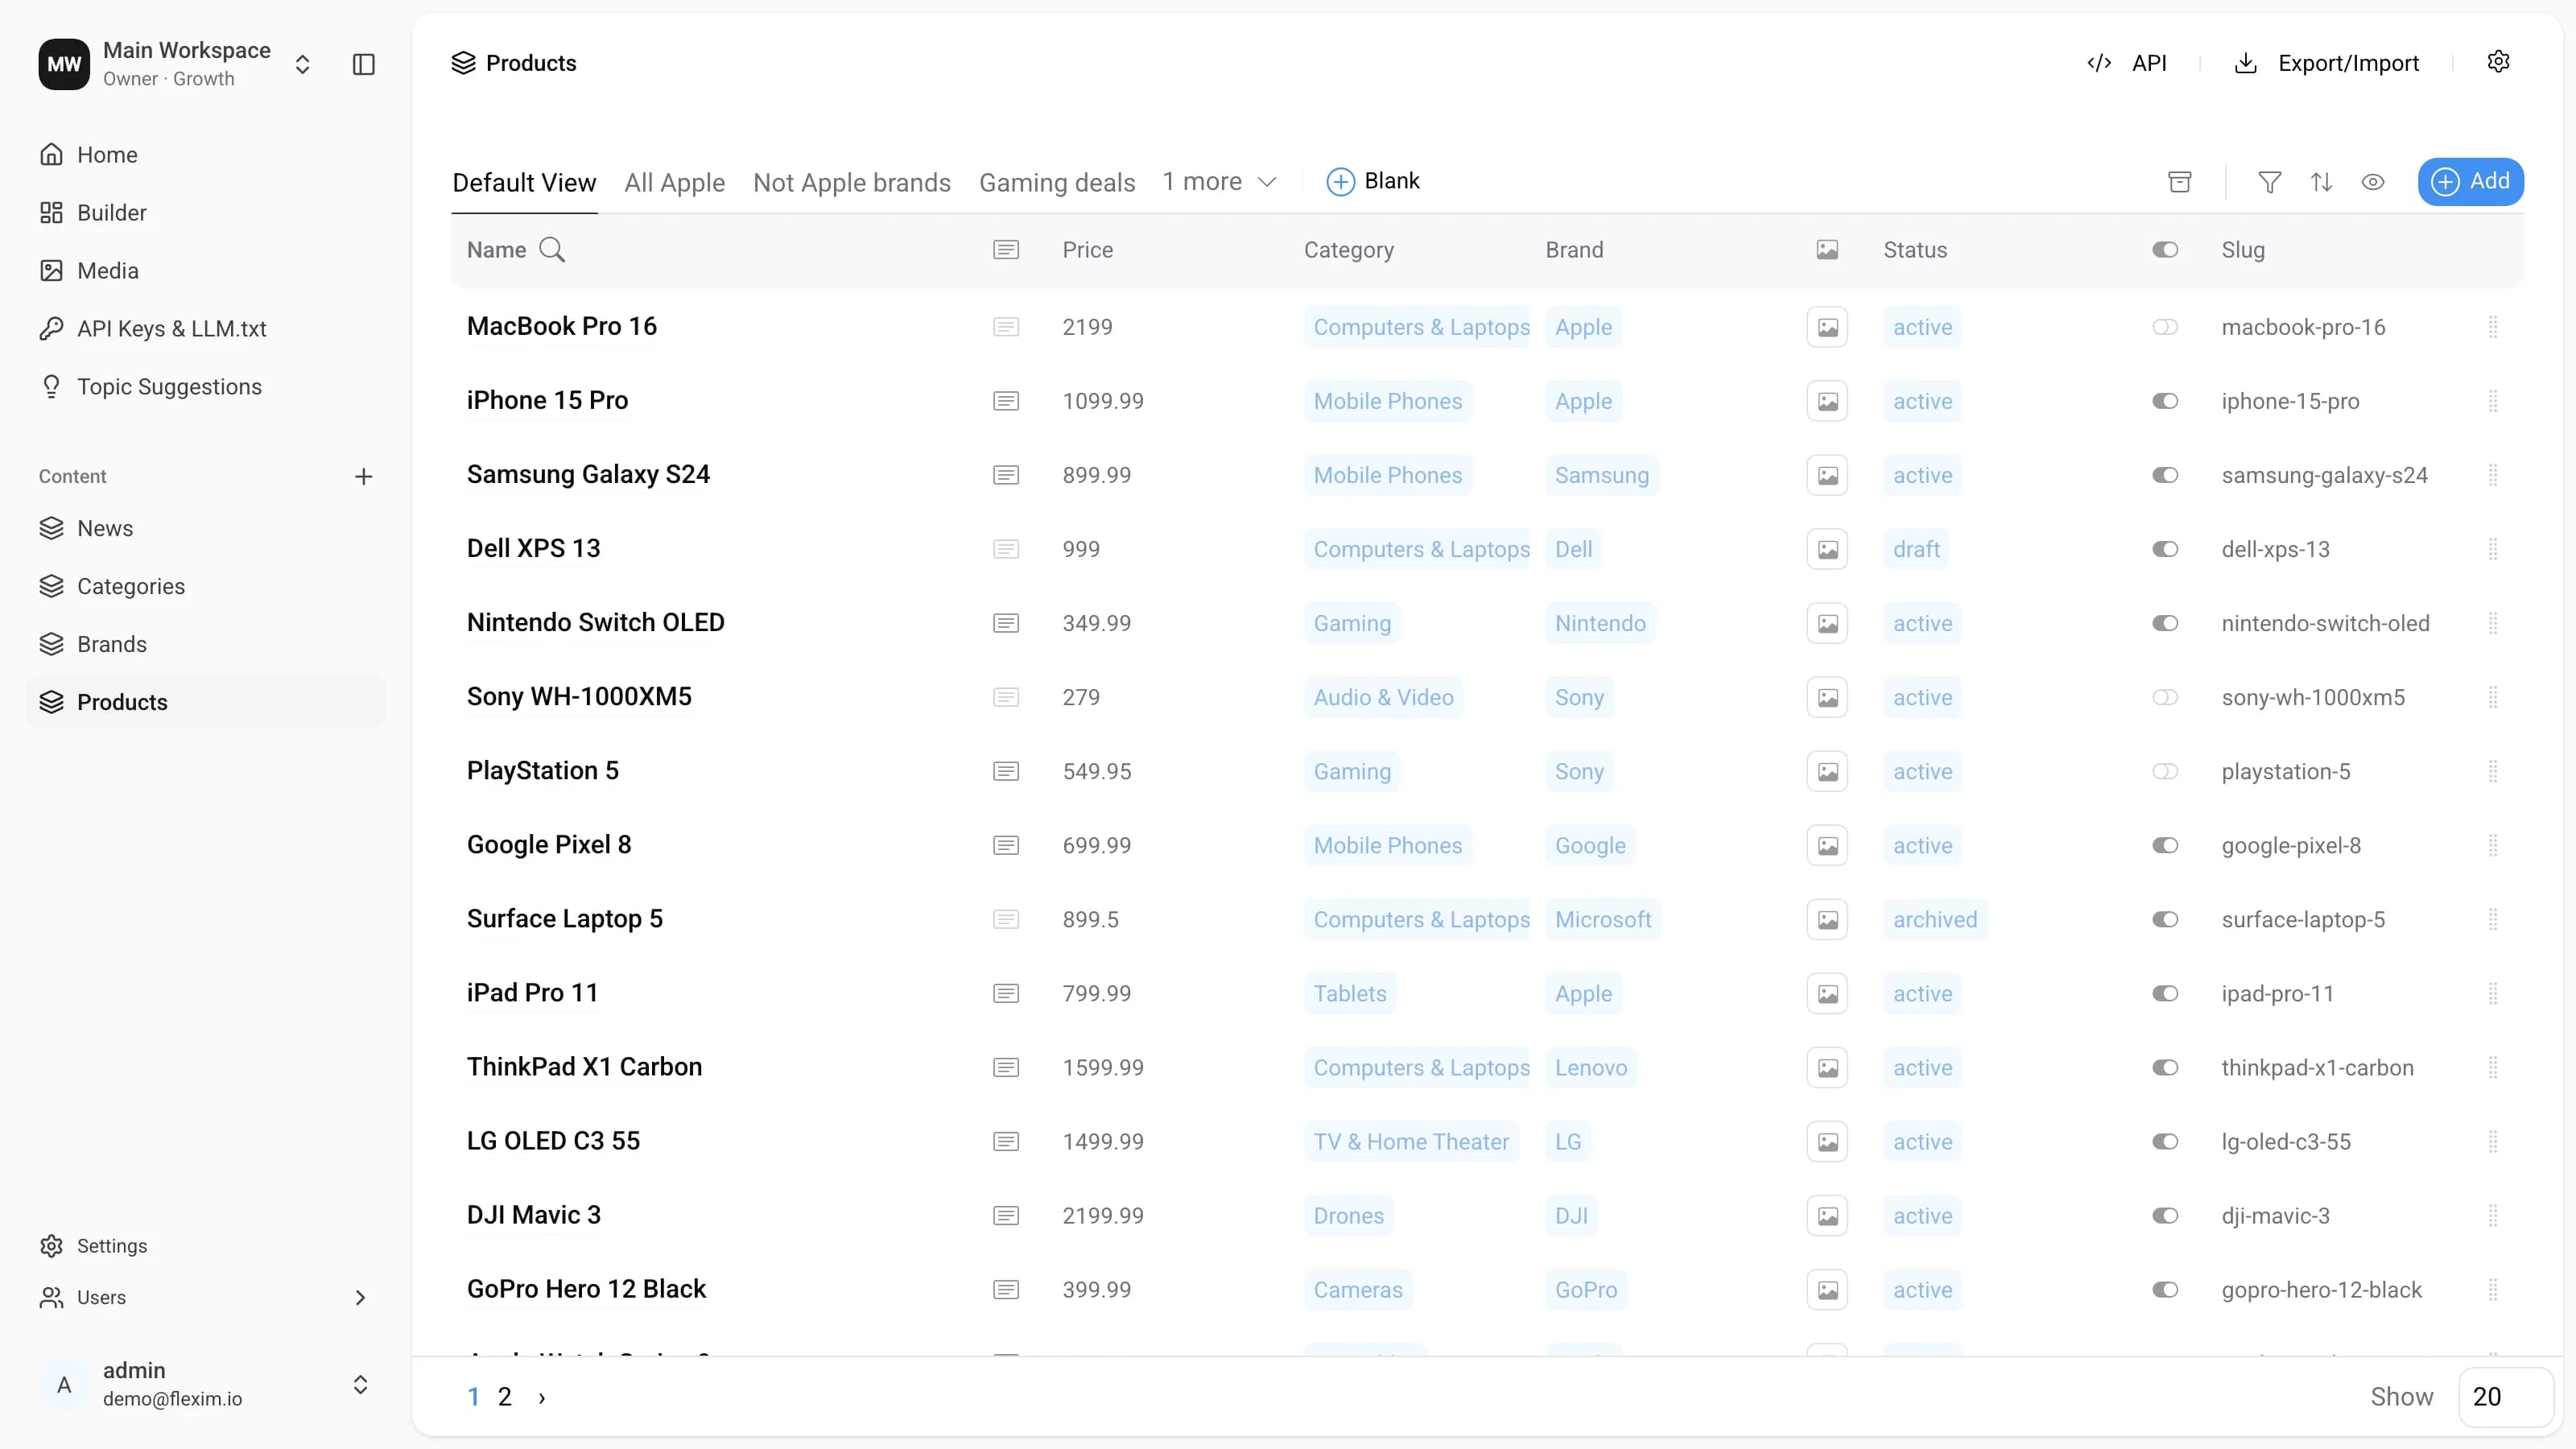
Besides the Default View, up to three custom views are shown in the views row. Everything added beyond that is collapsed into the N more dropdown. Open the dropdown and click a view to bring it into the row — it takes the place of the last shown custom view, which moves back into the dropdown.
Edge Cases
- If you change a view's settings and switch to another view (or navigate away) without clicking
Save Changes, the changes are not saved. When you return, only the last saved version remains. - New views are added to the end of the list.
- If you click
Save asorBlankand, while filling in the name, open filtering, sorting, or field visibility, that action closes the input and interrupts adding the new view. - If there are inactive (draft) filtering rows and you save the view, those inactive rows are saved with it. The same applies to sorting.
Read more on this topic
Read next topic — View settings